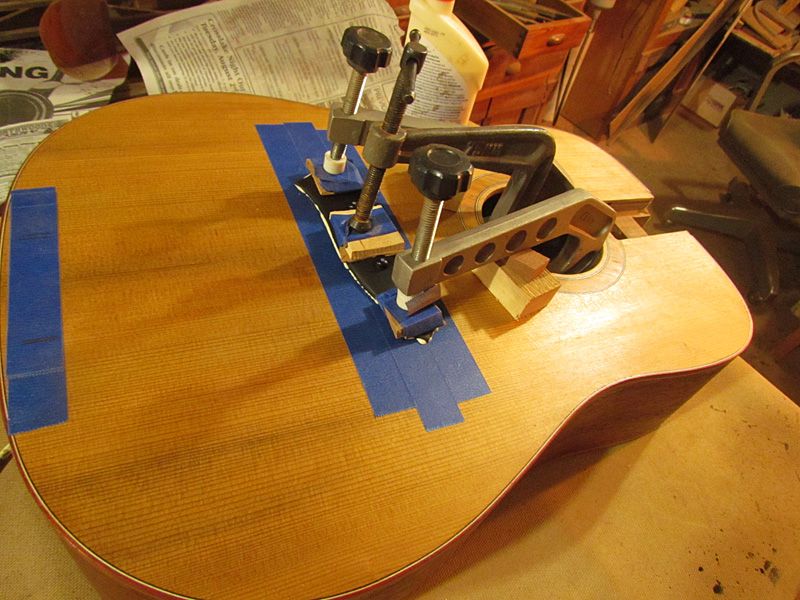
Thermally Modified Dread

Guitars by Grant Goltz of Hackensack, MN
User avatar
whitespruce
Site Admin
Posts: 4367
Joined: Thu Aug 21, 2008 6:53 am
Include Off Topic: Yes
Location: Northern Minnesota, USA

Re: Thermally Modified Dread

Post by whitespruce » Thu Aug 04, 2016 9:11 pm

As promised, more photos. This is coming along nicely.

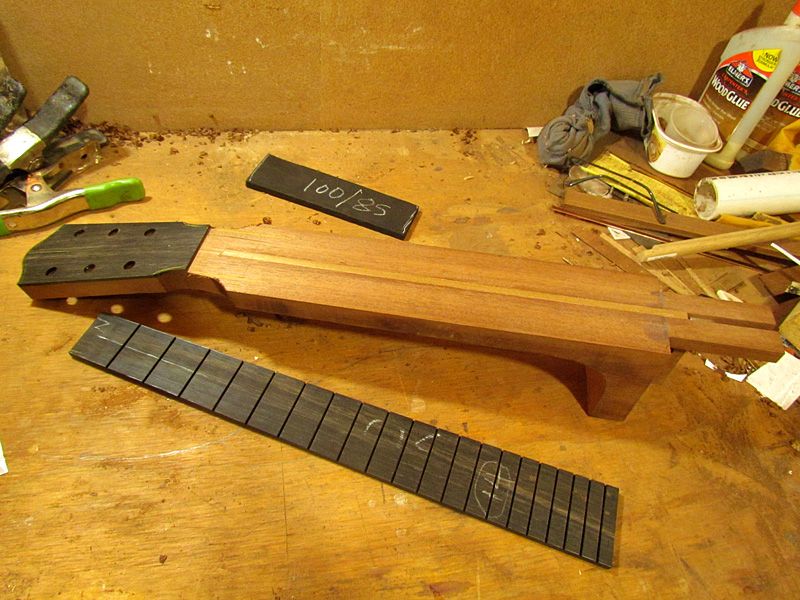
Here is the neck and fingerboard, all thermally modified

Image
Peghead overlay on, and that is a thermally modified ebony bridge blank that I will be using

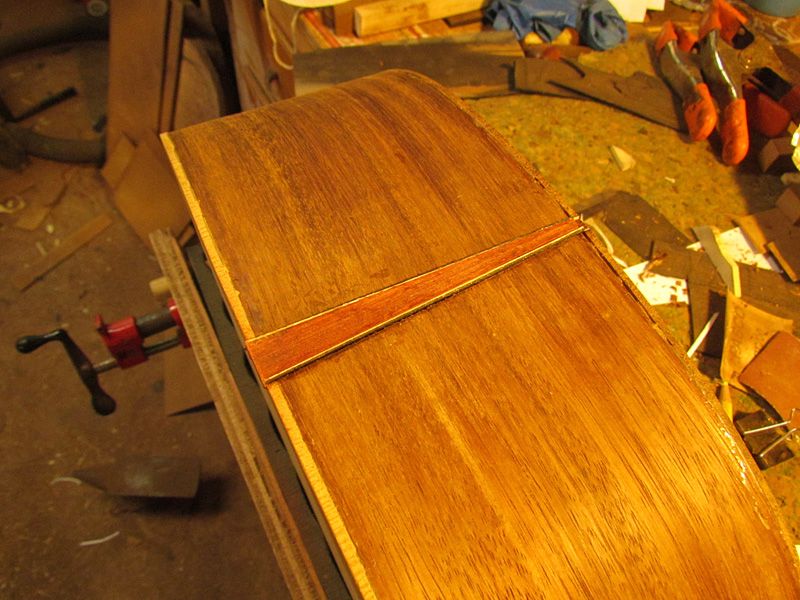
End graft glued in

Image

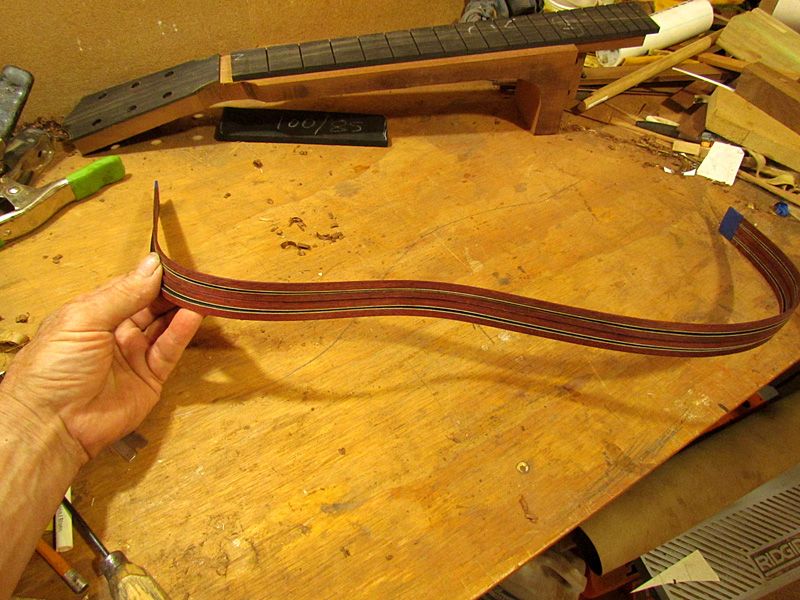
Bent the bindings this morning
Image

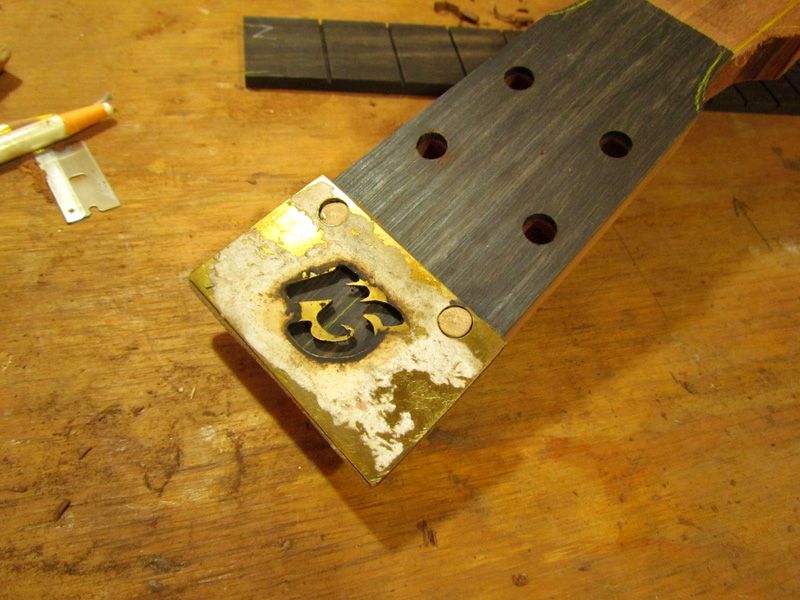
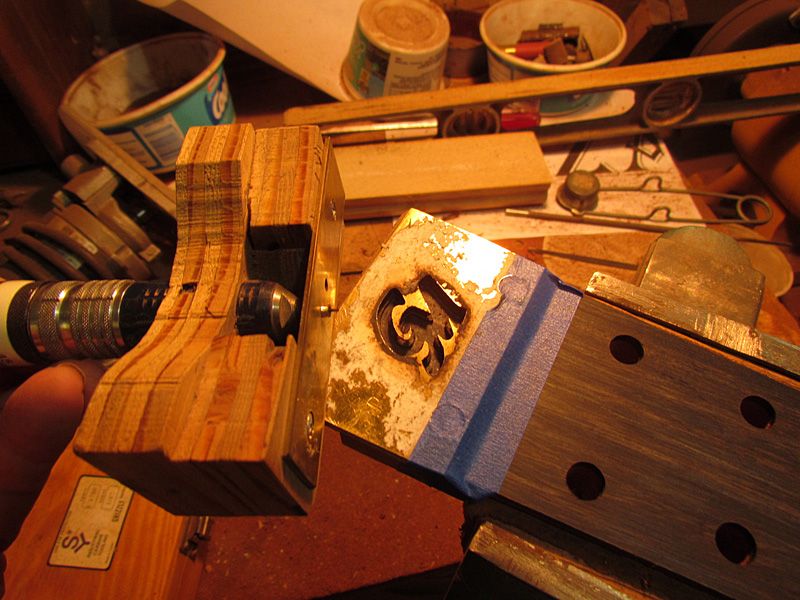
Here is the template I use to route for the peghead inlay

Image

And here it is all routed

Image
You can see my routing setup

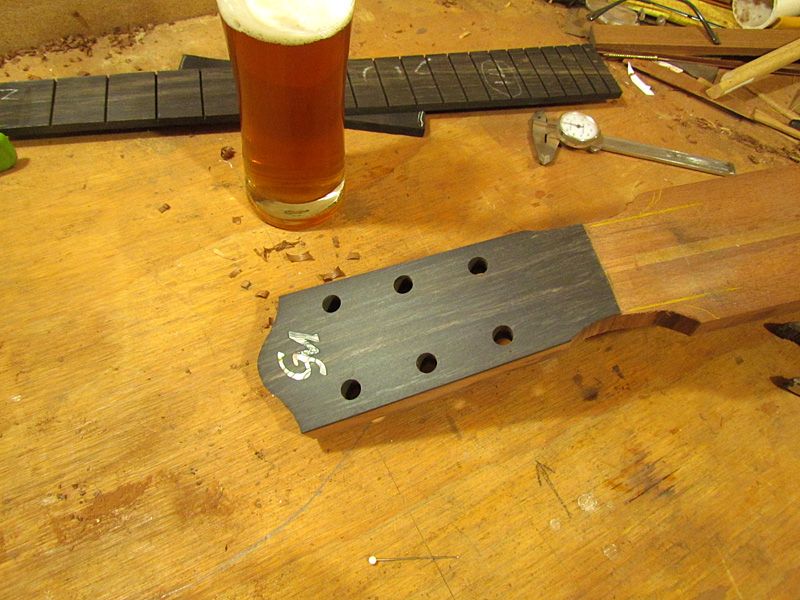
Inlay all glued in and leveled

Image
Yea, by this time I needed a cold one....Bronze Goddess, light IPA, 4 kegs of this available for Stringfest (plus others)

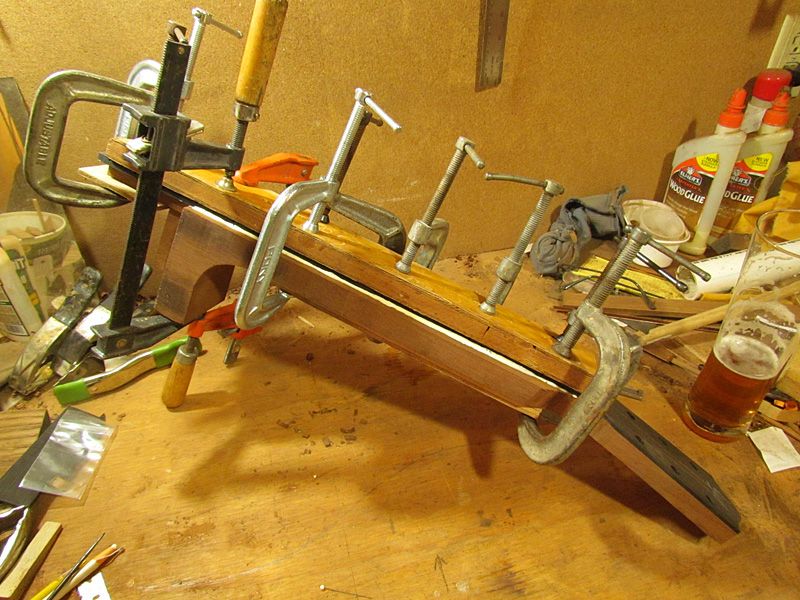
Fingerboard glued on

Image
And that's where I quit for the day.

G

User avatar
whitespruce
Site Admin
Posts: 4367
Joined: Thu Aug 21, 2008 6:53 am
Include Off Topic: Yes
Location: Northern Minnesota, USA

Re: Thermally Modified Dread

Post by whitespruce » Sun Aug 07, 2016 9:52 pm

Progress the last couple of days (between other chores)

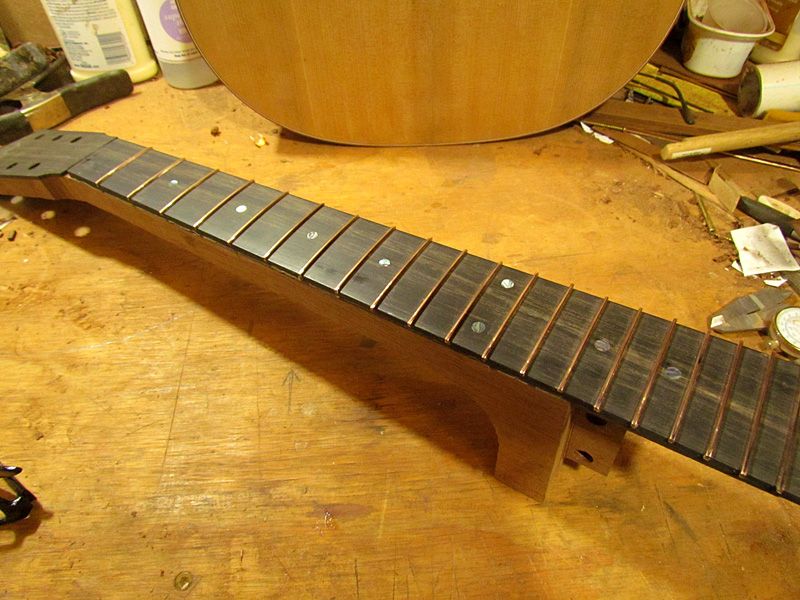
Friday I got the fingerboard radiused and the dots in
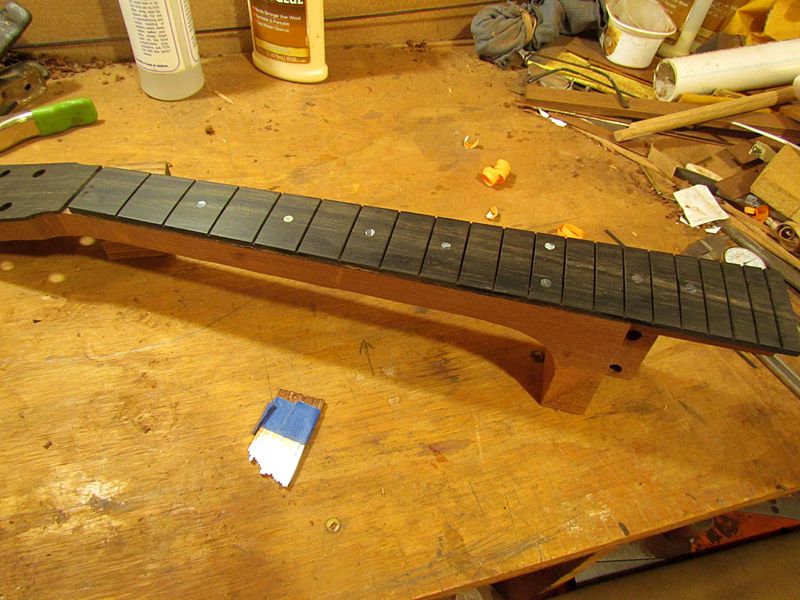
Image
Ready to fret

And I got the binding on
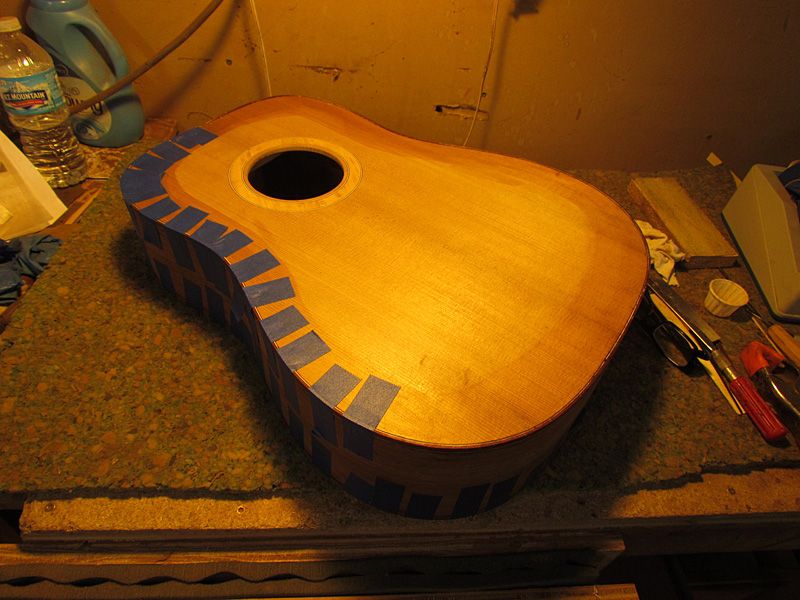
Image
I did have one issue. At the end graft the purfling strips on one side slipped down into the binding channel a bit so the binding was not seated. I heated the binding with hair drier and pulled out the last few inches of binding so I could get the purfling loose and move it up a bit. Cleaned up the mostly dried glue and reglued it. Came out fine.

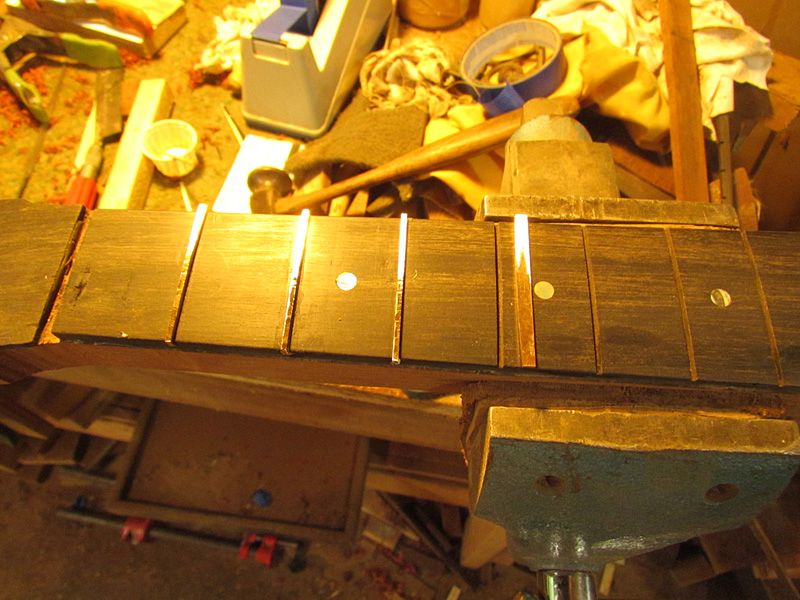
The bar frets need be test fitted before they are installed. They need to fit no tighter then a slightly snug fit or they will back-bow the neck. The slots on this board were about right on the bass side, but a bit tight on the treble. So, I had to rub one end a few strokes on a 150 grit sanding block
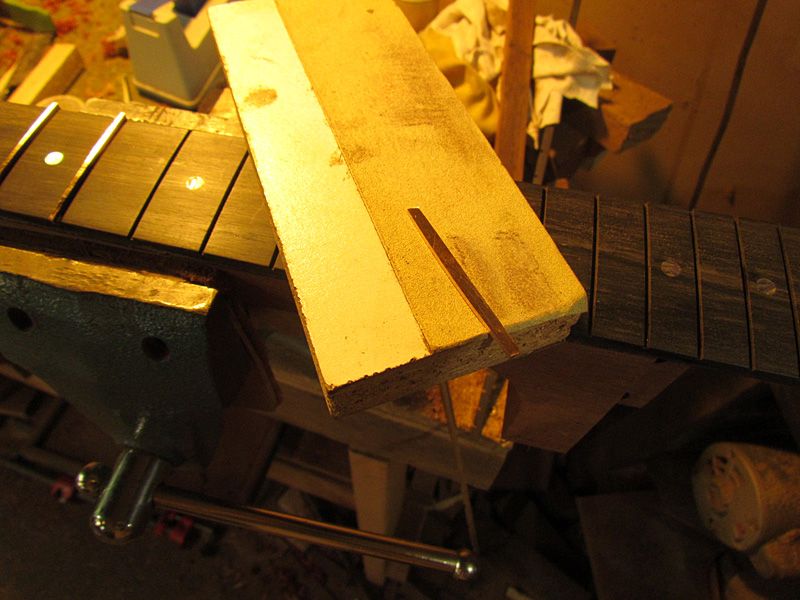
Image

Here you can see the shinier end and it is now ready to install
Image

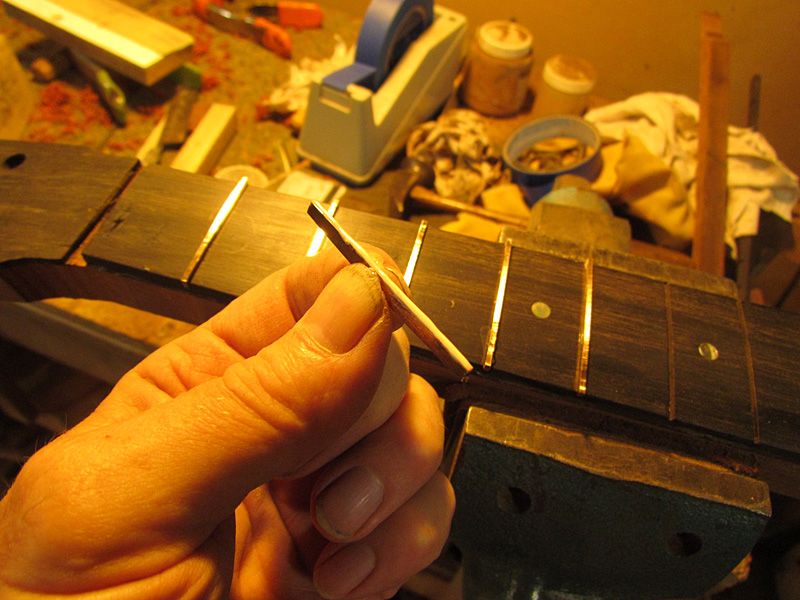
I give the bottom of each fret a healthy bead of glue
Image
Then I push the fret in as far as it will go and a few taps of the hammer to fully seat it. I double check to make sure both ends are down tight before going to the next fret. If an end is not down tight, it usually works to tap the center of the fret in a bit tighter.

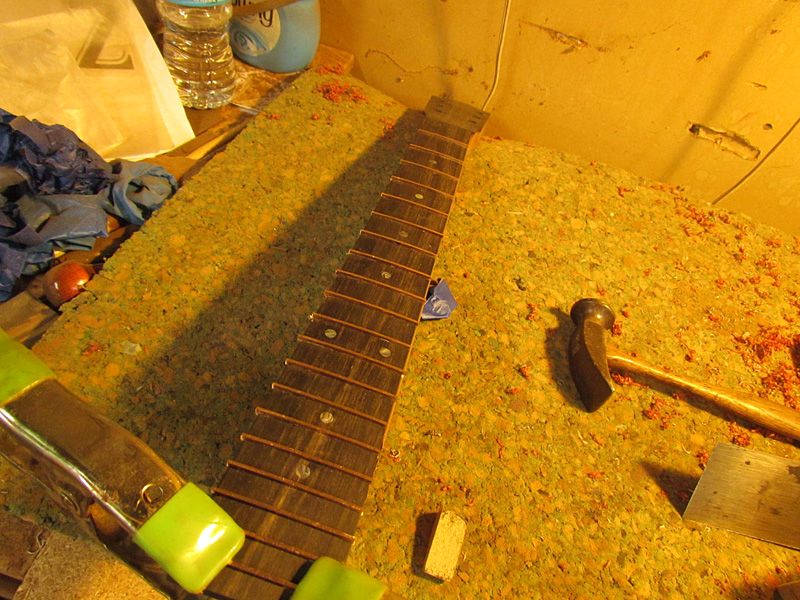
Here all of the frets are in
Image

And leveled and crowned

Image
(but the ends not trimmed)

Today I finished the fret ends and mostly carved the neck. Just need a bit on the neck heel and the transition to the peghead. I also leveled all of the bindings. Will have photos tomorrow after I fit the neck and do the bridge.

G
User avatar
Fred Blom
Posts: 556
Joined: Tue Jan 20, 2009 12:07 pm
Include Off Topic: Yes
Location: Montevideo, MN

Re: Thermally Modified Dread

Post by Fred Blom » Mon Aug 08, 2016 8:41 am

Looks great, Grant. And I bet it will sound great, too!
Fred Blom
Remember the joy of the journey

User avatar
Dennis Leahy
Dishwasher
Posts: 7082
Joined: Thu Aug 21, 2008 1:59 am
Include Off Topic: Yes
Location: looking for a place to live

Re: Thermally Modified Dread

Post by Dennis Leahy » Mon Aug 08, 2016 9:11 am

Thanks for the tutorial on installing bar frets.

When do you sleep?
Dennis Leahy

User avatar
whitespruce
Site Admin
Posts: 4367
Joined: Thu Aug 21, 2008 6:53 am
Include Off Topic: Yes
Location: Northern Minnesota, USA

Re: Thermally Modified Dread

Post by whitespruce » Mon Aug 08, 2016 9:36 am

Dennis Leahy wrote:Thanks for the tutorial on installing bar frets.

When do you sleep?
I don't start working before 10 or 11 in the morning and am always done before 8 PM.

G

User avatar
whitespruce
Site Admin
Posts: 4367
Joined: Thu Aug 21, 2008 6:53 am
Include Off Topic: Yes
Location: Northern Minnesota, USA

Re: Thermally Modified Dread

Post by whitespruce » Mon Aug 08, 2016 1:50 pm

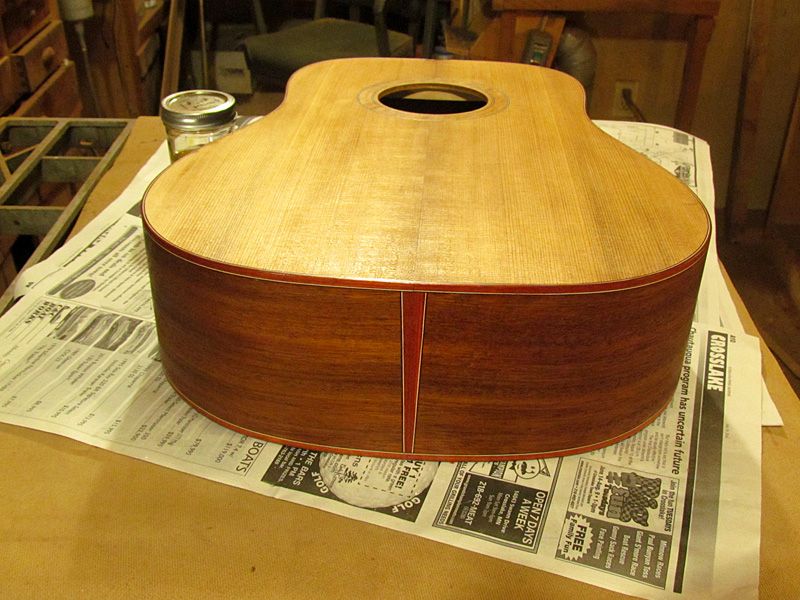
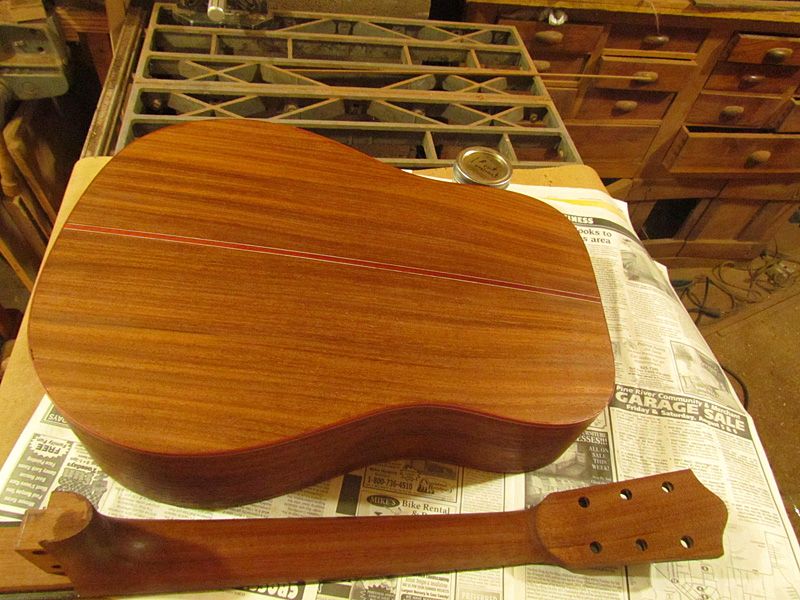
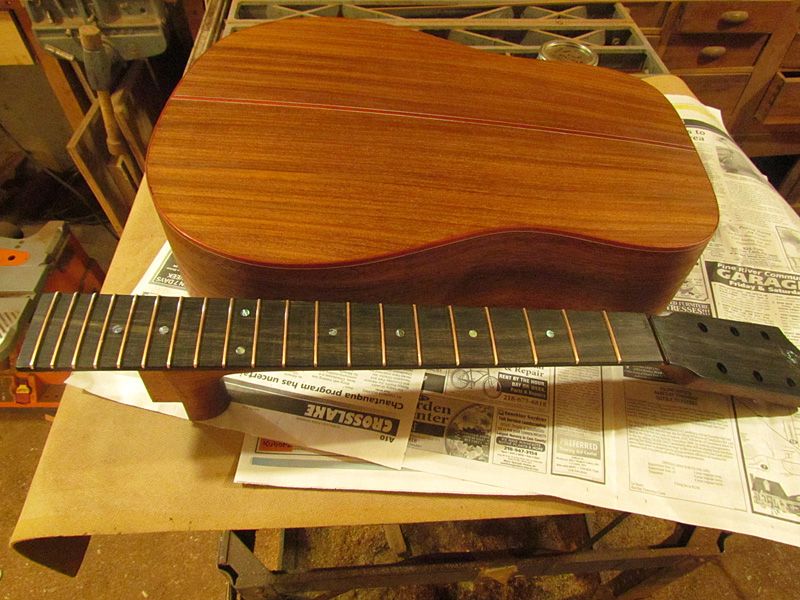
Well, I finished the rest of the neck carving and got everything sanded to 400 grit

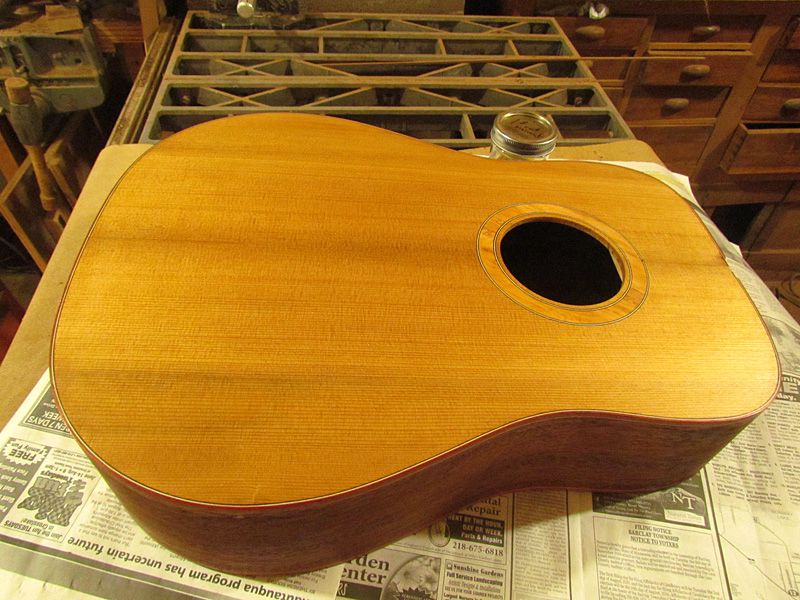
Here it is with a couple of spit coats of shellac

Image

Image

Image

Image

I did not do any pore filling or fill tiny gaps here and there. This is just to protect the wood for now so we can play it this weekend. I will put on a coat of Liberon. Now to fit the neck and make and glue on the bridge. Maybe get it strung up tomorrow or Wednesday at the latest.

Notice that the thermally modified Beng now looks more like mahogany rather than being orange.

G

User avatar
whitespruce
Site Admin
Posts: 4367
Joined: Thu Aug 21, 2008 6:53 am
Include Off Topic: Yes
Location: Northern Minnesota, USA

Re: Thermally Modified Dread

Post by whitespruce » Mon Aug 08, 2016 8:24 pm

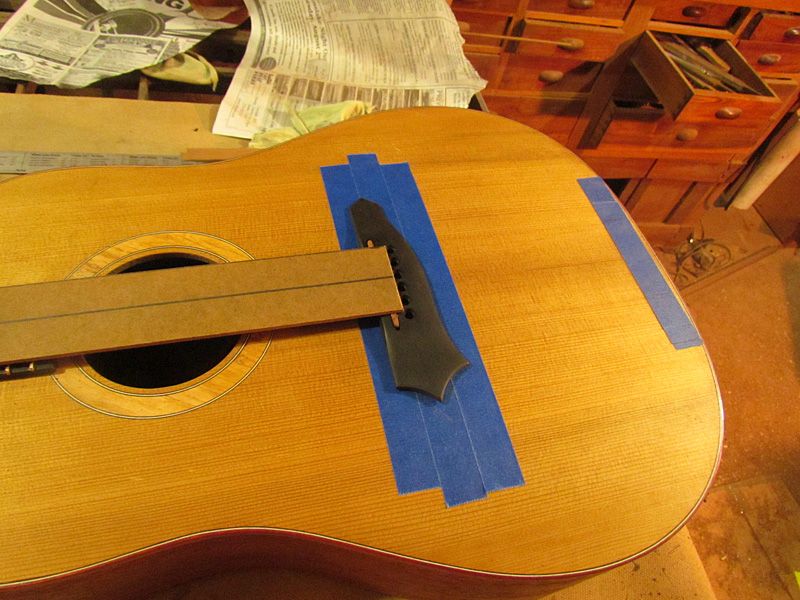
Well, got done what I needed. Neck is fit to the body and bridge is made and glued

Fitting with my usual home made fixture

Image

Then scribed the tape around the bridge and removed and scraped the finish off the bridge footprint. A couple of spit coats of shellac was easy. Then glued it on

Image

I still need to glue on a heel cap, but I have the neck heel all ready for it. So now, just clean up the glue and such and a coat of Liberon tomorrow, and it will be ready to string up with time to spare :D

Come on, Dennis :dance

G

johnparchem
Site Admin
Posts: 969
Joined: Sat Oct 02, 2010 8:26 am
Include Off Topic: Yes
Location: Seattle
Contact:

Re: Thermally Modified Dread

Post by johnparchem » Mon Aug 08, 2016 10:16 pm

It certainly is looking good to go!

Post Reply