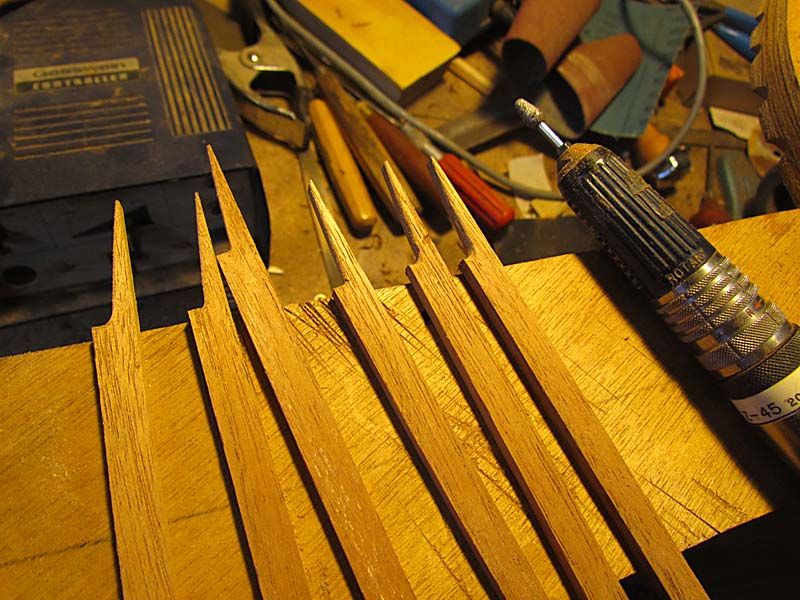
I said that I would explain my back bracing in more detail, so here is the start.
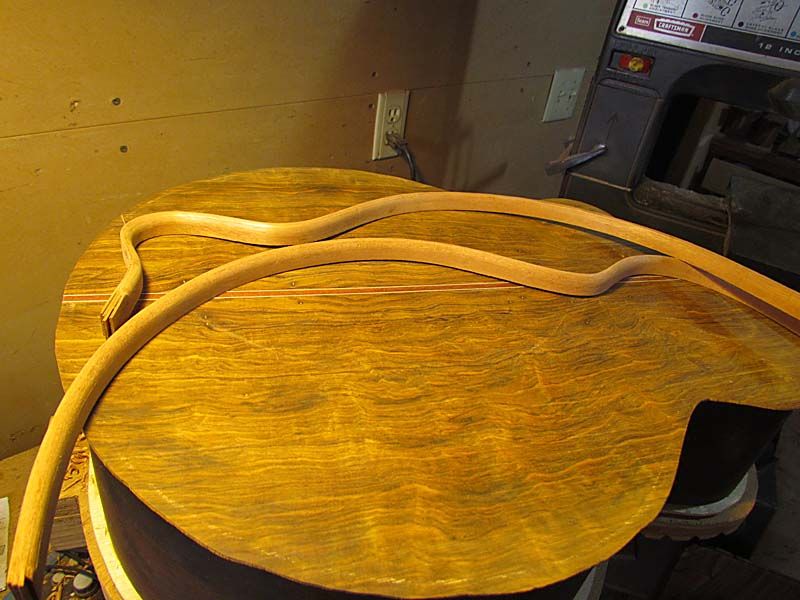
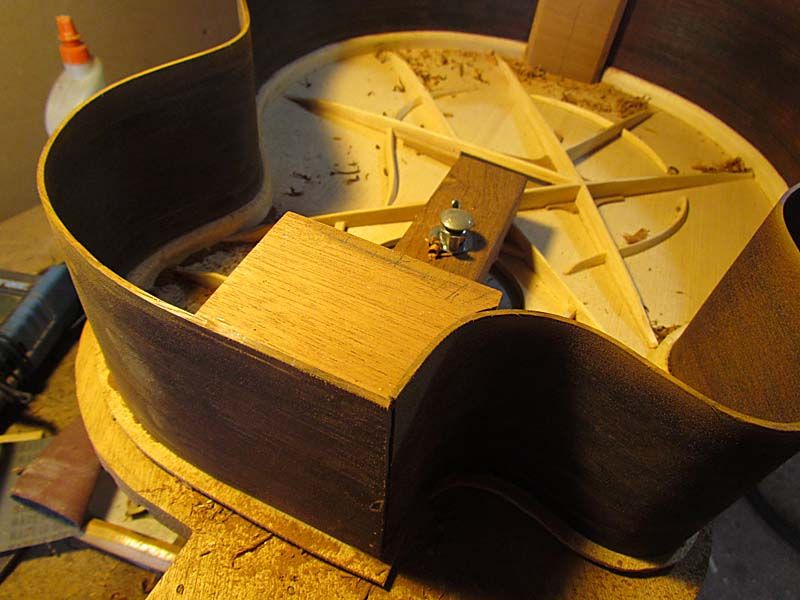
For a review, here is what the finished product looks like
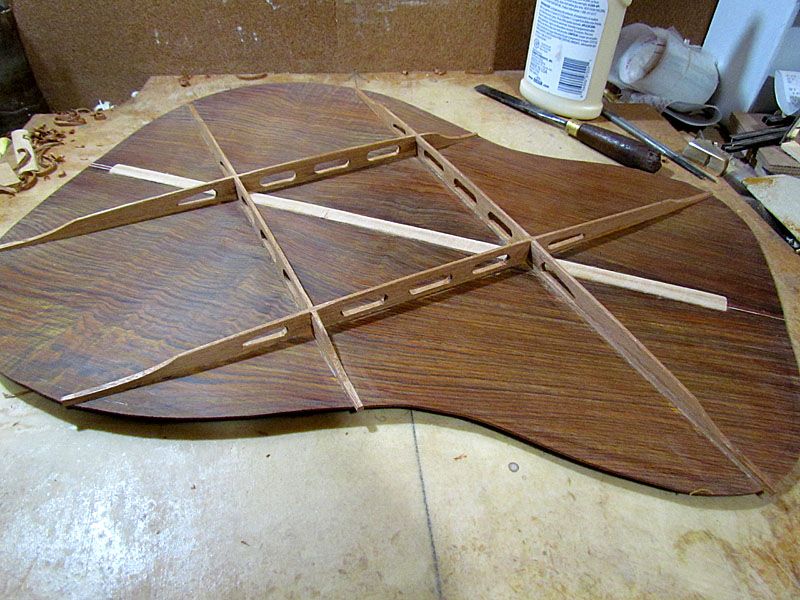
My original version was the same, but without the openings. I like the looks of the new version better, but have no idea if it performs any differently. A bit lighter in weight, but probably nothing significant.
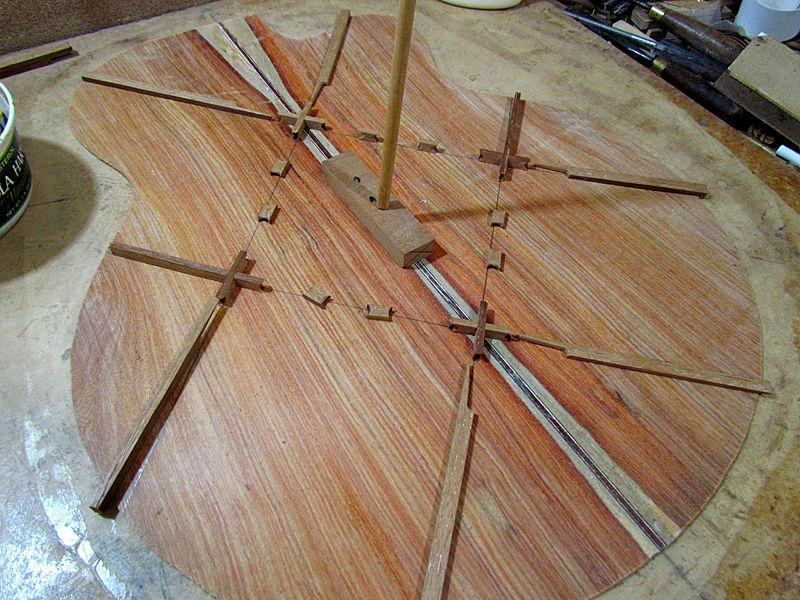
The layout is simple. The center is just a square, rotated 45 degrees.
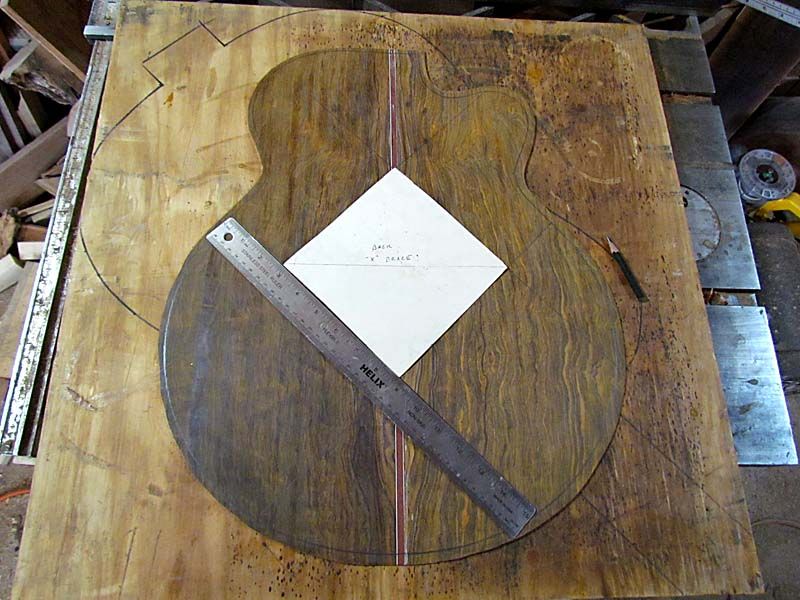
And the "legs" are just extended to the edge. On my larger bodied guitars, I use a 6" square. If you are building smaller instruments, you might want to reduce this a bit, maybe to 5 1/2' for an OM. For location, I put the upper end approximately on the center of the soundhole. Again, adjusting this a bit might better fit your body shape.
I glue these braces up from laminations. When I built them solid, I used 5 laminations, 3/16" wide by 1/8" tall. I rip these from scrap mahogany. I don't worry about grain orientation. Walnut would probably look nice, too, and if you want light colors, you could use basswood or spruce.
With the present version, I use 4 laminations. The first, third and fourth are the same 3/16" by 1/8". The second lamination is 3/16" wide by 3/8" tall and is where the openings are formed.
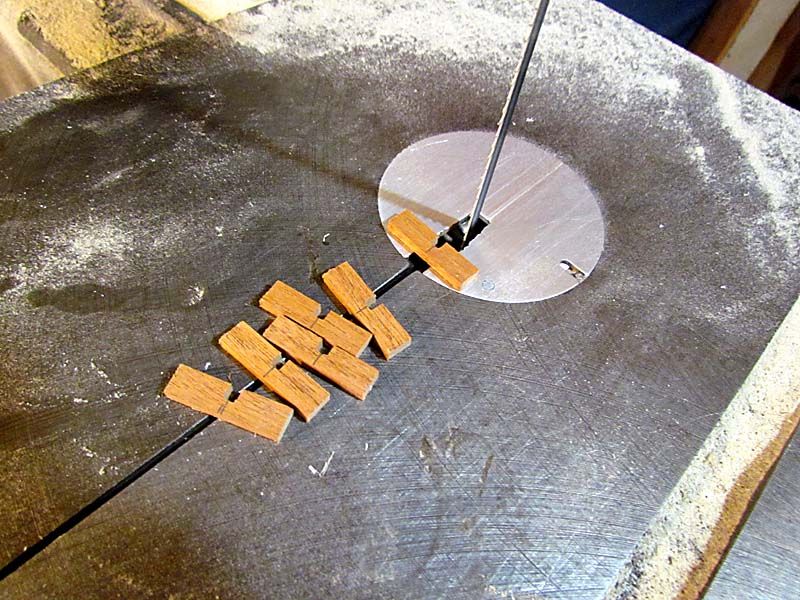
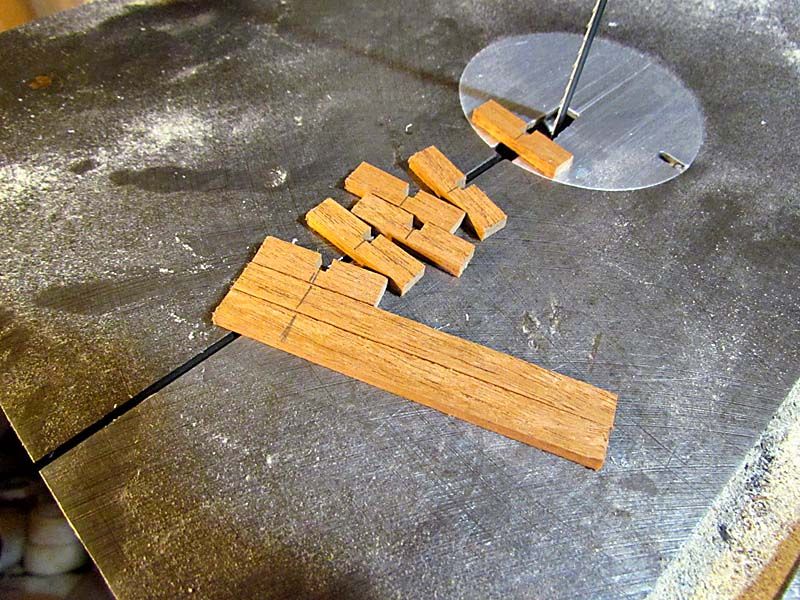
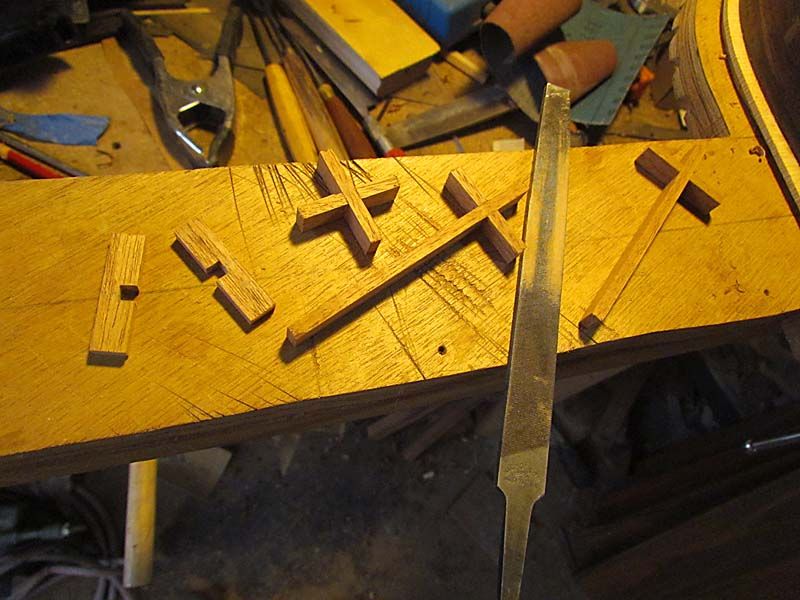
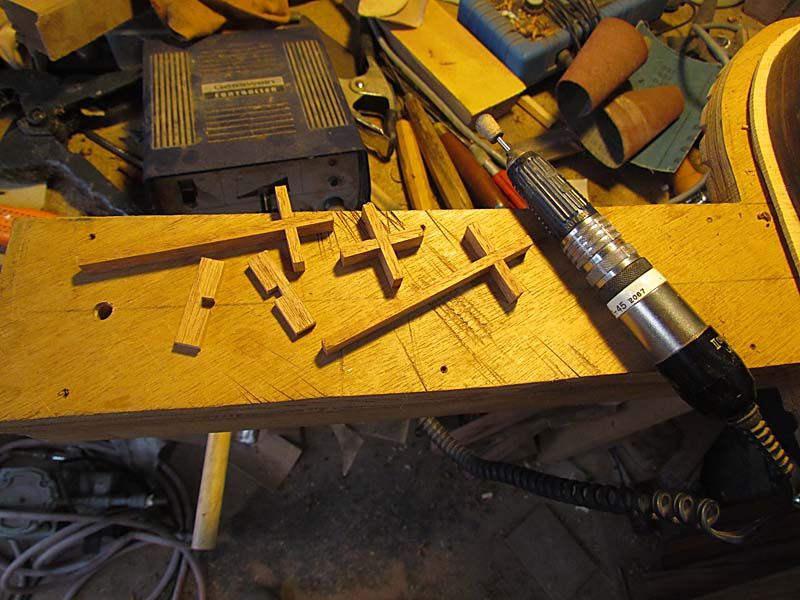
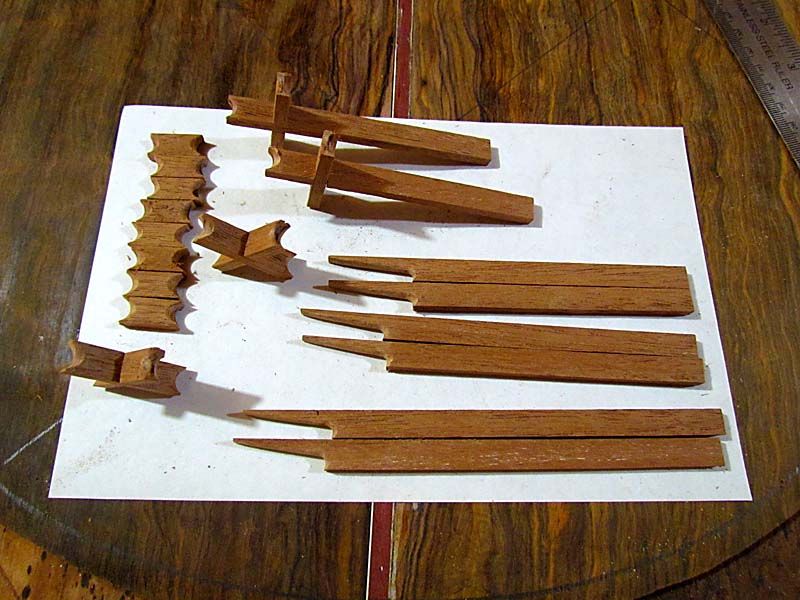
This layer requires 22 pieces, and I cut and shape them before I start bracing
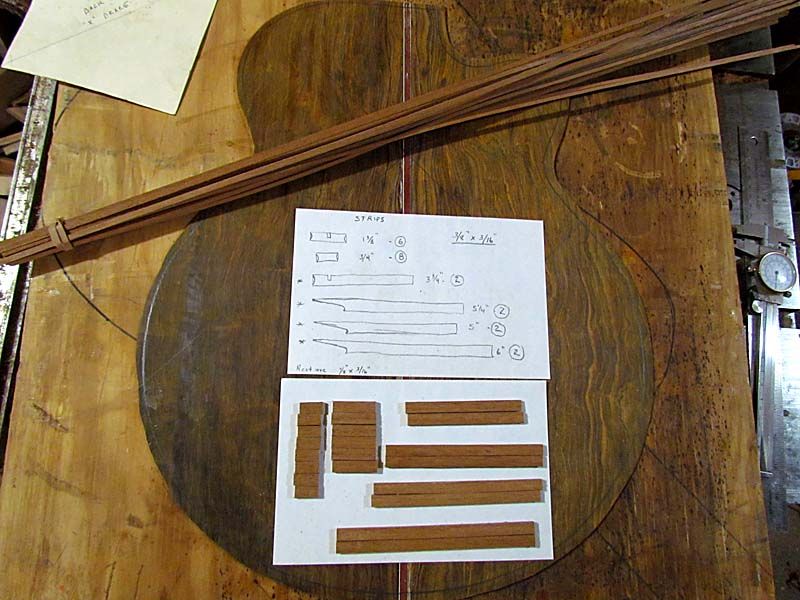
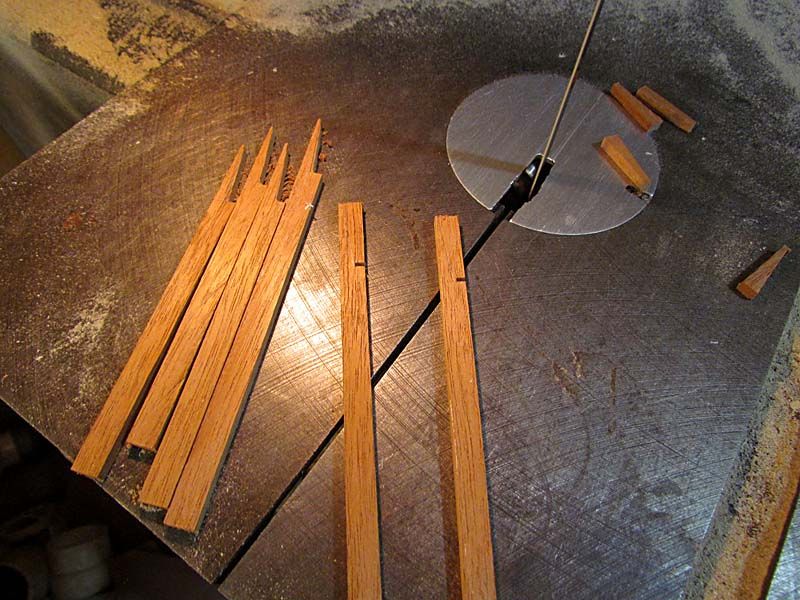
There are 8 pieces, 3/4" long and 6 pieces 1 3/8" long. The other (longer) pieces will vary in length depending on your body shape and size. For my jumbo shape there are 2 pieces 3 3/4" long, 2 pieces 5" long, 2 pieces 5 1/4" long and 2 pieces 6" long.
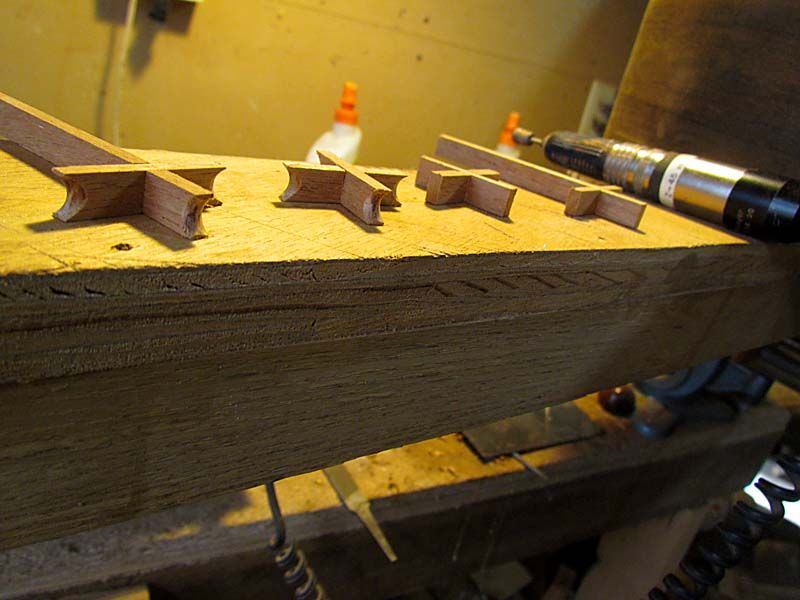
The 1 3/8 " pieces get notched to cross at the X's. The 3 3/4" pieces also get notched (11/16" from the end) to form half of the outer X's. The other long pieces get the "bird mouth" shape at one end to form the longer openings.
Here is how these pieces fit in the layout
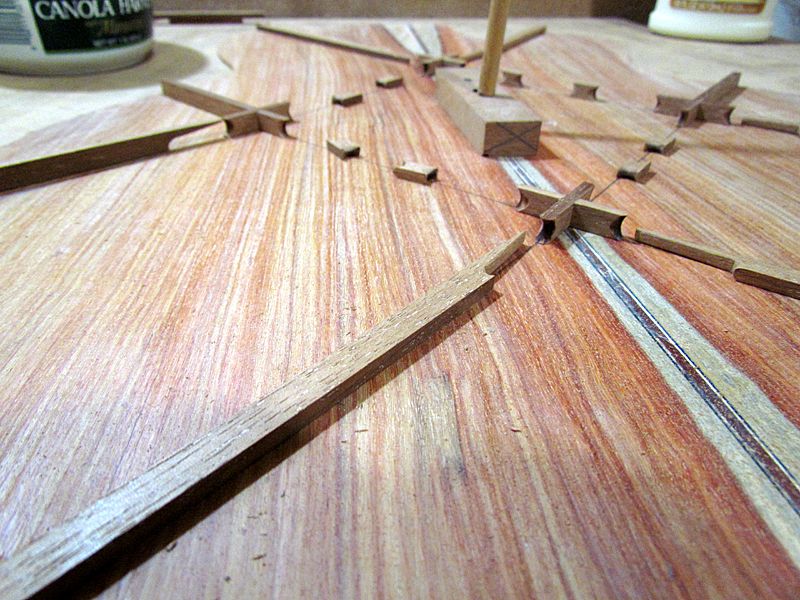
I will show the shaping of the ends of these pieces in the next post and then we can get on with the glue-up.
G
