OK, I went through the files on both computers and found what photos I had that have not been posted, so I will post these first before I add the ones I took this afternoon.
We left off with the top braced and were going to move on to the neck. I made the neck by gluing up 2 outer pieces of birch, which came from slabwood in my firewood pile, with a center layer of 1/4" maple flanked by 2 1/8" laminations of butternut. All of this wood was local.
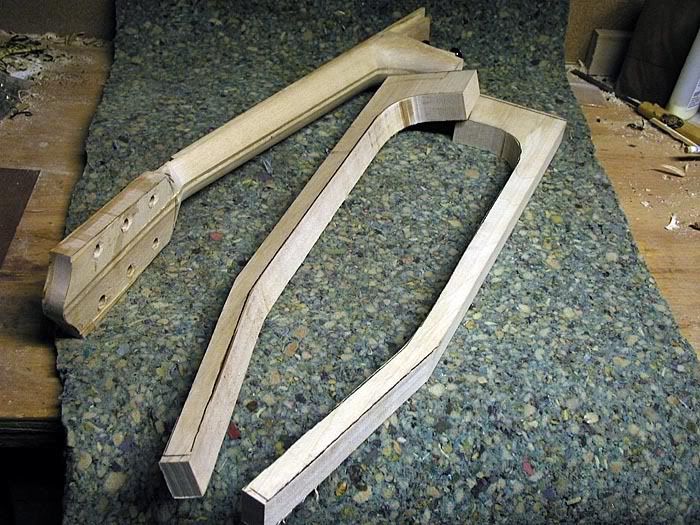
Here is one neck glued up and pieces for another.
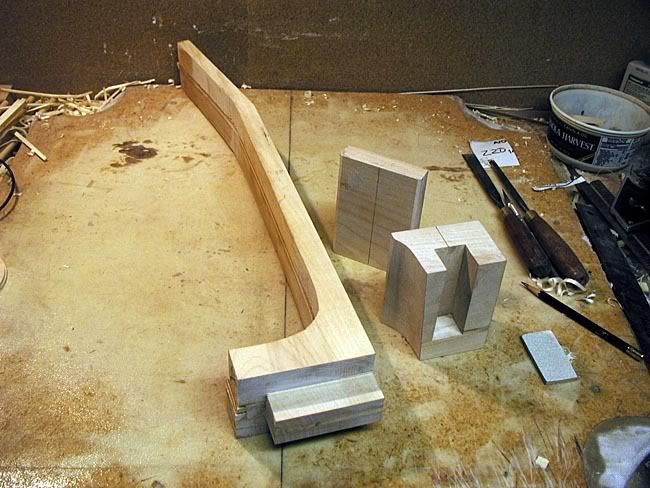
The neck block and tail block were carved from basswood. Here they are with the glued up neck
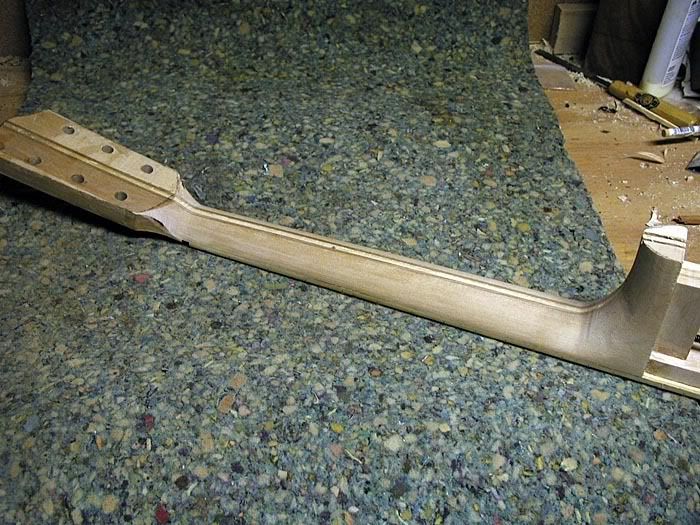
The neck glued up and rough carved, tuner holes drilled. Fingerboard extension and fingerboard glued on
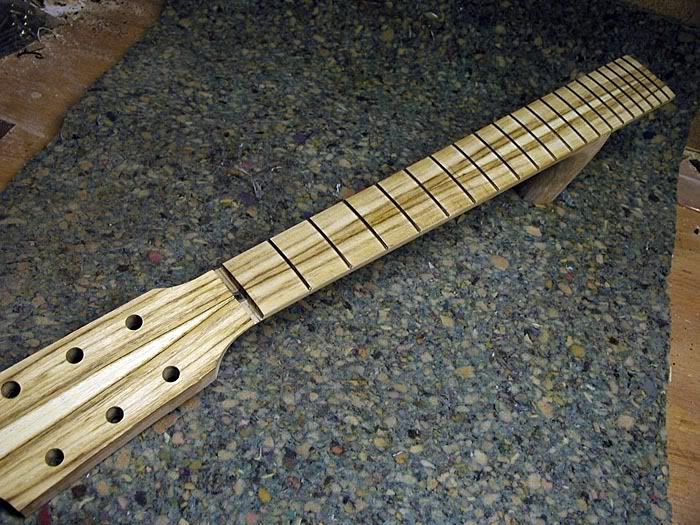
I made the fingerboard from black locust that was growing near our garden. After quartersawing, the wood was too narrow for a 1-piece fingerboard, so I bookmatched 2 pieces. I did the same for the peghead overlay.
Here is the fingerboard on and fretted.
I could not find any photos of bending the sides. One thing that did happen during bending is that the cutaway creased a bit in 2 places. I should have bent another side, but I forged ahead with the bad side. I am still fighting that mess

So, my proceedure is to assemble on a building board with the next step being to glue the blocks to the top and then glue the kerfed linings to the sides. I could not find photos of that either, so the next photo is gluing the sides to the top and end blocks
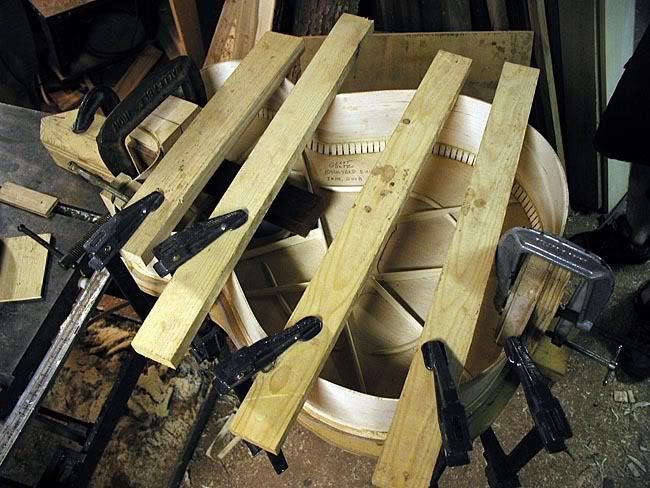
I basically follow the procedure outlined in Cumpiano's book
Next I braced the back. I used my double "X" back bracing laminated up from spruce strips just like the top braces
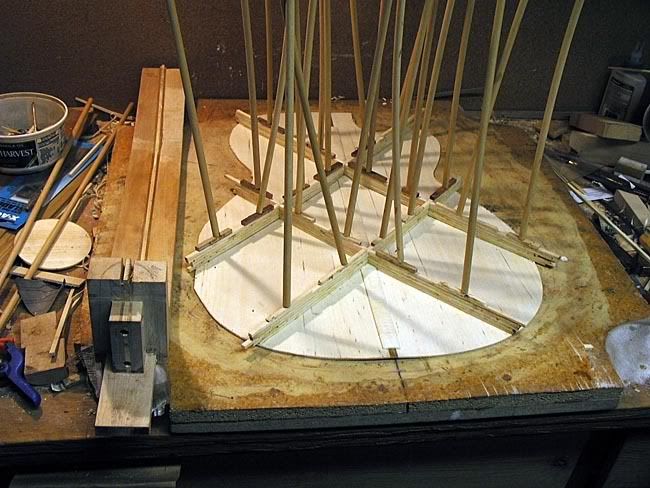
Here is the braced back...
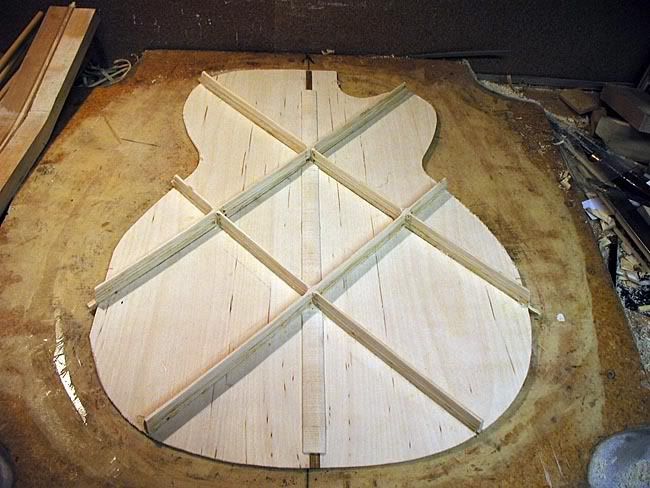
...and with the braces carved ready to glue onto the box
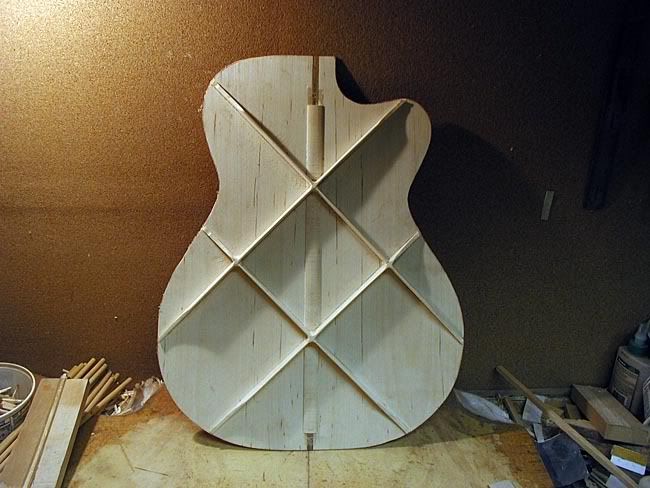
Next, I cut the sides down to profile and sanded with the radius dish
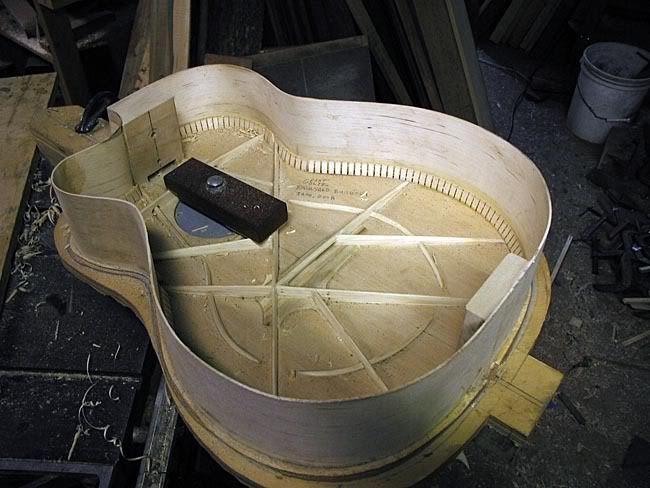
Then I glued in the kerfed linings for the back
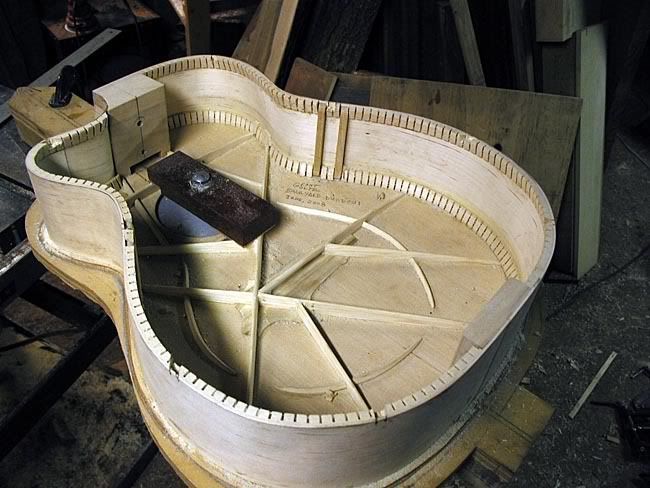
And sanded again with the radius dish. Note that I have added some side braces
I don't have photos of gluing on the back, but I rope it on with a long strip of inner tube rubber cut about an inch wide.
After trimming the top and back flush with the sides, it is time to cut the binding and purfling channels. I don't use any fancy fixture, just a router bit with a bearing and freehand it with my trim router. It works fine for me and is fast. Againj, no photos of this.
For bindings, I am using sumac. Top purflings are butternut and maple and no back purflings. End graft is the same
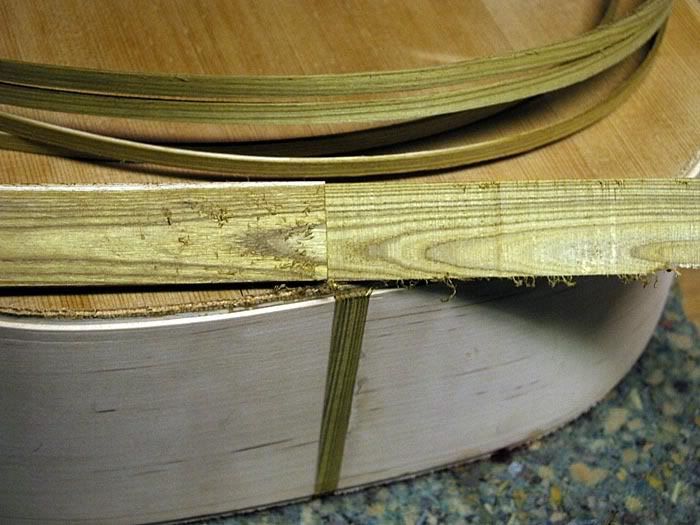
So, that is where I left off back last year. I did a bit of work before the stringfest, but just glued the bindings on about a month ago. I will pick up the latest progress in the next post.
G


