Re: Documenting my first total thermally modified build
Posted: Sun Oct 18, 2015 10:09 pm
Continuing on with bracing the back.
Here are the brace components ready to go. This probably looks familiar. Again, note an uncooked piece for comparison.
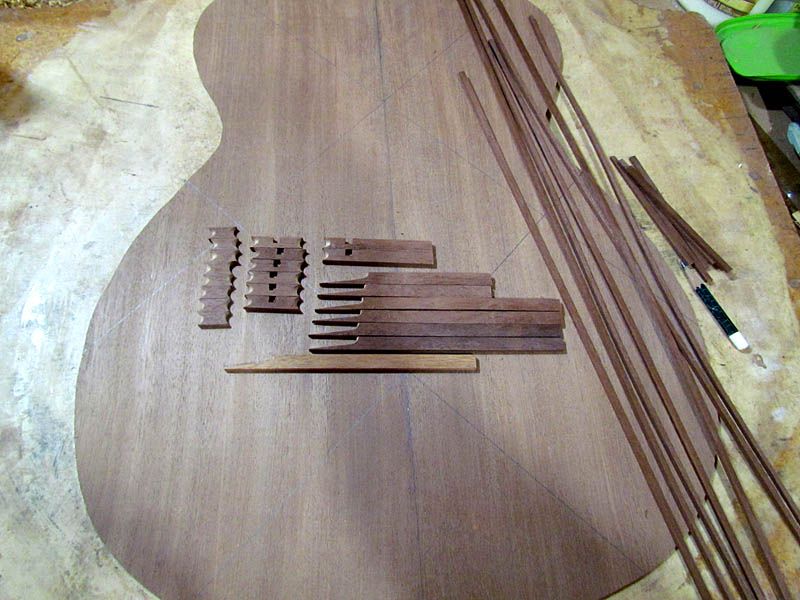
I am finding the thermally modified wood very easy to work with...it cuts and sands easier than unmodified.
Again, the first layer is comprised of 1/8" thick strips. I laid out my regular 6" square, but am gluing inside the lines for this smaller body
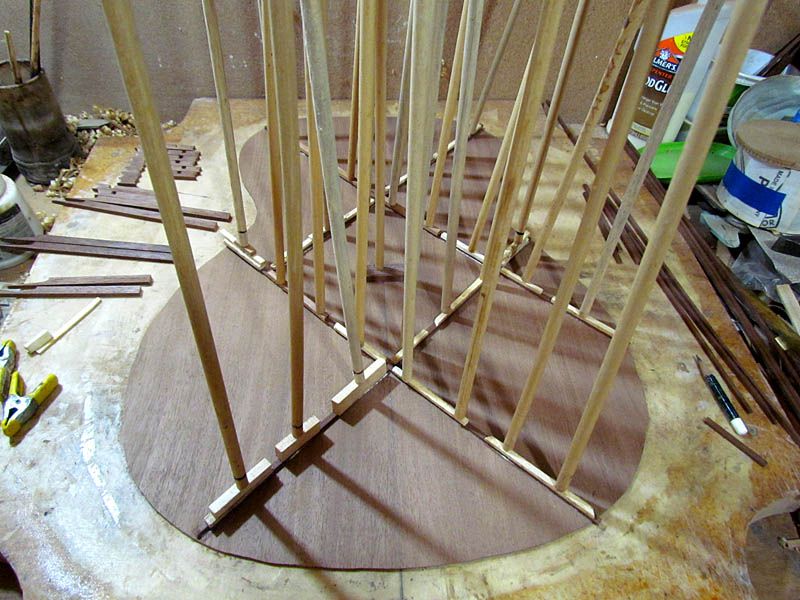
First layer done
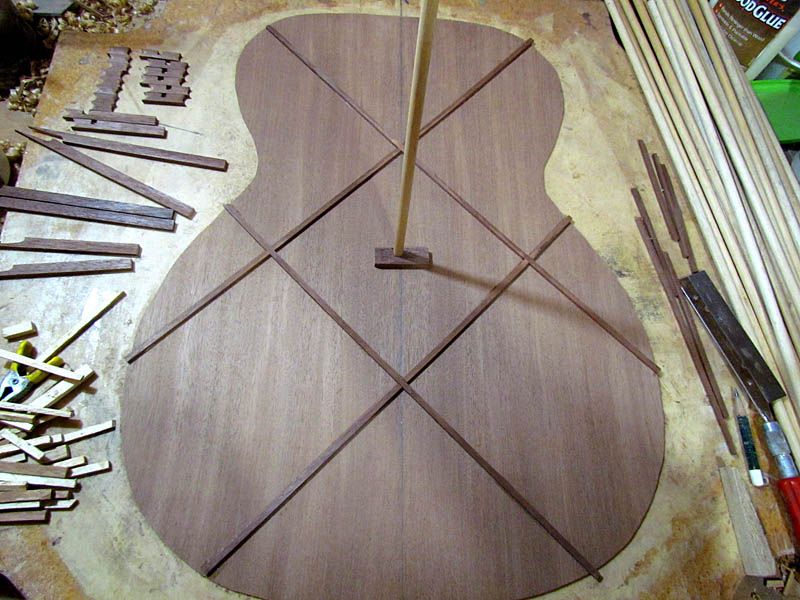
Next, I glue in the center layer of pre-shaped parts, starting with the little X's. I use the small clamps to keep the layers lined up
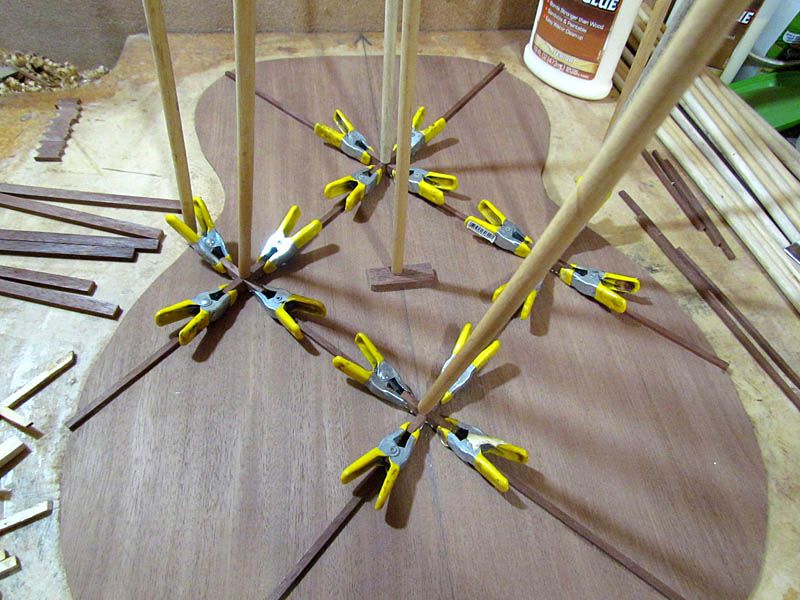
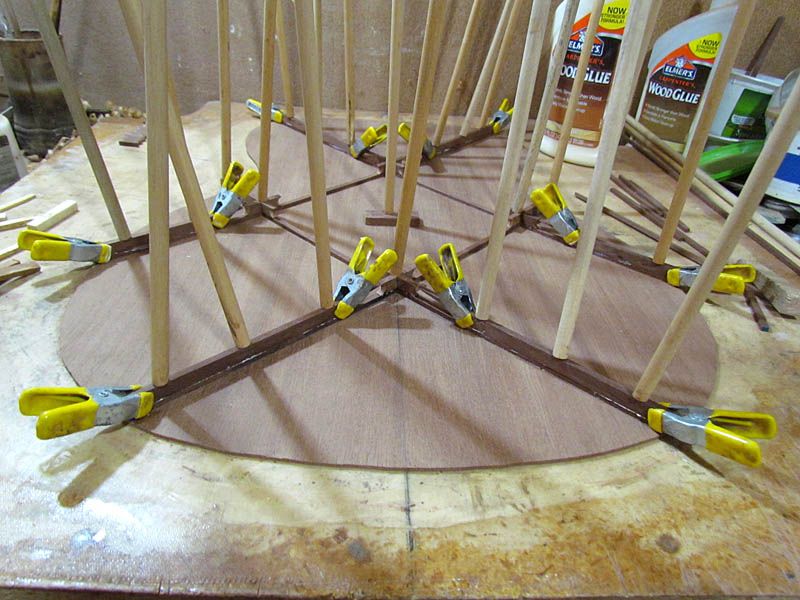
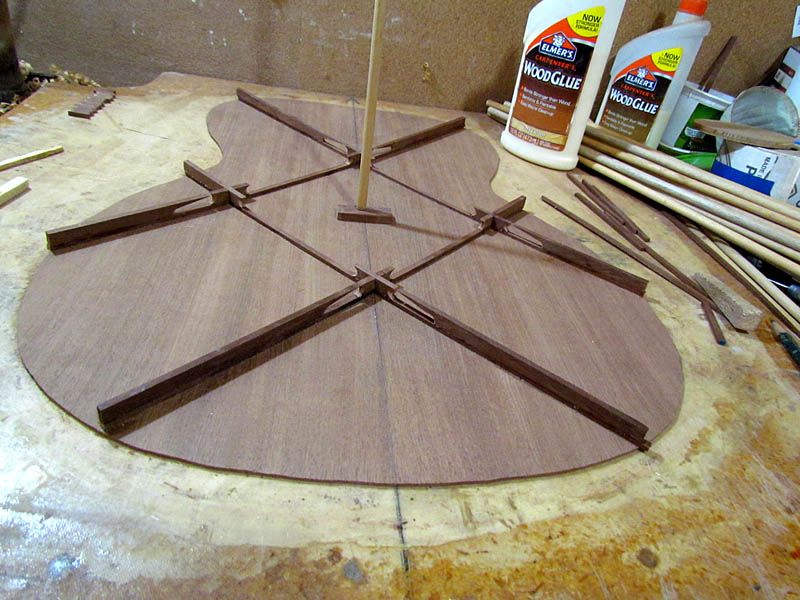
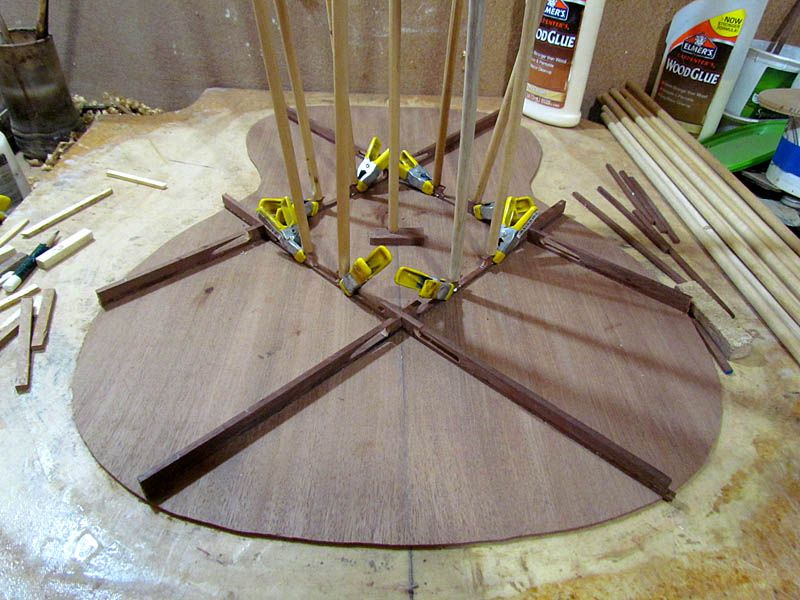
Center layer done
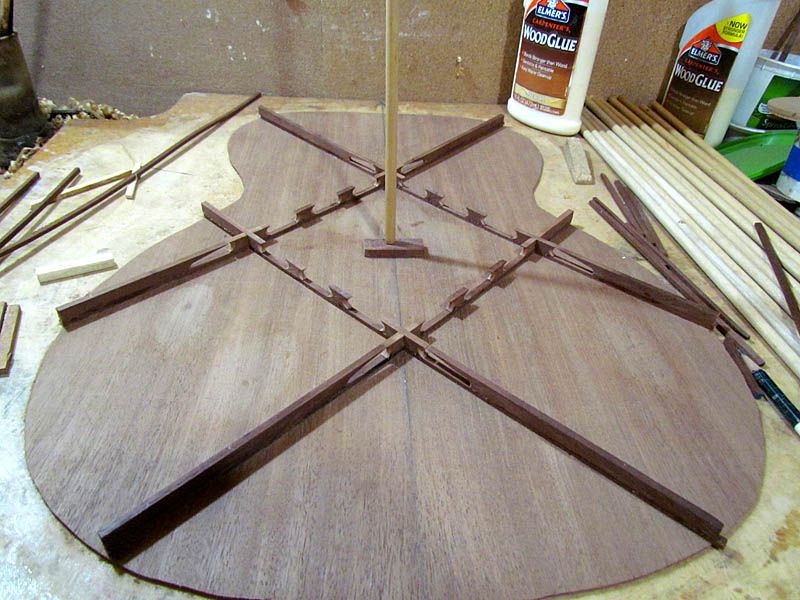
Then I just need to glue on 2 more 1/8" layers
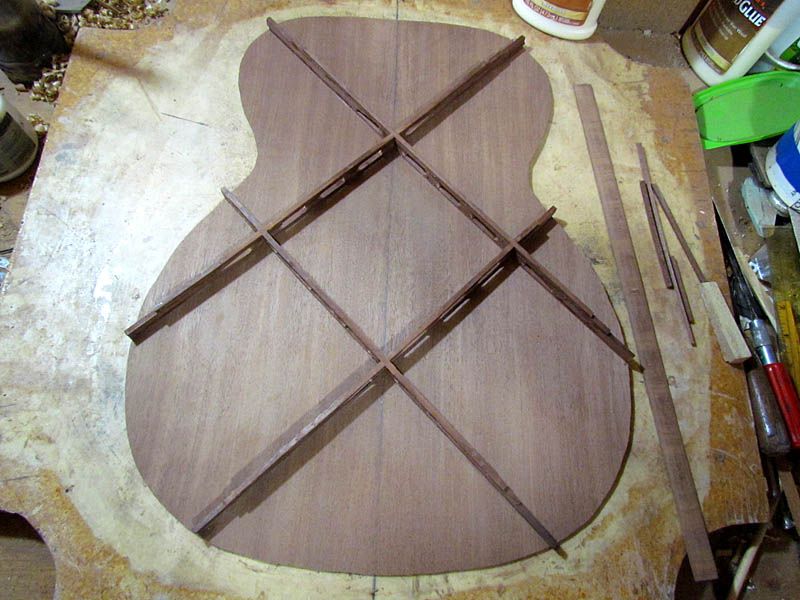
Done
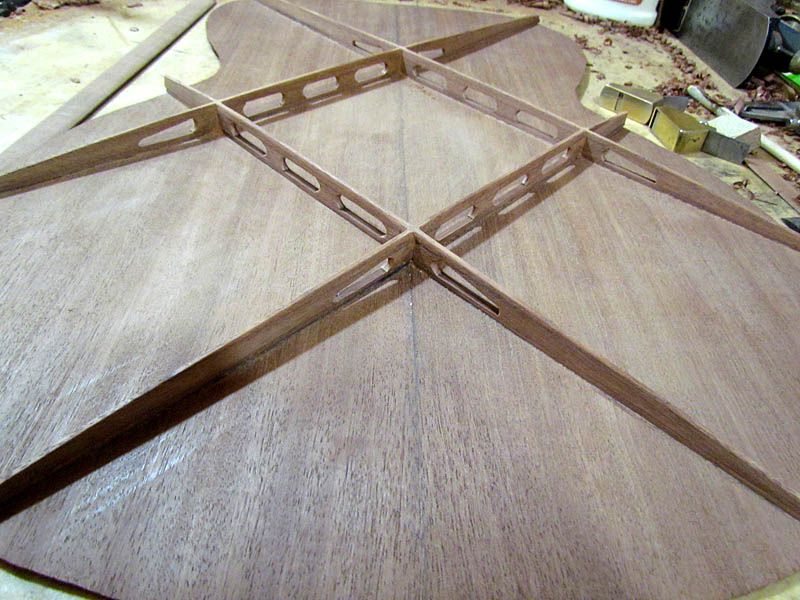
And a low angle view
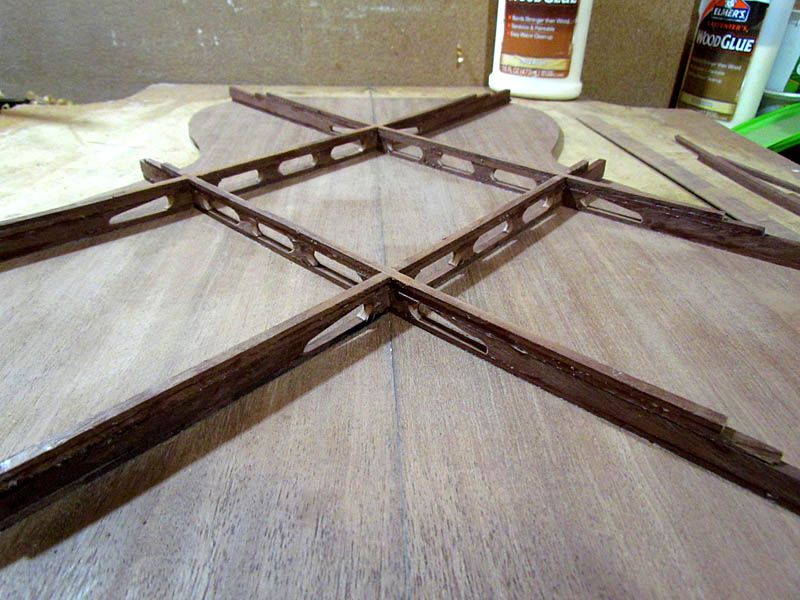
Next, I plane the tops to height
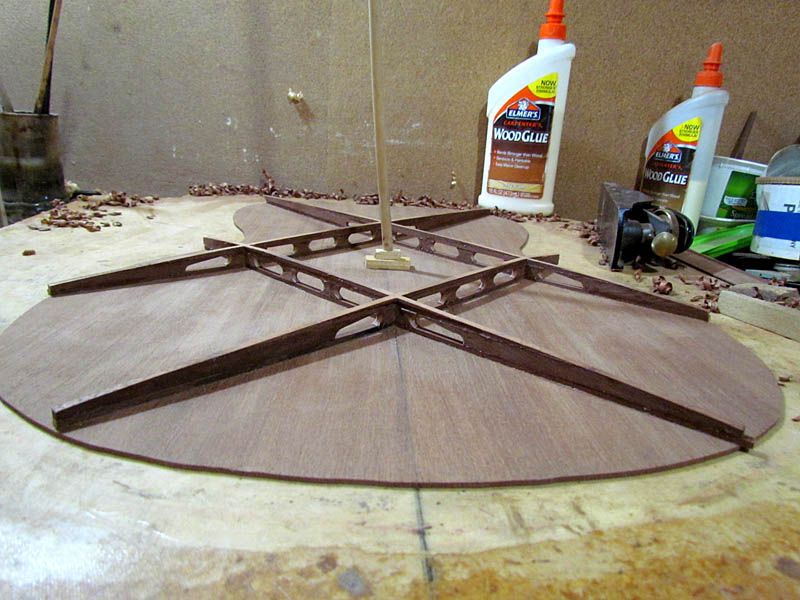
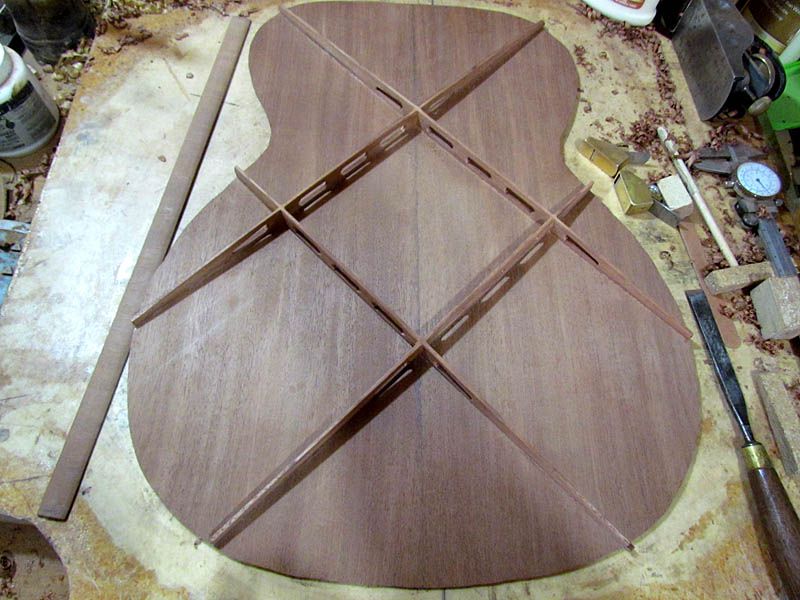
The final step is to carve the brace sides to a nice taper. Here is the first leg done
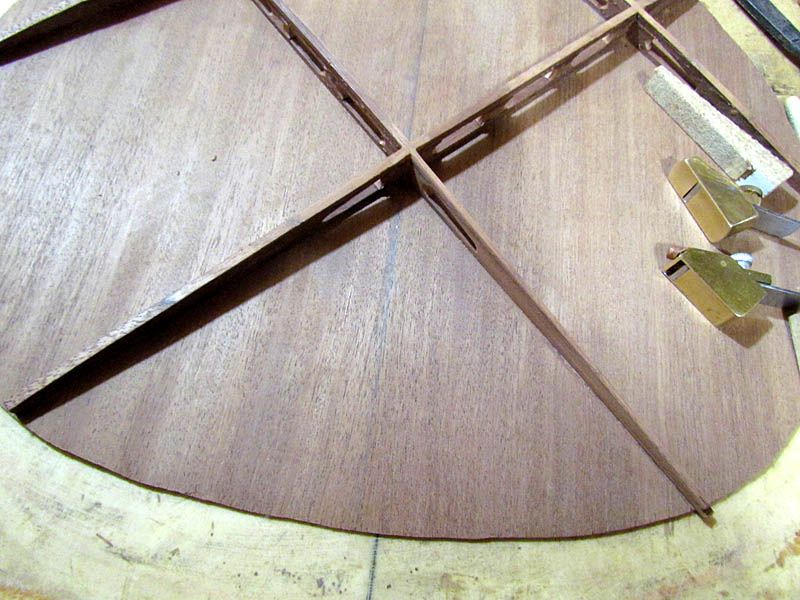
And all of them
A low angle view
Everything sanded, center back strip glued in (offcut from back plates), and brace ends carved
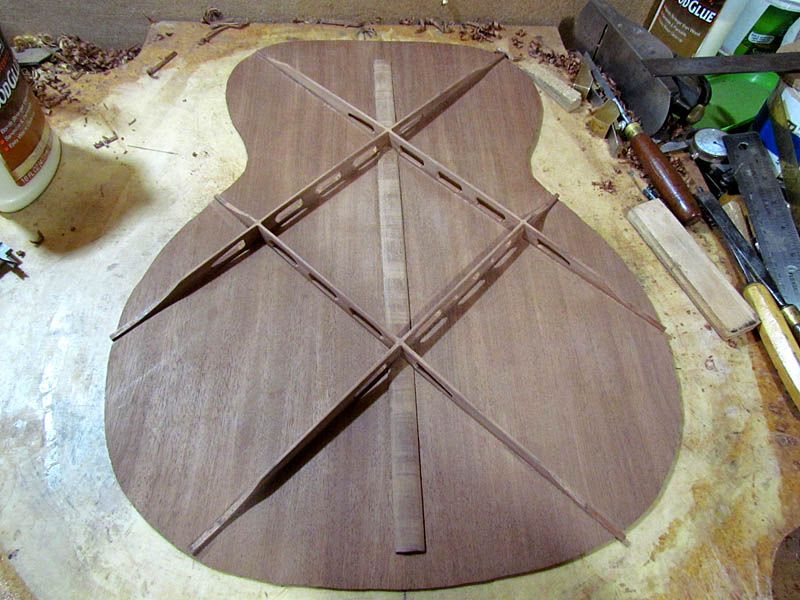
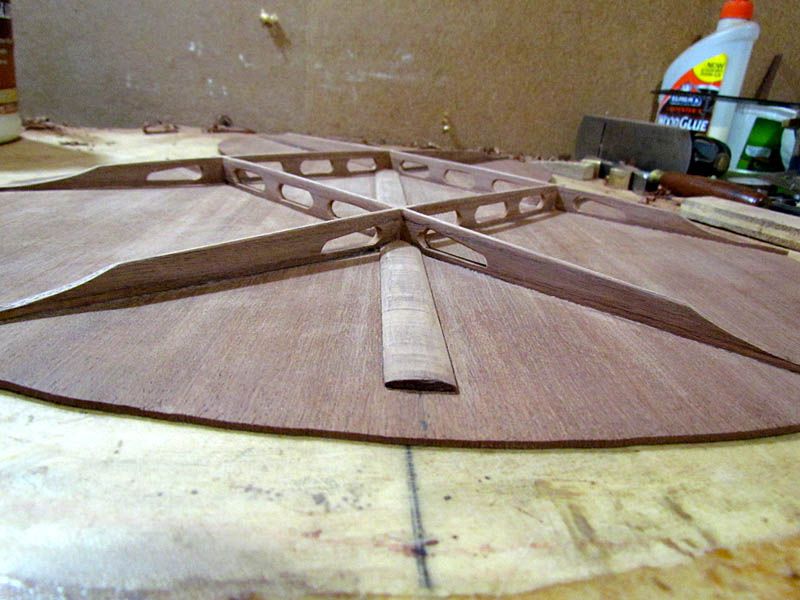
Now I just need to final shape the back linings by sanding on my dish mold and carve the brace pockets
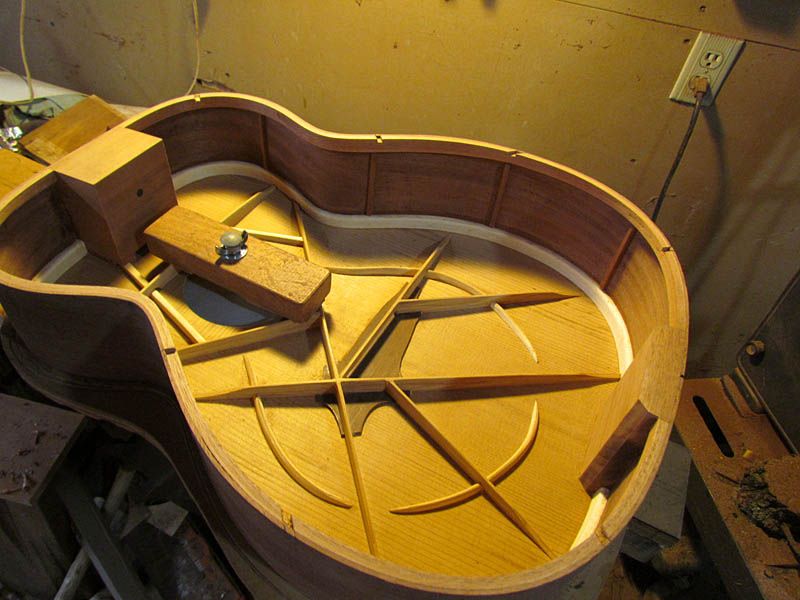
Done
The back ready to glue
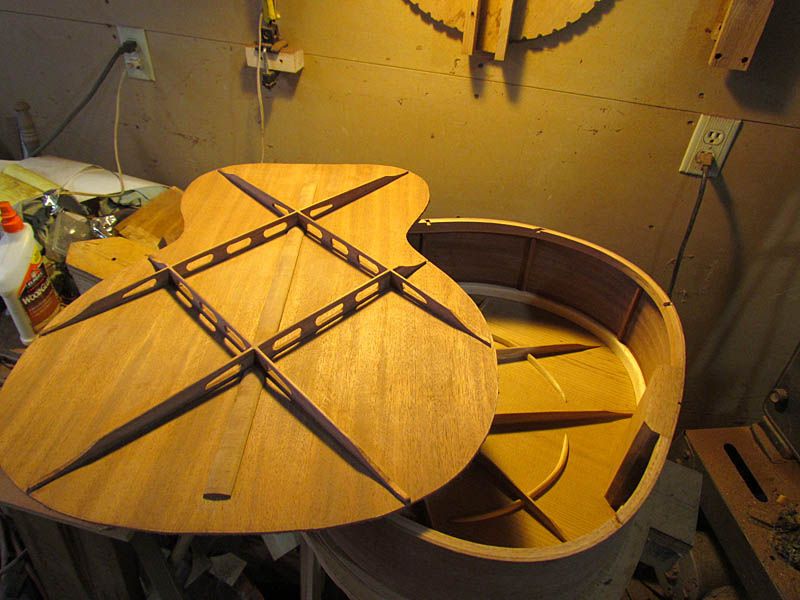
Box all closed, view from the top
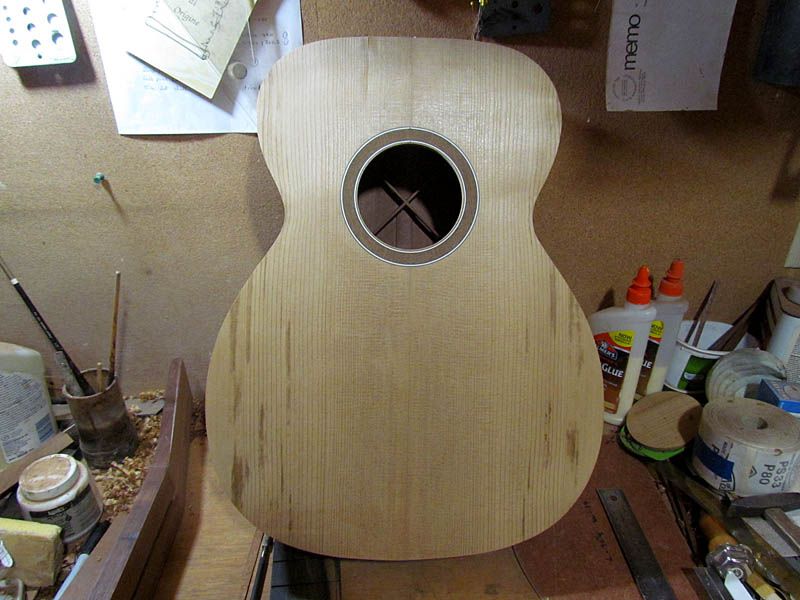
And the back
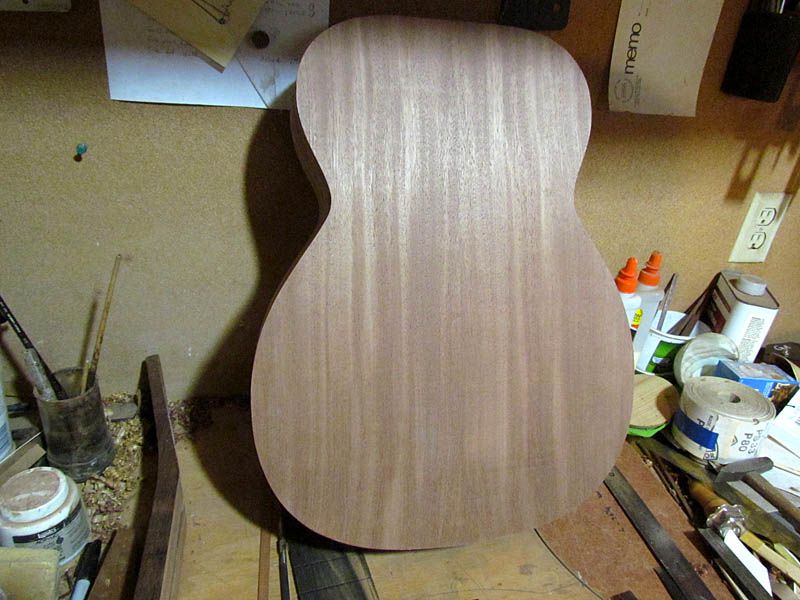
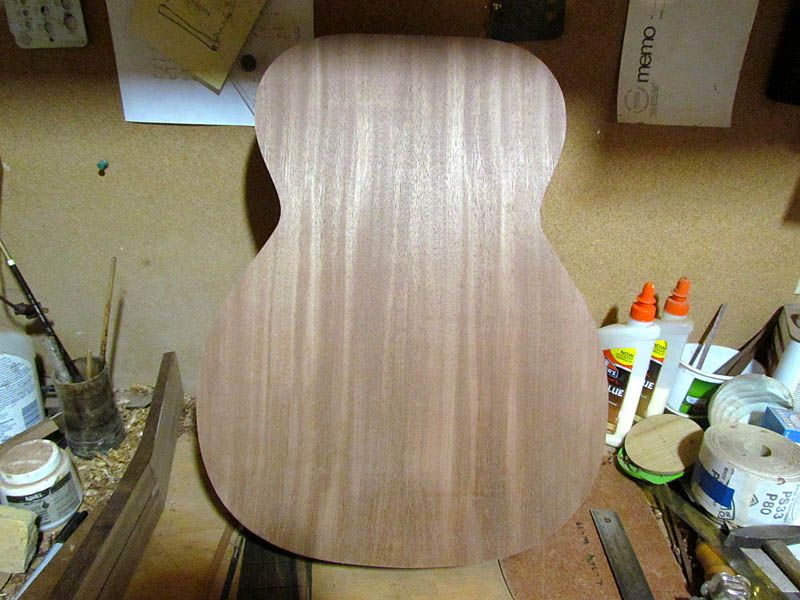
More in the morning and I will add some comments about working with the thermally modified wood. Thanks for looking.
G
Here are the brace components ready to go. This probably looks familiar. Again, note an uncooked piece for comparison.

I am finding the thermally modified wood very easy to work with...it cuts and sands easier than unmodified.
Again, the first layer is comprised of 1/8" thick strips. I laid out my regular 6" square, but am gluing inside the lines for this smaller body

First layer done

Next, I glue in the center layer of pre-shaped parts, starting with the little X's. I use the small clamps to keep the layers lined up


Center layer done

Then I just need to glue on 2 more 1/8" layers

Done
And a low angle view

Next, I plane the tops to height

The final step is to carve the brace sides to a nice taper. Here is the first leg done

And all of them

A low angle view

Everything sanded, center back strip glued in (offcut from back plates), and brace ends carved


Now I just need to final shape the back linings by sanding on my dish mold and carve the brace pockets

Done
The back ready to glue

Box all closed, view from the top

And the back


More in the morning and I will add some comments about working with the thermally modified wood. Thanks for looking.
G
