Page 5 of 11
Re: Olivia's Pink Paduak
Posted: Tue Nov 04, 2008 6:45 am
by Eben
Most very way cool!
E
Re: Olivia's Pink Paduak
Posted: Tue Nov 04, 2008 6:55 pm
by Lefty
Raymond,
That label is a great finishing touch.
Lefty
Re: Olivia's Pink Paduak
Posted: Sun Dec 14, 2008 2:56 pm
by Raymond
Family obligations have kept me away from here, but not totally out of the garage. Did some rearranging and cleaning up, put wheels on the shop table, bought shelving for the wood, etc. Also made a couple of jigs...
One for cutting the purfling and binding prior to routing them
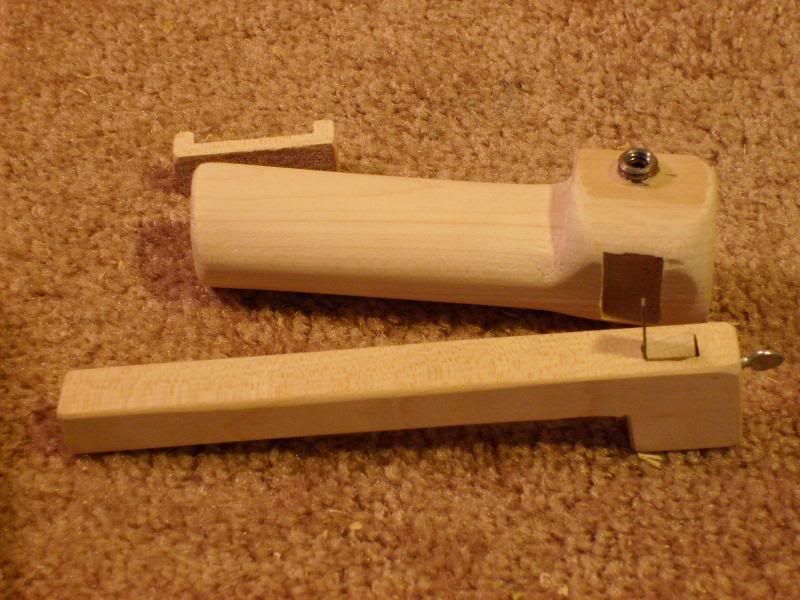
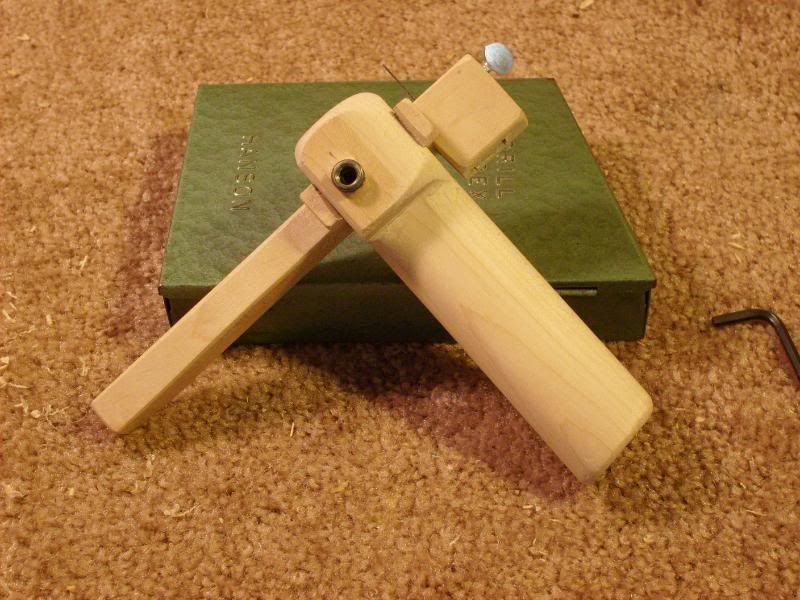
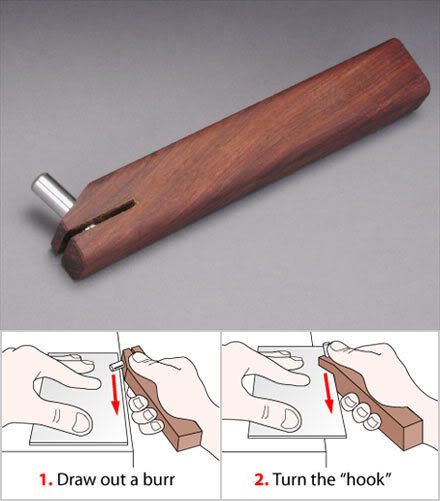
One for putting a bur on the scraper...
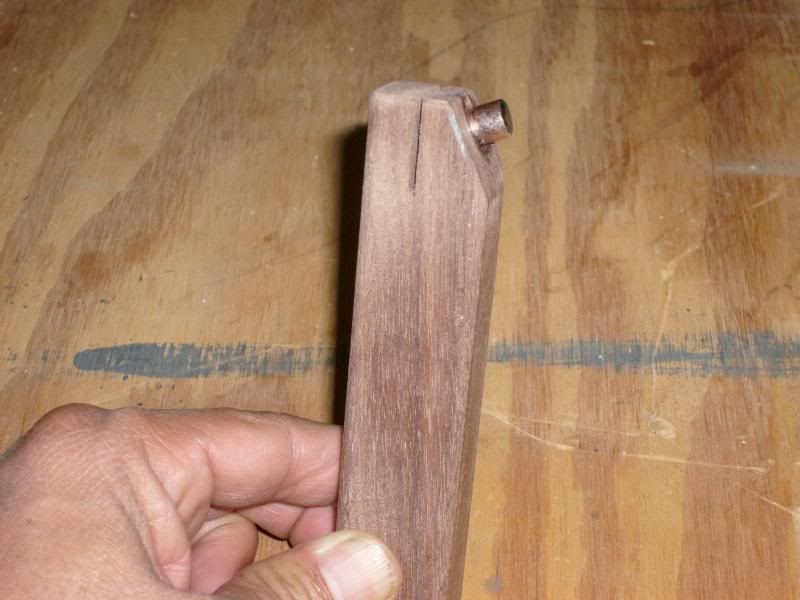
Based off the design that Stew Mac offers
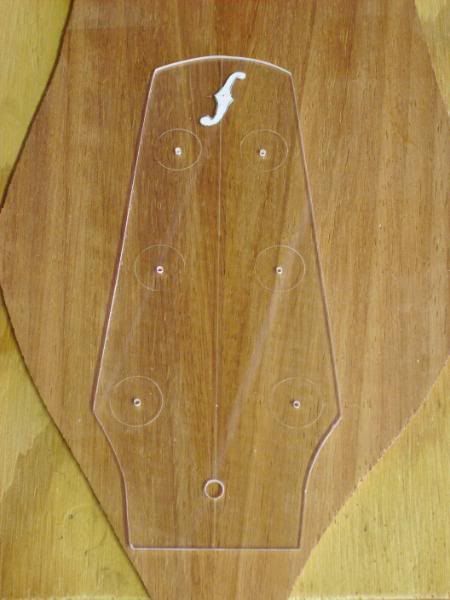
And lastly... because I get tired of trying to imagine how best to cut out the peghead
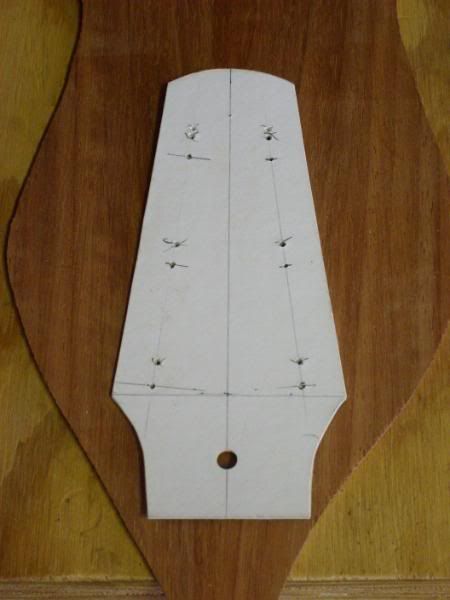
I made one out of acrylic, including a paper logo, and etched centerline and tuner outlines.
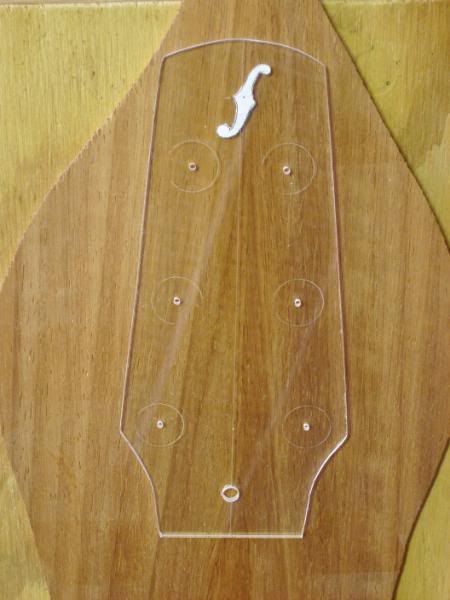
I also scraped the sides in preparation for binding.
Raymond
Re: Olivia's Pink Paduak
Posted: Wed Dec 17, 2008 11:31 am
by Eben
Nice work Ray!
I don't recall what you're cutting ledges with, but if you want to borrow my Metcalf rig, you're more than welcome!
Also love the headstock shape man! I've been thinking about simplifying mine, and you did a great job.
E
Re: Olivia's Pink Paduak
Posted: Wed Dec 17, 2008 10:10 pm
by Raymond
Thanks Eben. I'm using the variable speed dremel with the stew mac guide and a carbide bit.
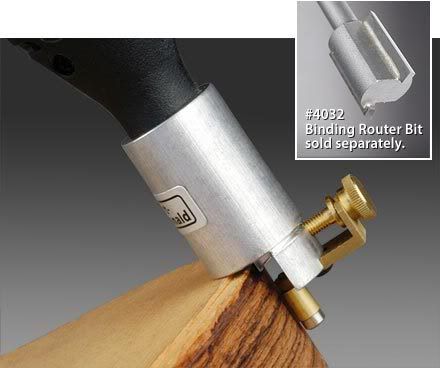
There were certain areas where I was prone to chipping, so I decided to score the areas first and see how it goes.
Raymond
Re: Olivia's Pink Paduak
Posted: Thu Dec 18, 2008 10:39 am
by Eben
ohmyGod...
In that case,
I respectfully REPEAT my offer!


E
Re: Olivia's Pink Paduak
Posted: Thu Dec 18, 2008 1:16 pm
by whitespruce
Eben wrote:ohmyGod...
In that case,
I respectfully REPEAT my offer!


E
Hey E, if that scares you, you should se how Glen (GMG) and I do it

G
Re: Olivia's Pink Paduak
Posted: Tue Jan 27, 2009 11:58 pm
by Raymond
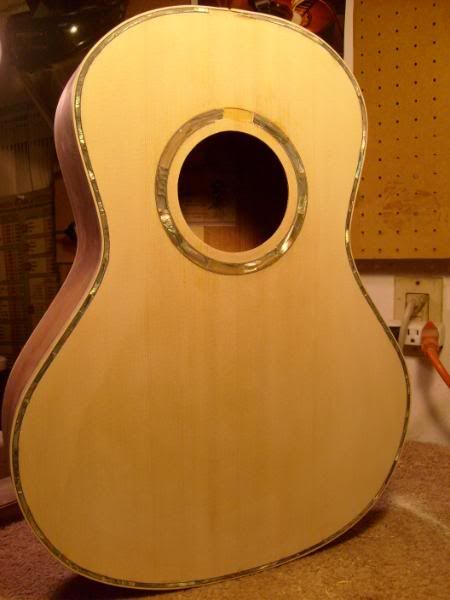
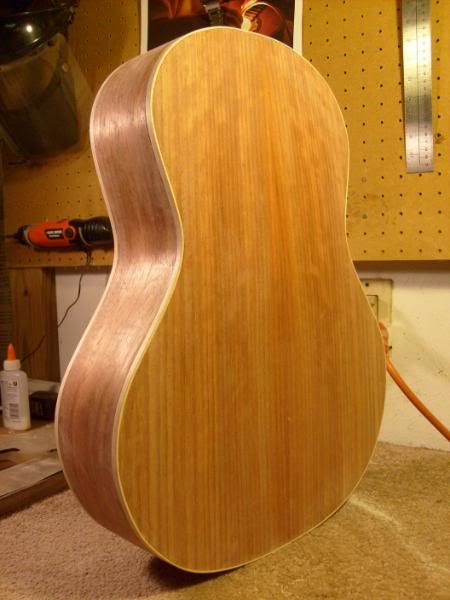
Well... when time in the shop gets a little harder to come by I guess I tend to stop taking pictures or posting. I went from just getting ready to cut the ledges for the binding to done with the binding and abalone purfling in pretty much one easy step...
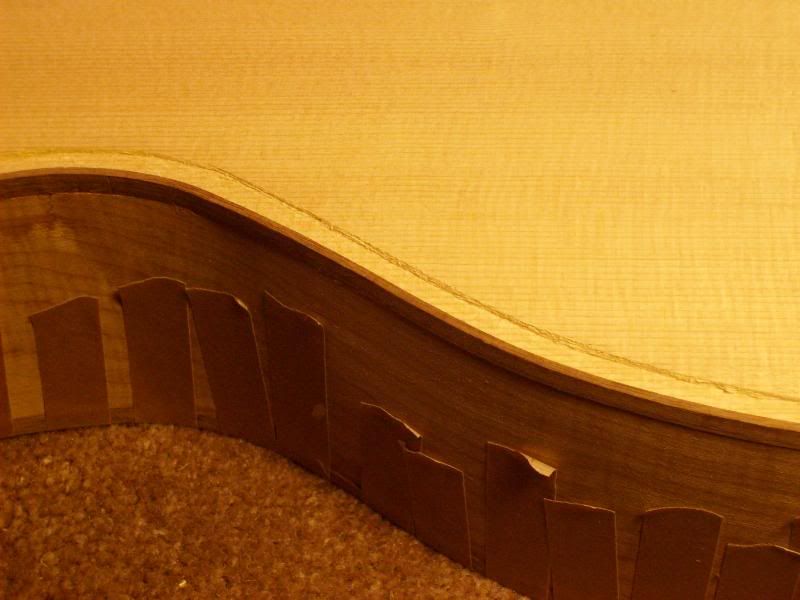
The purfling cutter worked well and I cut the purfling ledge first and then the binding ledge using the Stew Mac Dremel attachment, and then glued the binding in place leaving a trough for the abalone purfling. I had no chipout on the top, back or sides so I think the purfling cutter did it's job.
I didn't take a picture of the trough, so here is a picture of the maple cutaway to show what I mean...
Did get a new electric bending iron for the binding and it worked great...
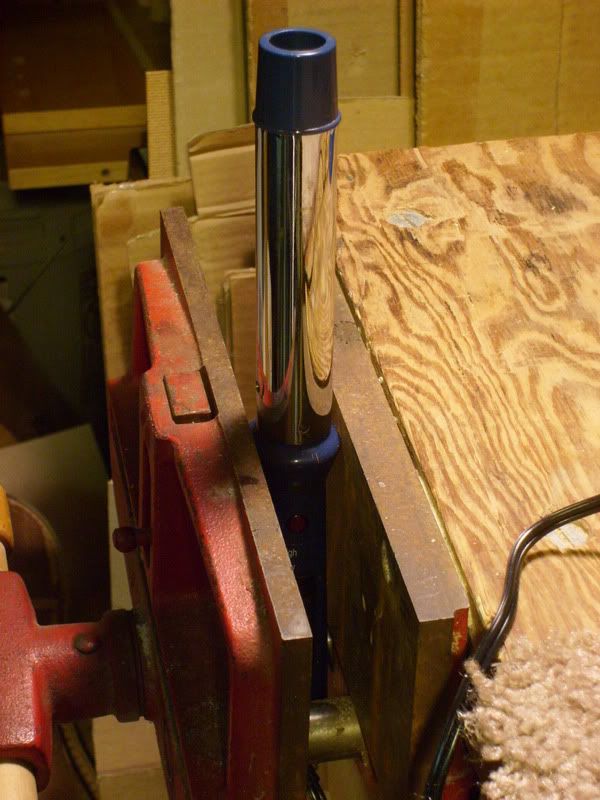
I think the curling iron was $5 at my local grocery store. Make sure to get one with a high heat setting. I'm thinking I'll buy a couple more and see if I can house the heater in a bigger iron shape...
I got the purfling from some supplier on Ebay... it's almost as thick as the top and was very reasonably priced.
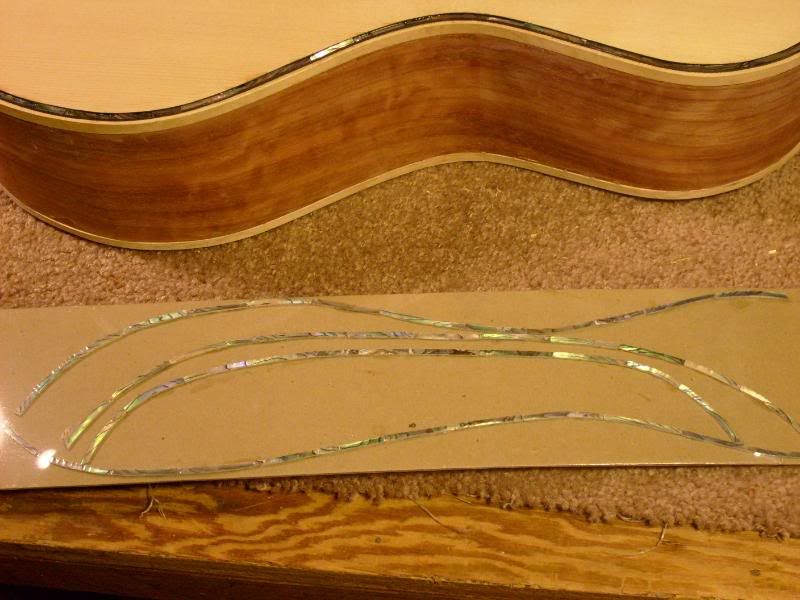
I measured it for a tight fit, so I pretty much had to hand fit the pieces wedged in between 2 strips of .020 black fibre. I found the best tool for fitting was a metal fingernail file. Once I got the abalone in all the way around I flooded it with CA, starting with a light coating of thin CA followed by a heavier coat of thick CA.
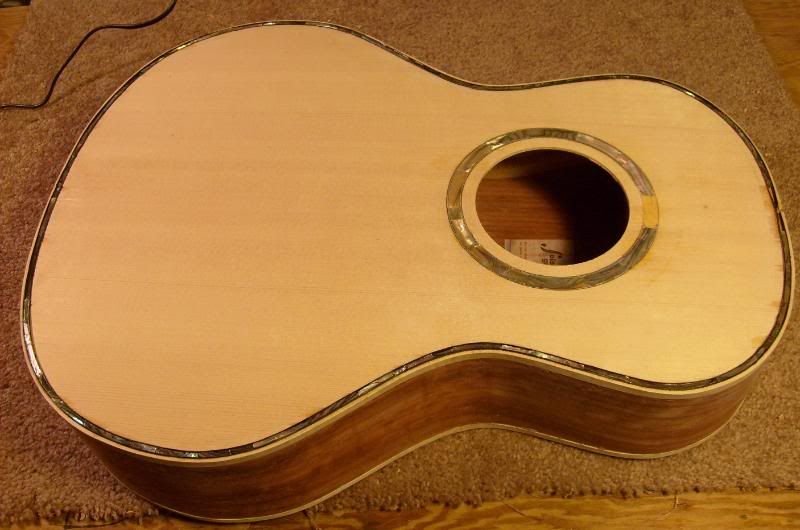
After it was dried, I had to scrape and sand it smooth. Came out better than I thought it would first time out of the box.
Raymond


