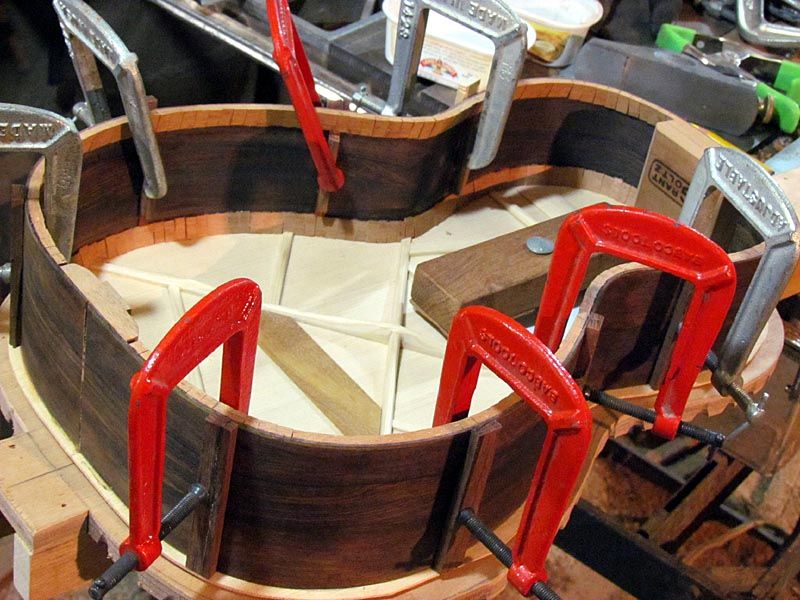
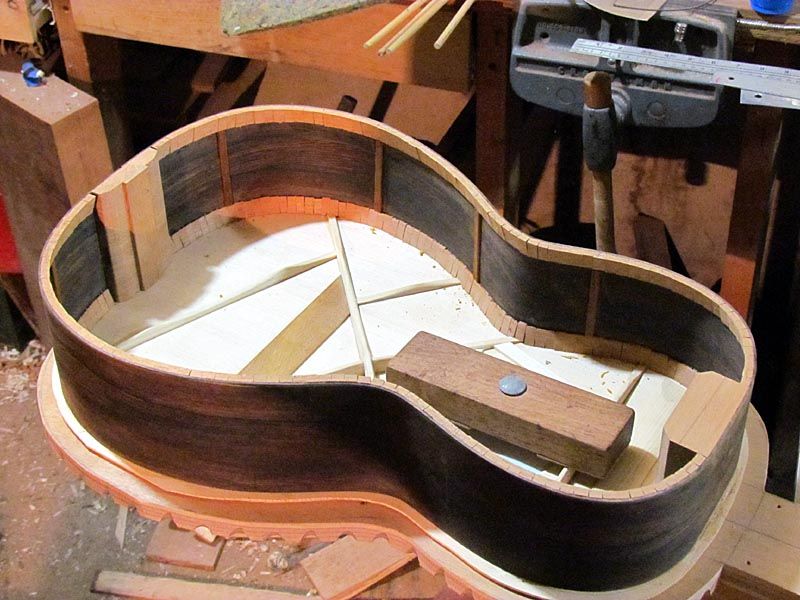
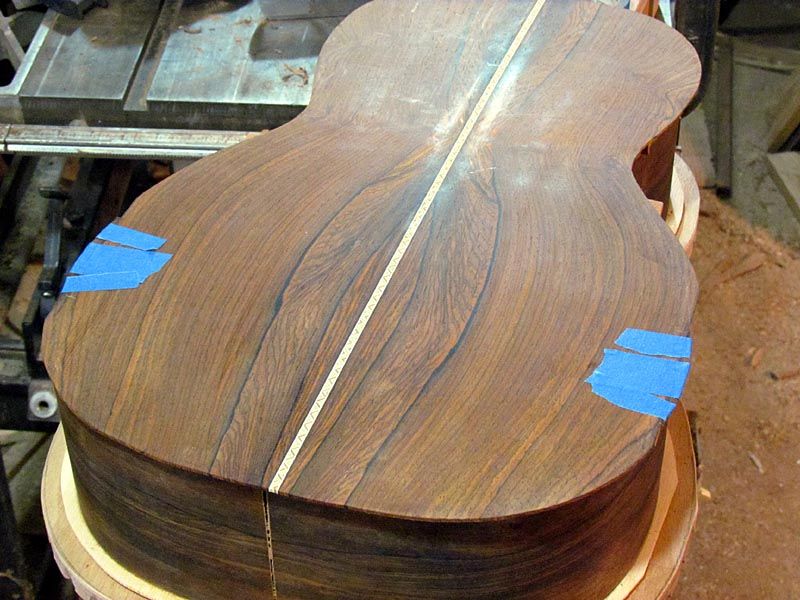
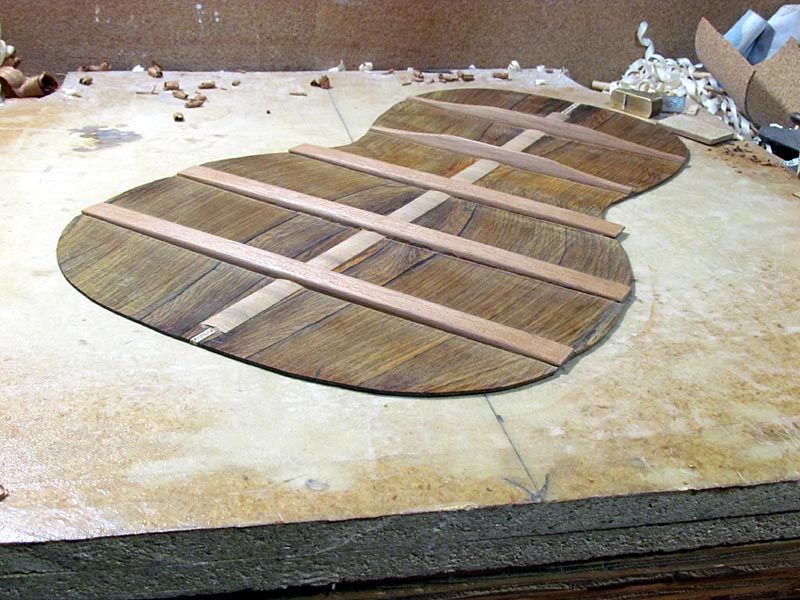
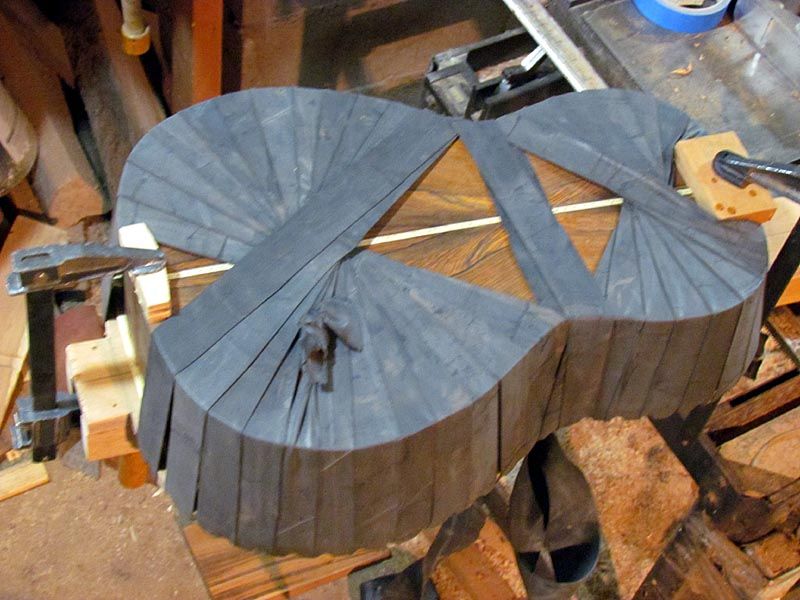
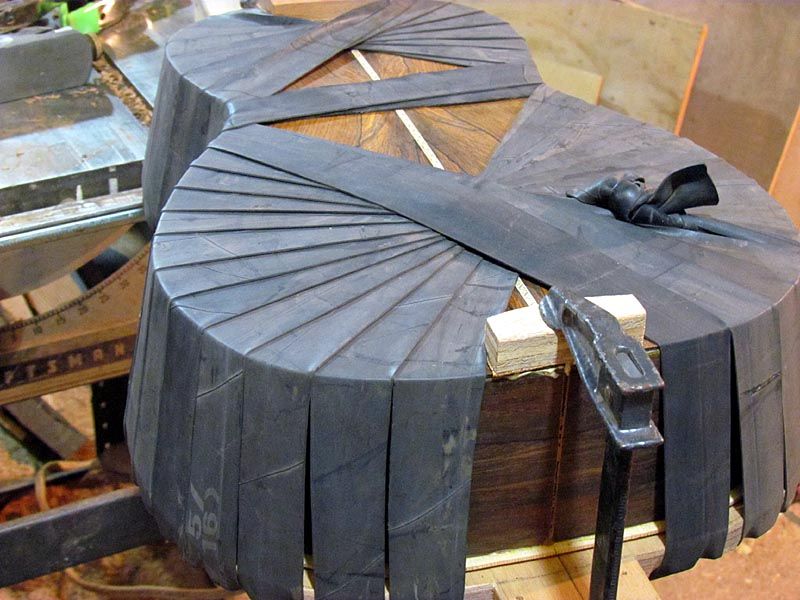
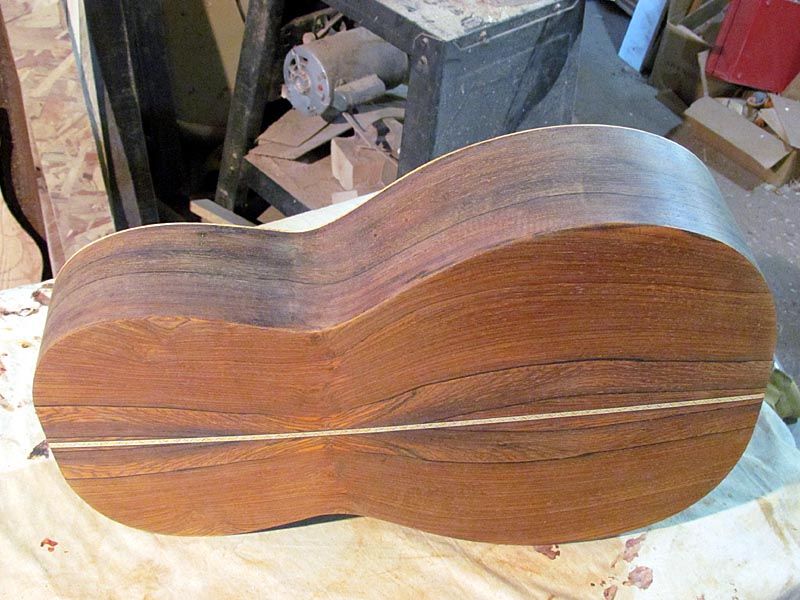
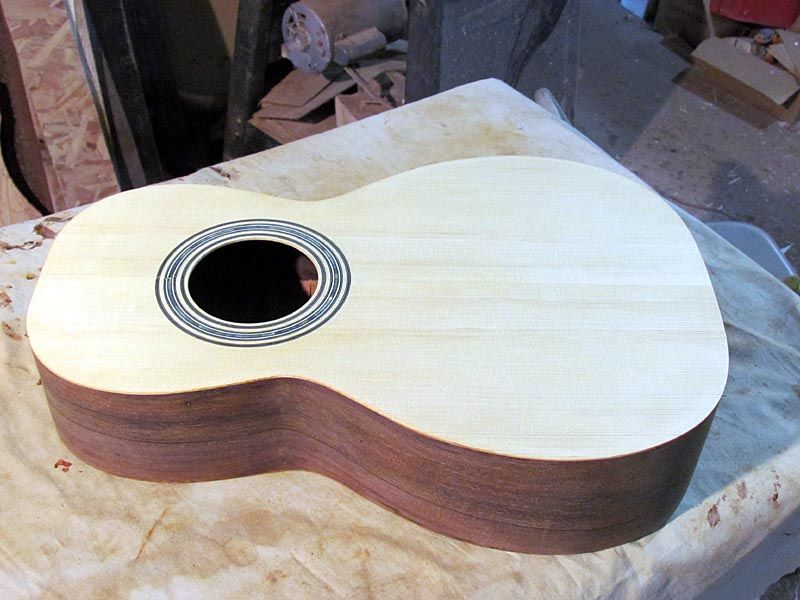
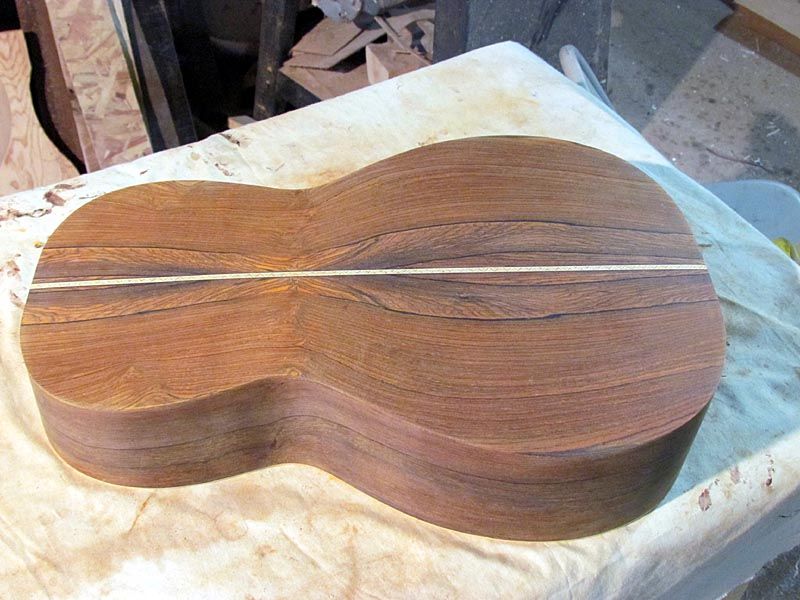
Well now, this guitar has kinda complex top purfling. Probably a bit more of a PITA than abalone
Same colors as in the backstrip, white, green, and brown, but a different arrangement
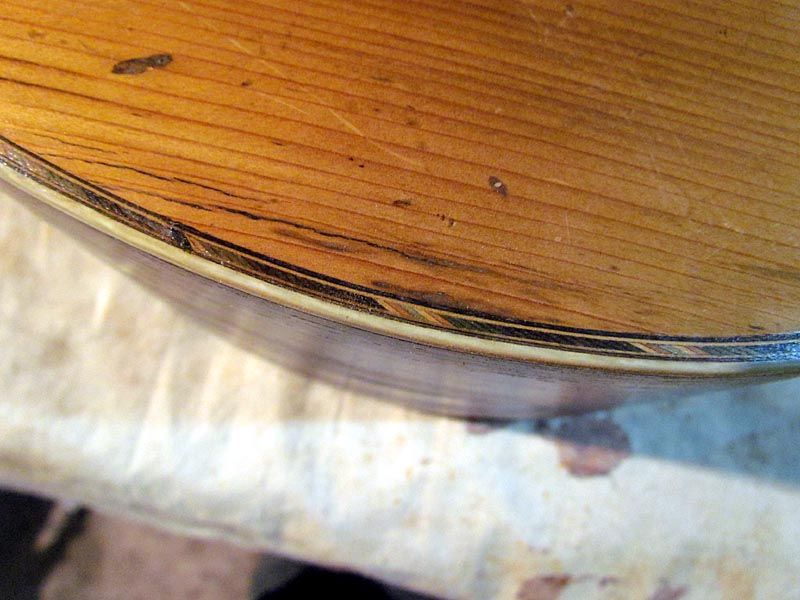
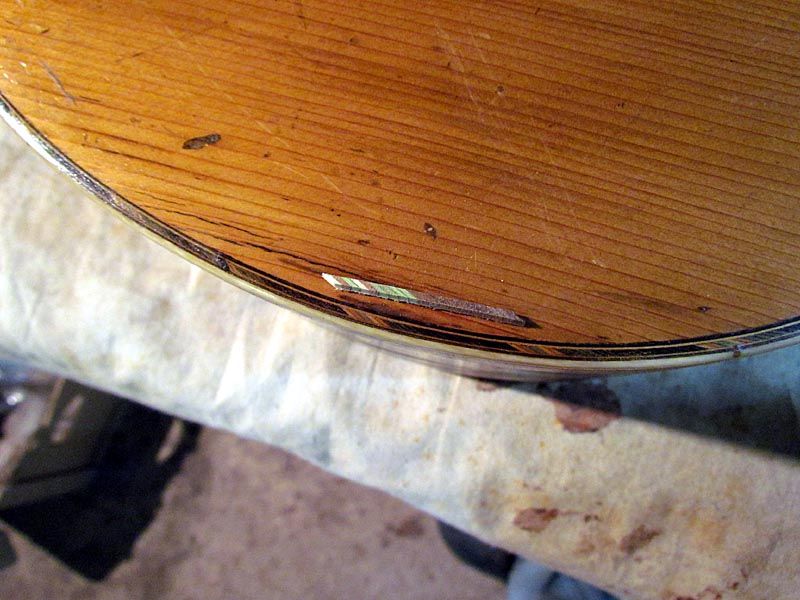
Sorta hard to see the colors real good under the finish, but you will see as we move on
So, like the back strip, I started out by gluing up a stack of veneer and cutting a slice off the side
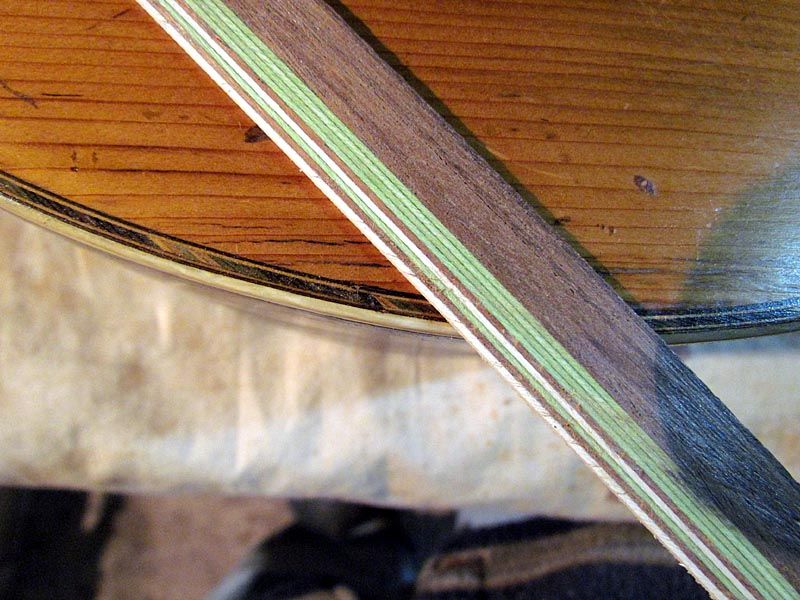
Just more layers on this slice
So I then cut slices off at a 30 degree angle
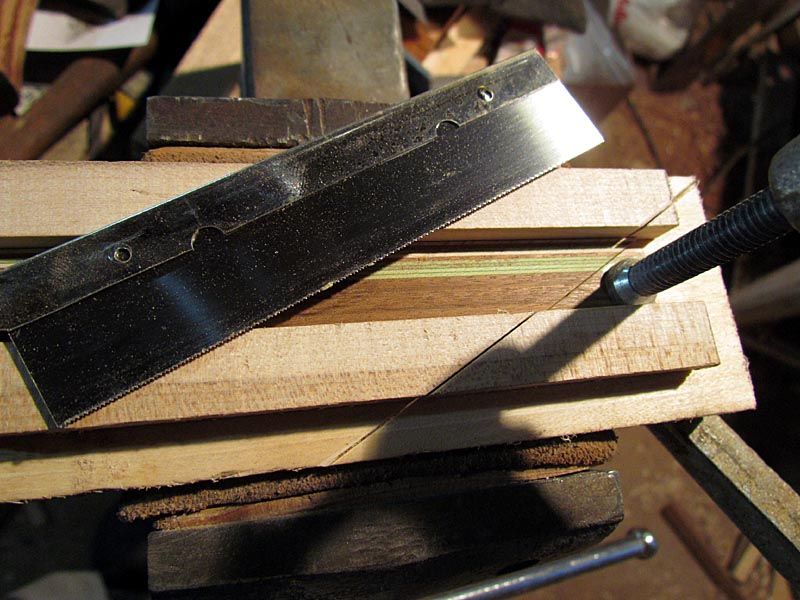
Made a little miter box and clamped in the end offcut as a length gauge
Then I cut slices
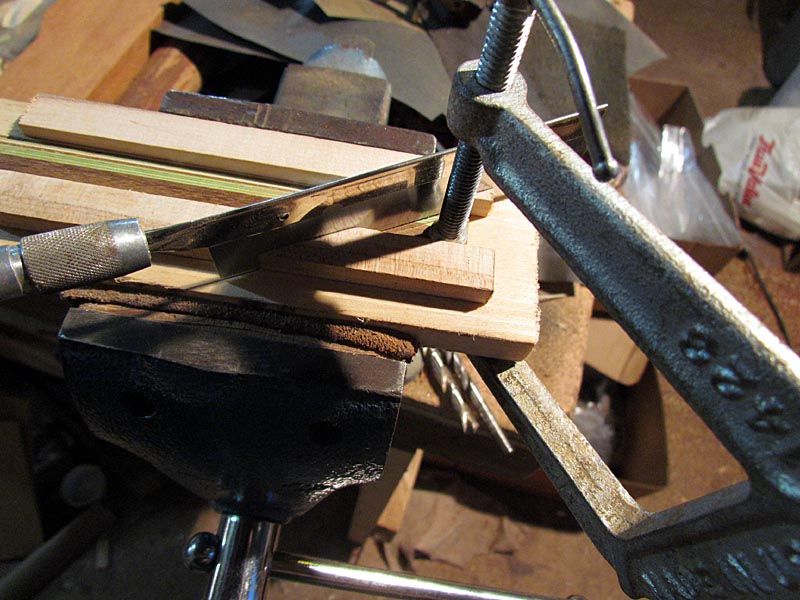
Needed about 22 slices for one half of the guitar
Here is how a slice matches the guitar
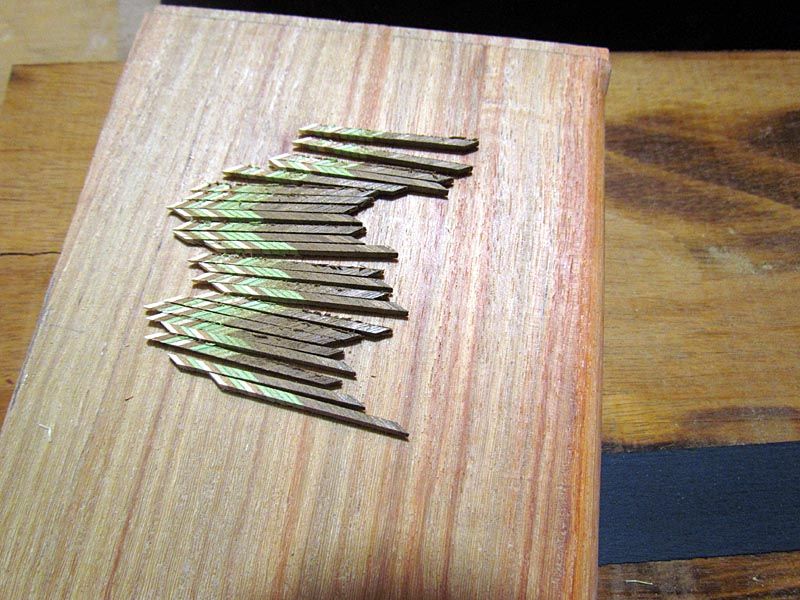
And here is a bunch of slices for one half of the purfling
So, then I needed the black and white veneer lines for each side of the purflings. Only problem is that regular veneer is almost twice as thick as it needs to be. So I took a couple of pieces and sanded then down, by hand, until they were the right thickness
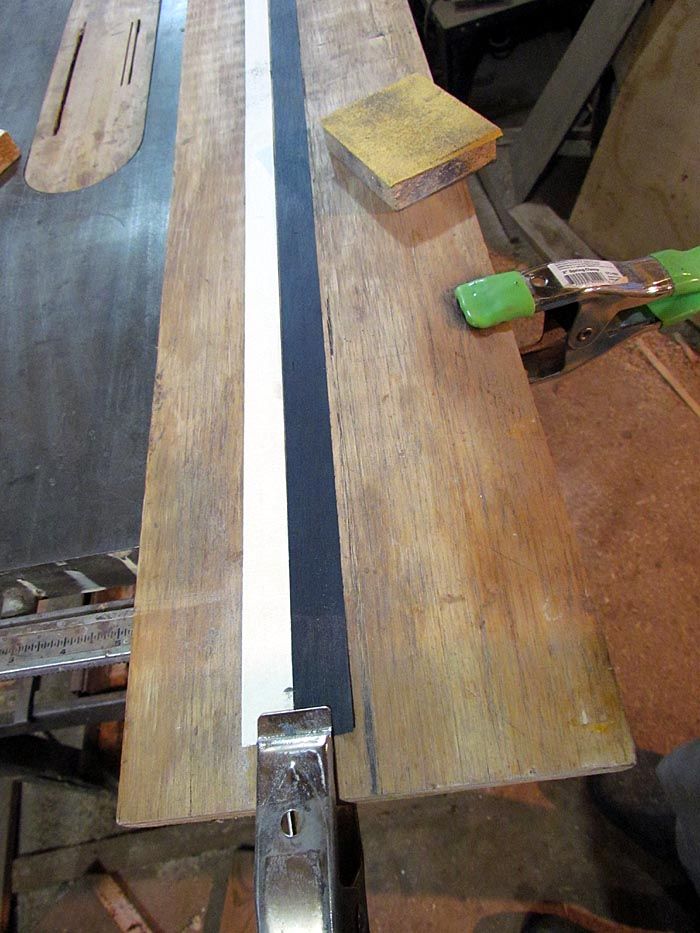
Then I sliced off enough strips to do the job
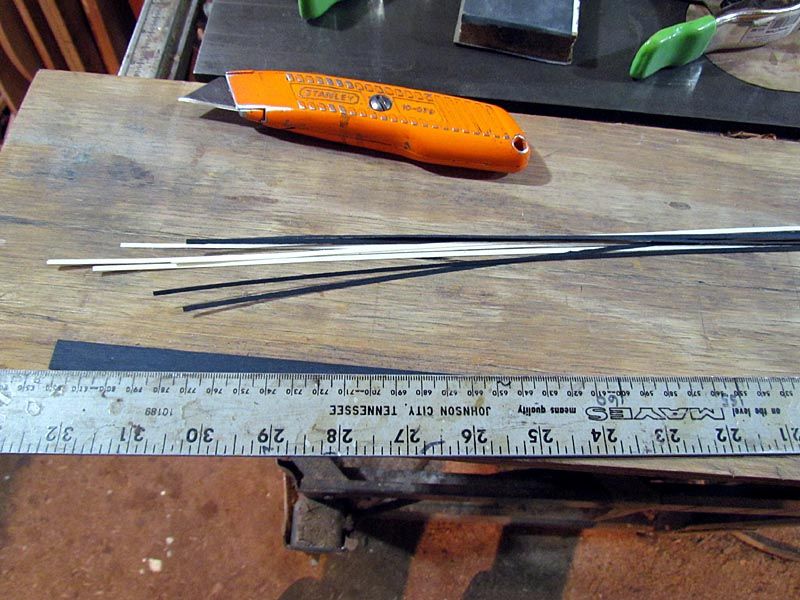
Not enough to make it worth the effort to drag out the pasta machine, just did 'em by hand
Now, I know that once these get all glued up they will be a bear to bend. Sorta like bending an I-beam. So....
....I decided to glue 'em up to shape...or close thereto.
So I used my acrylic guitar pattern. Just put blue tape on it from the back side to hold things in place like I did along the ruler with the back strip.
Here is the first black line going on
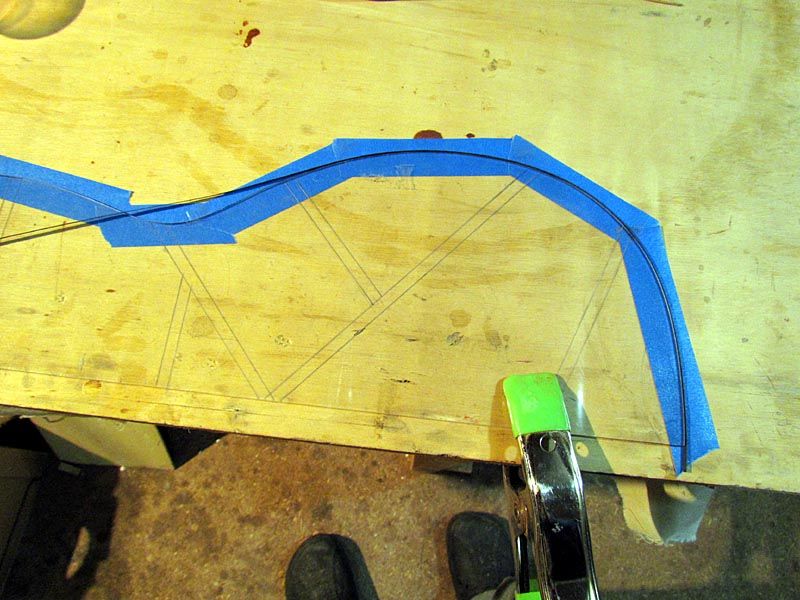
No glue on this one, the tape holds it in place
Then put glue on a white strip and added that
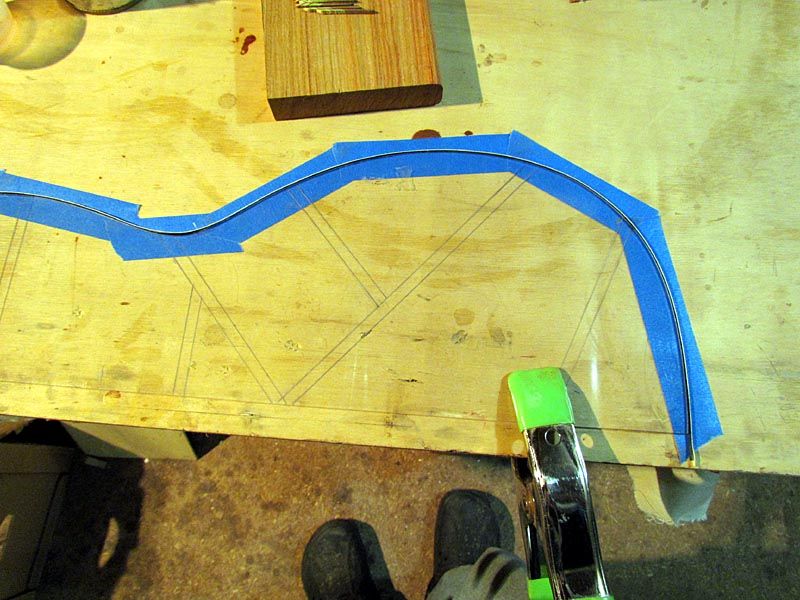
Kinda hard to see, but look close and you will see it
So then I added the first center piece
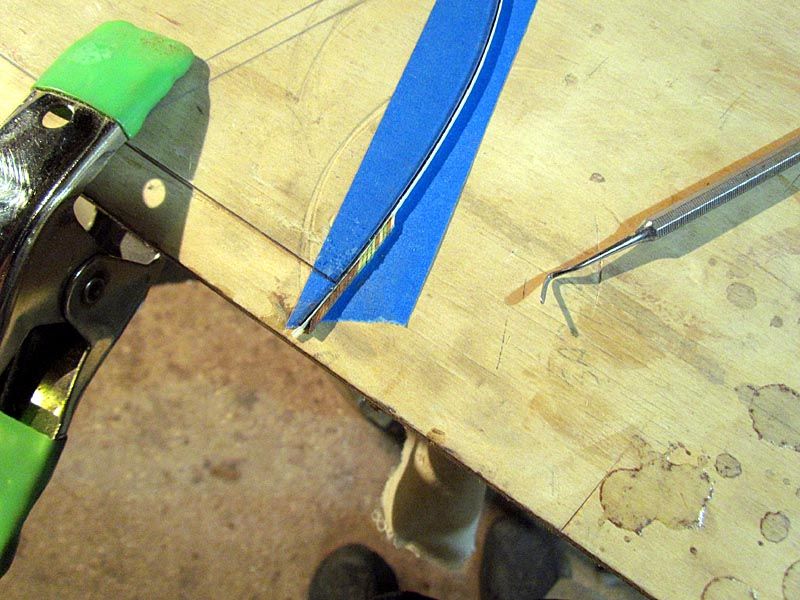
And just kept gluing them on 'til I got to the other end
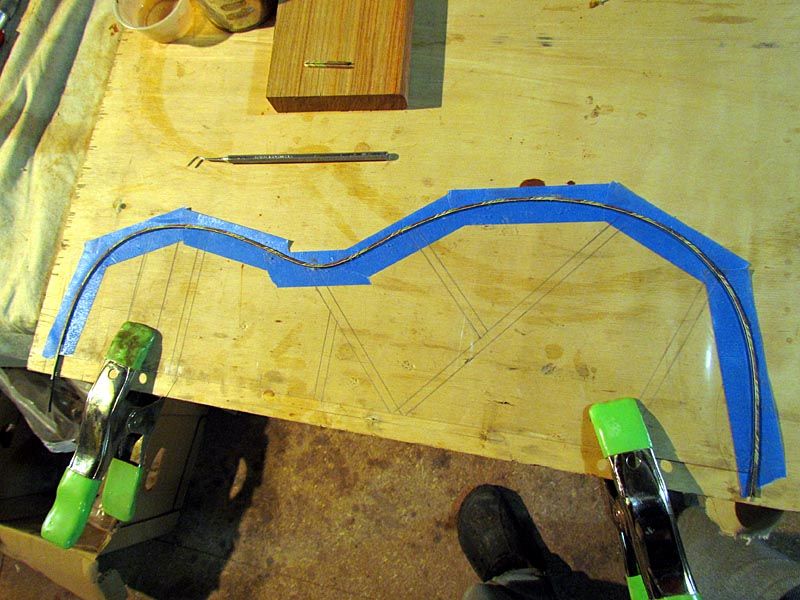
Now this took a bit more effort than shows here, cuz there was a tendency for them to want to break apart on the curves. So I had to use the little dental spatula to smash them up tight, and then hold each one til the glue grabbed. And go back now and then to push something back into place
But I got her done and then added another white and black strip
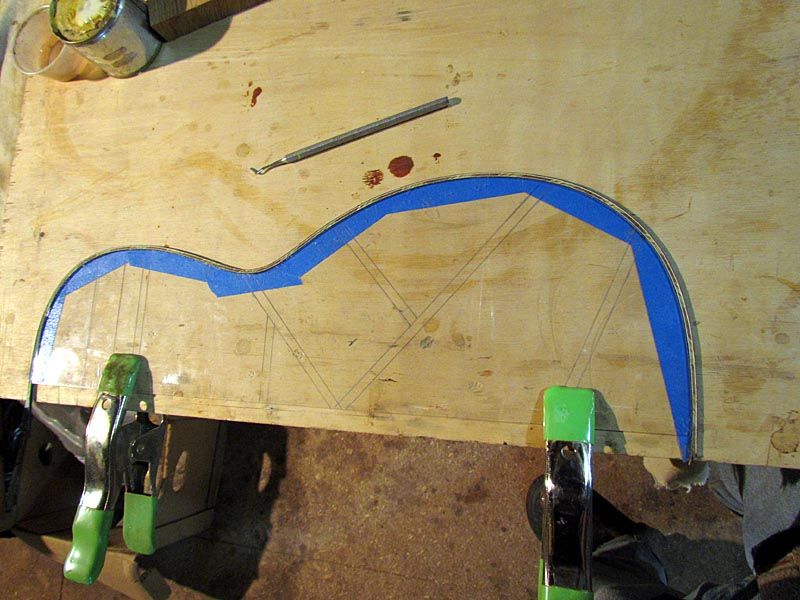
Here is a closer look
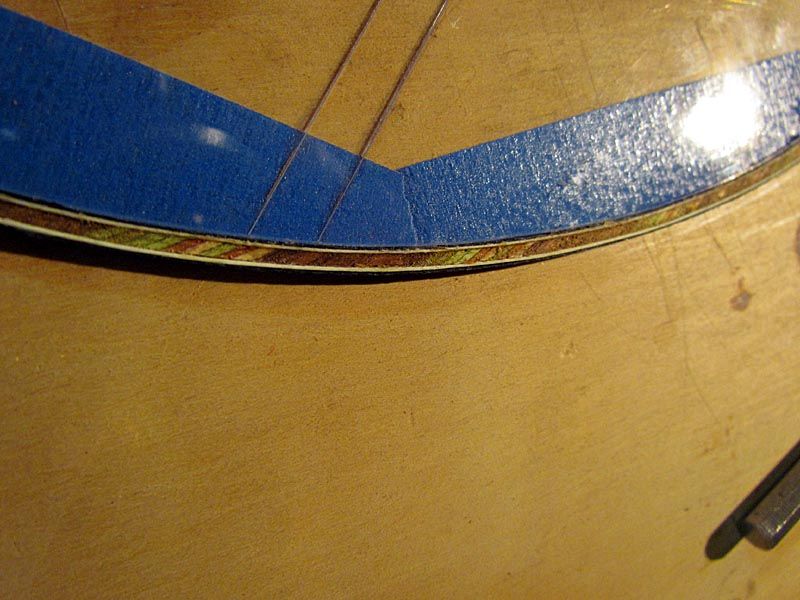
Cleaned up a bit and laid on the original guitar
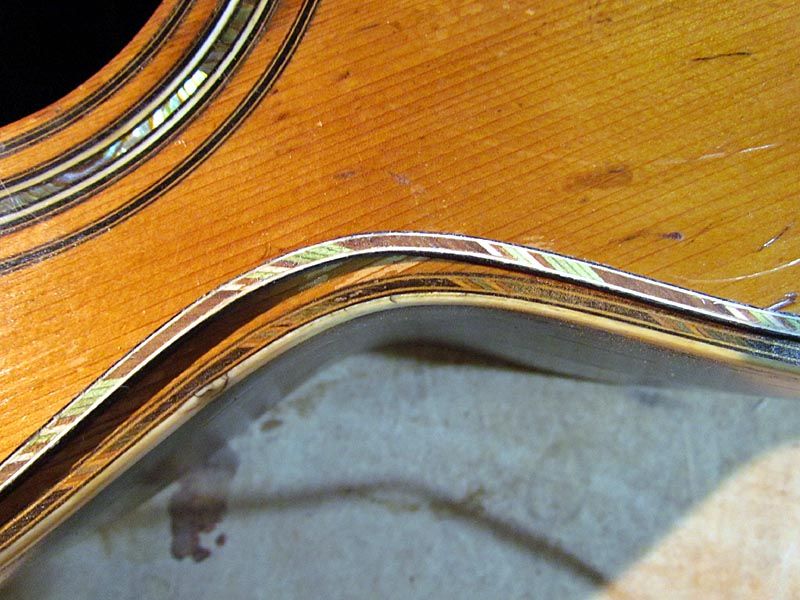
And on the new one
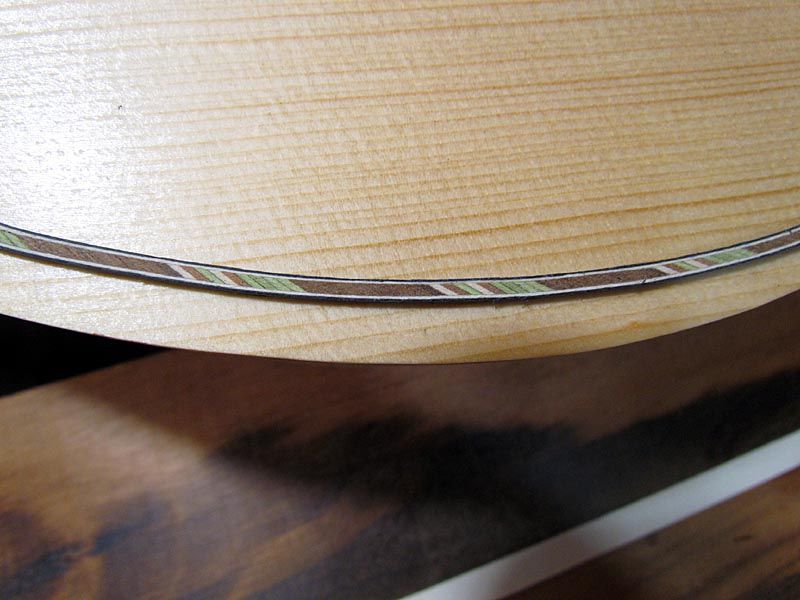
So that about catches up to where I am now. Looks like I gotta do some more work before I can post the next installment

Thanks for looking. Questions and comments are always welcome.
G


