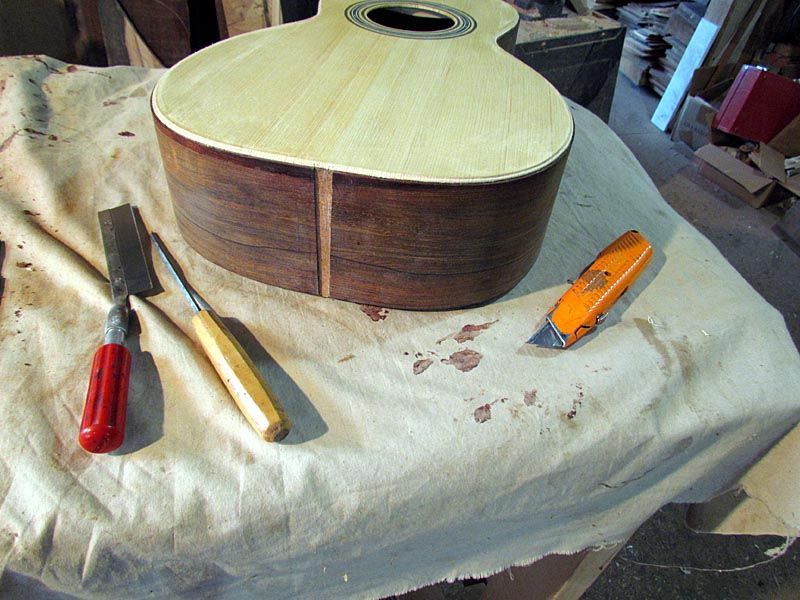
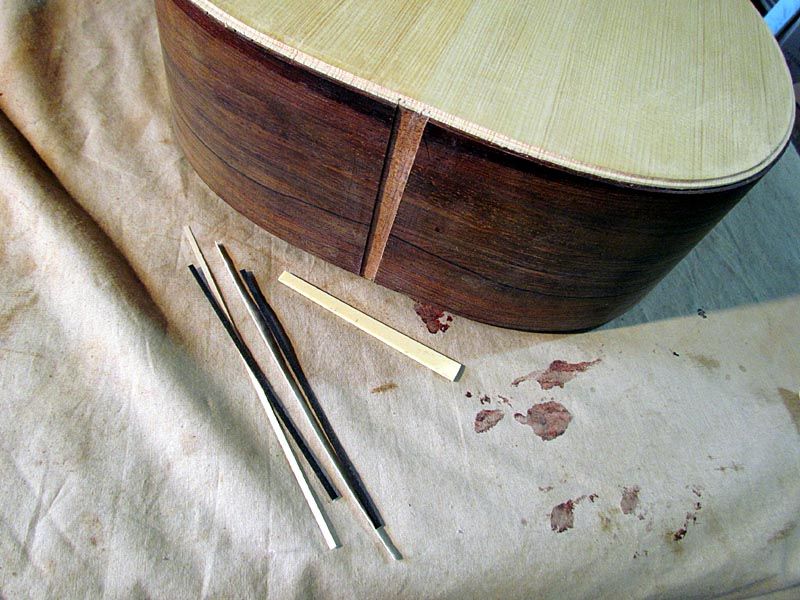
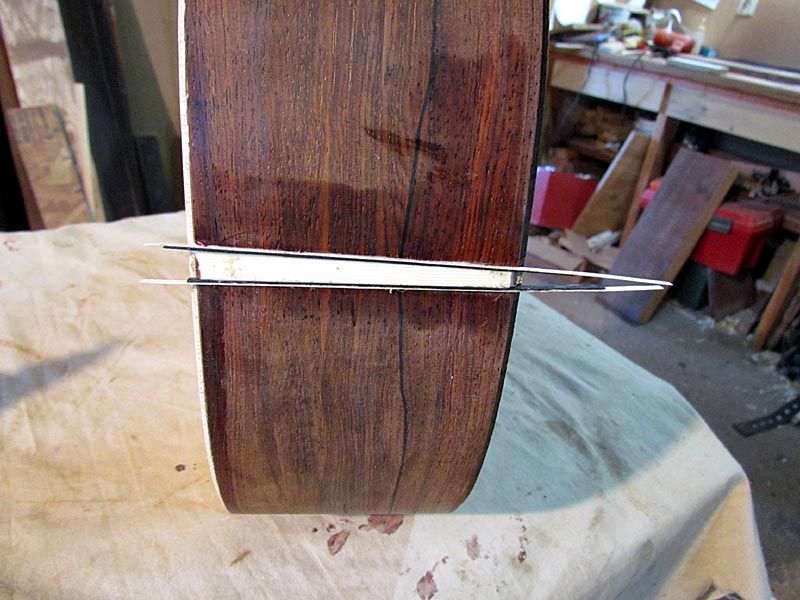
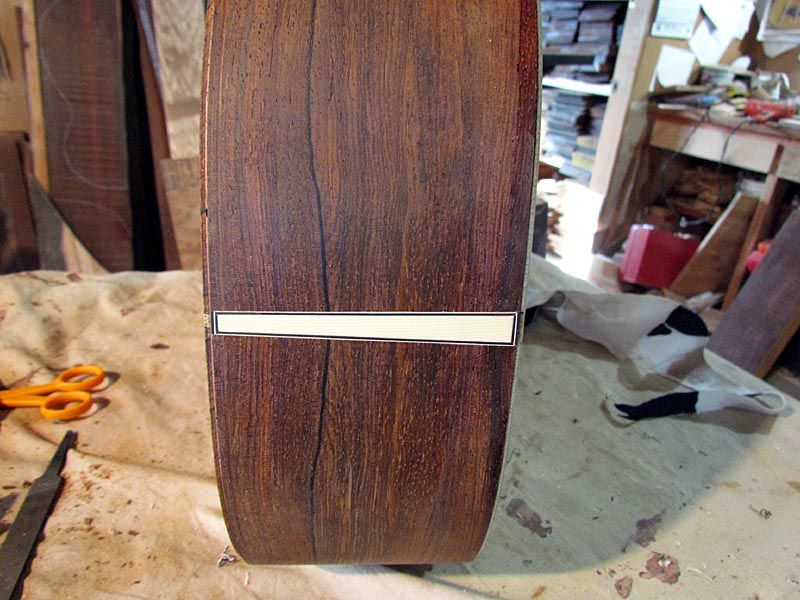
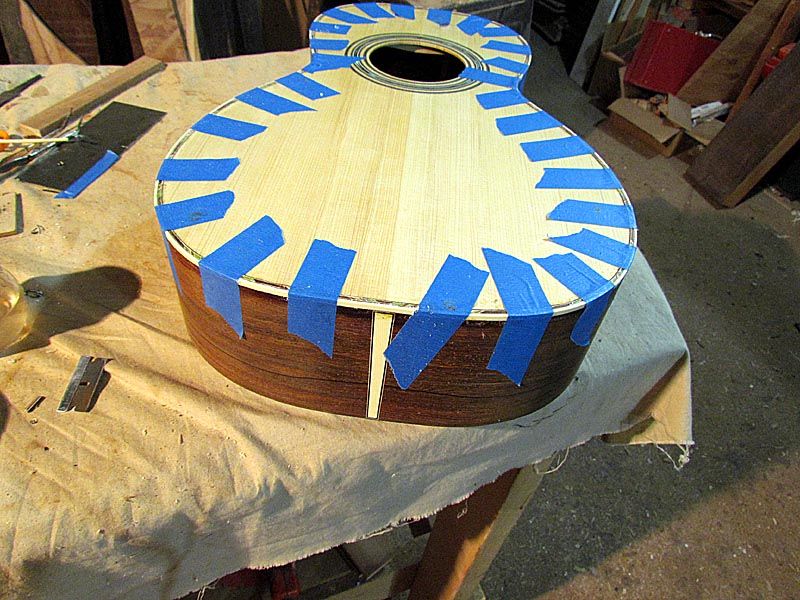
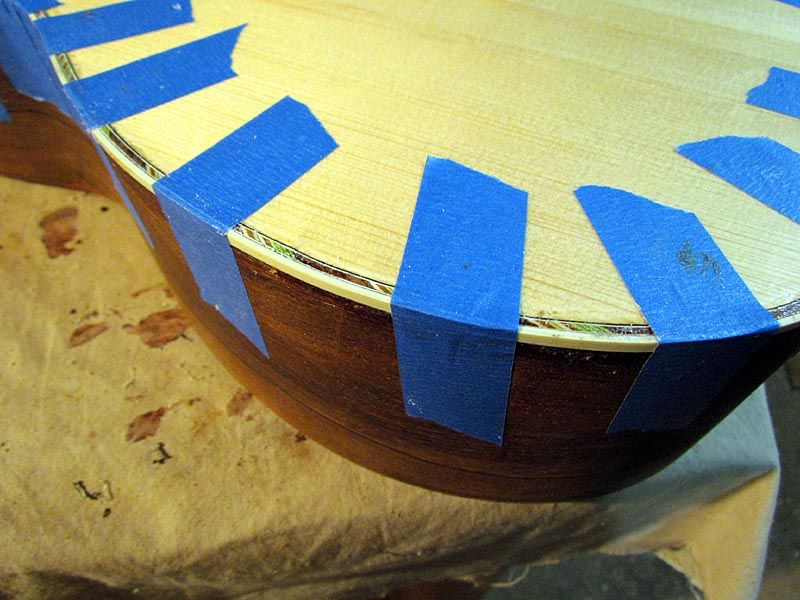
Well, it's time to do the bindings.
Here are a couple of photos of my binding channel routing setup
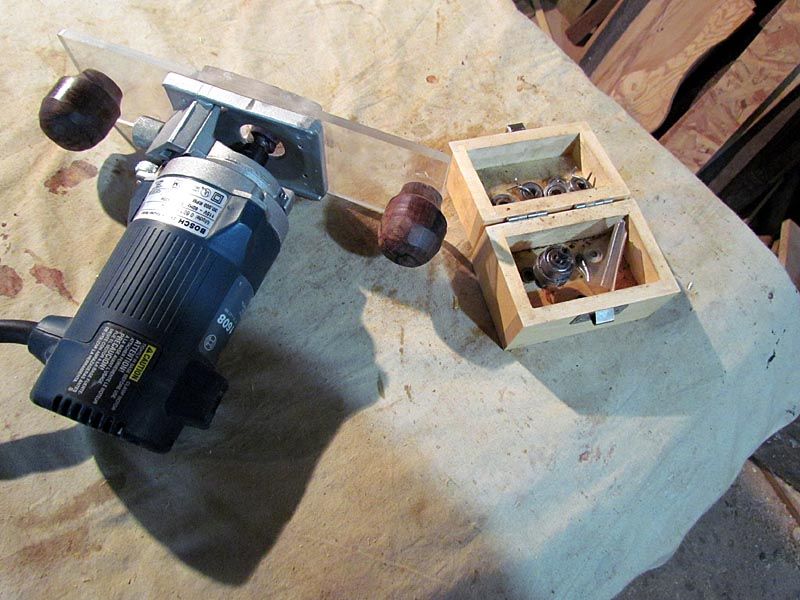
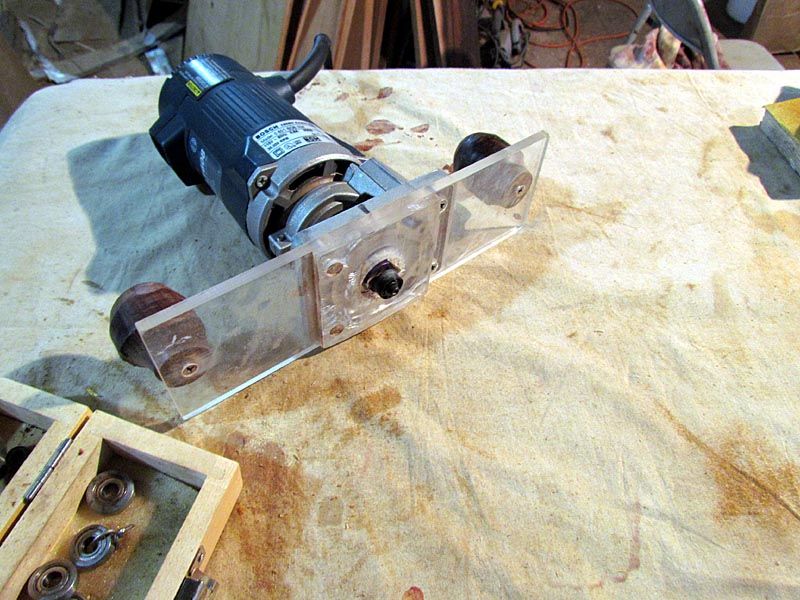
Yup, that's it.....all of it
Here is a closeup of the business end of the system
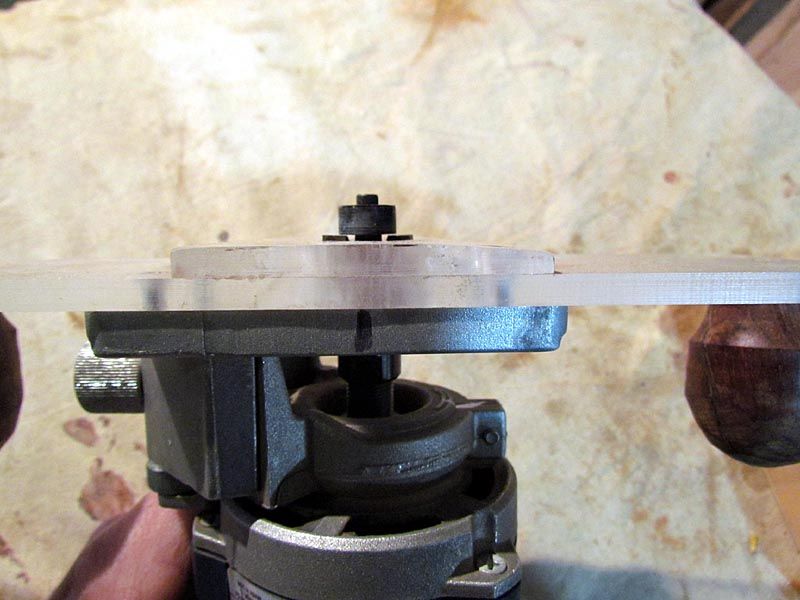
Notice the raised platform has a steeper bevel on the right and less so on the left. The steep side is for routing the back with more arch and the less steep side is for the top
The cutter I use is from Grizzly and I have suplemented the bearings with 4 or 5 from Stew Mac. Even at that, I don't have an exact size to fit this wide purfling, so...
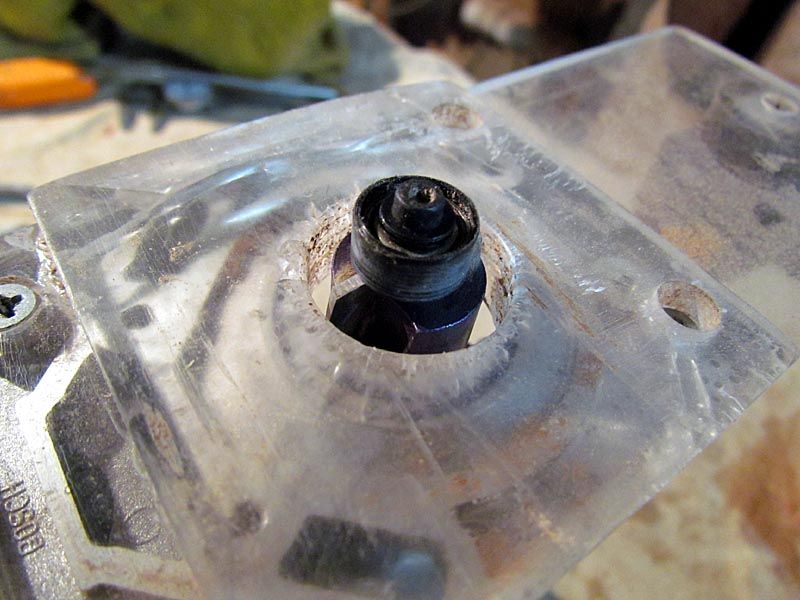
...I have wrapped a few rounds of pinstripe tape around the bearing to build it up
Here is what I used
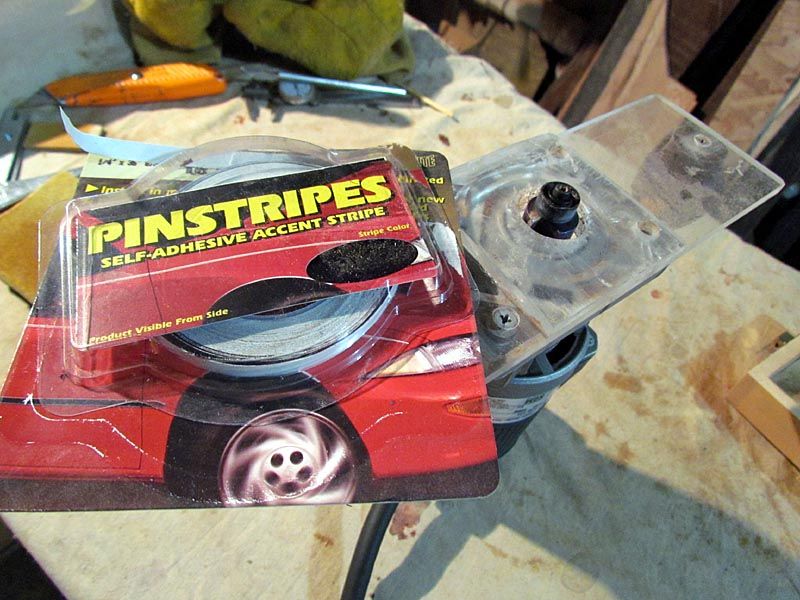
Put on enough wraps till a test cut gave me the right size channel. Be sure to wrap the right direction so the end won't catch if the bearing spins with the cutter a bit
So it is just a matter of turning on the router and going around the edge of the guitar body. Might sound scarey, but nothing bad can happen. Here is how I hold the router baseplate on the guitar body
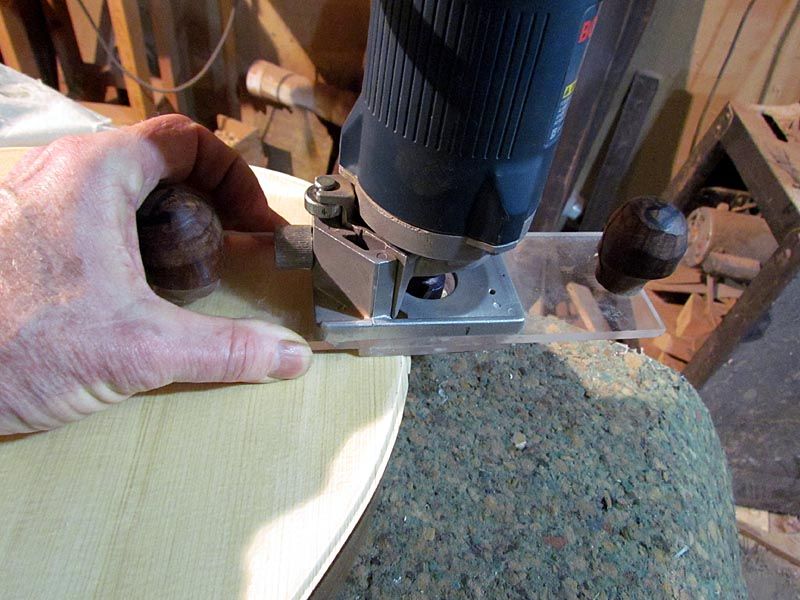
Notice how I steady it so as to keep the router body vertical? This is very easy to do once you get the hang of it. Main thing is to take your time and work around in segments, backing the bit off the guitar while you are repositioning.
A few more photos of the process
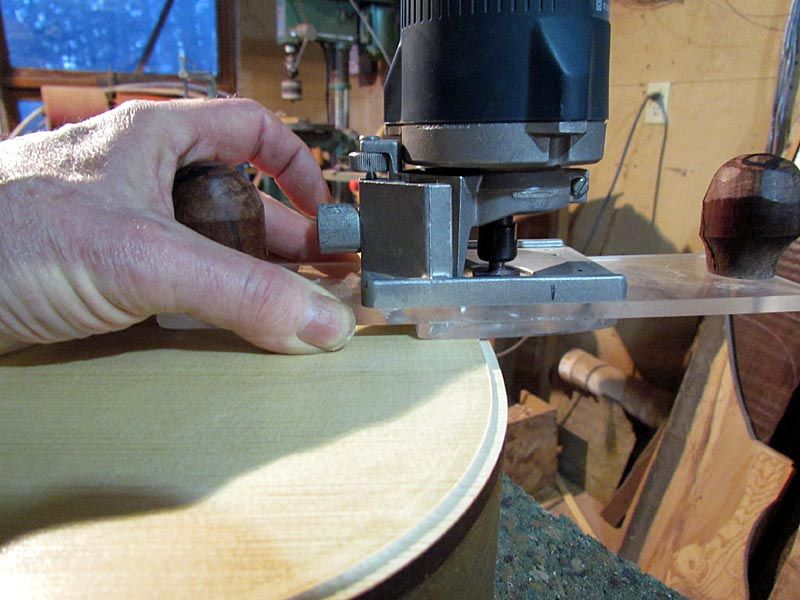
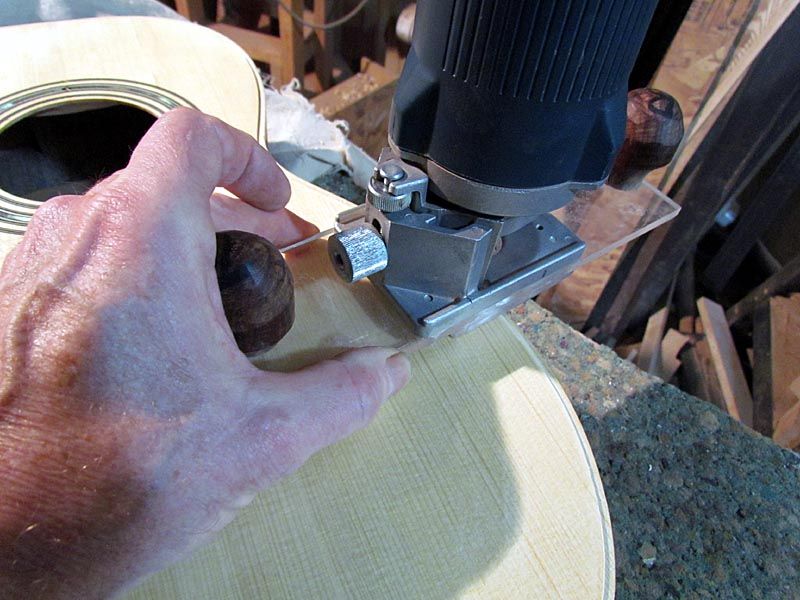
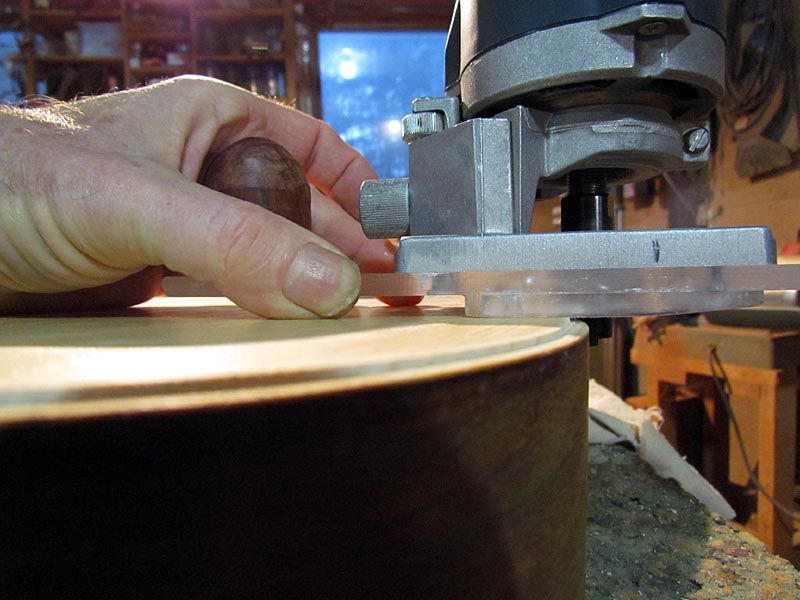
Notice on the last one the space I am maintaining between the base and the guitar top. I keep that pretty even all around the top, but doing the back, it will vary a lot from the neck end to the tail.
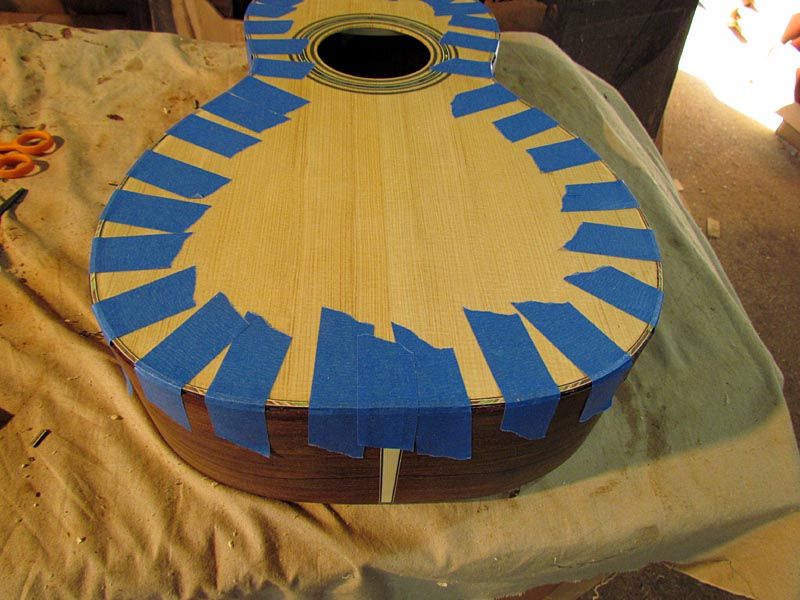
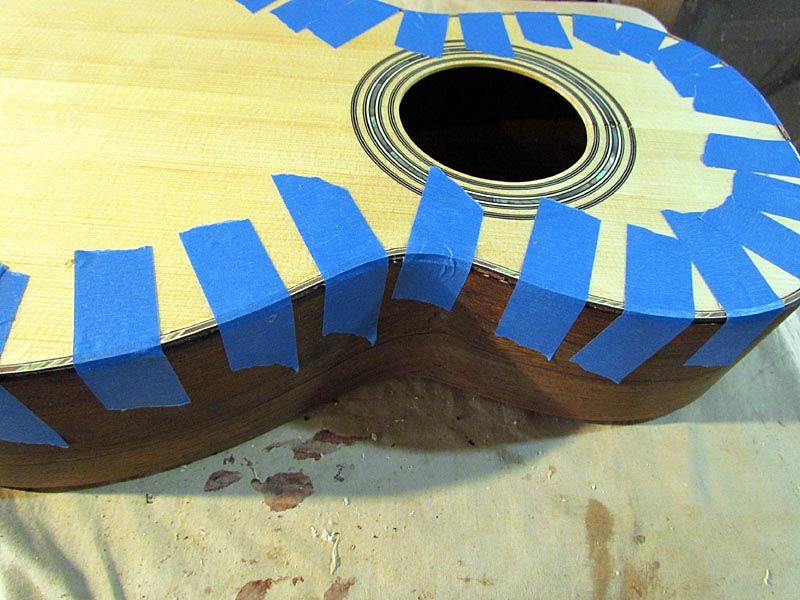
So here is the top purfling channel cut
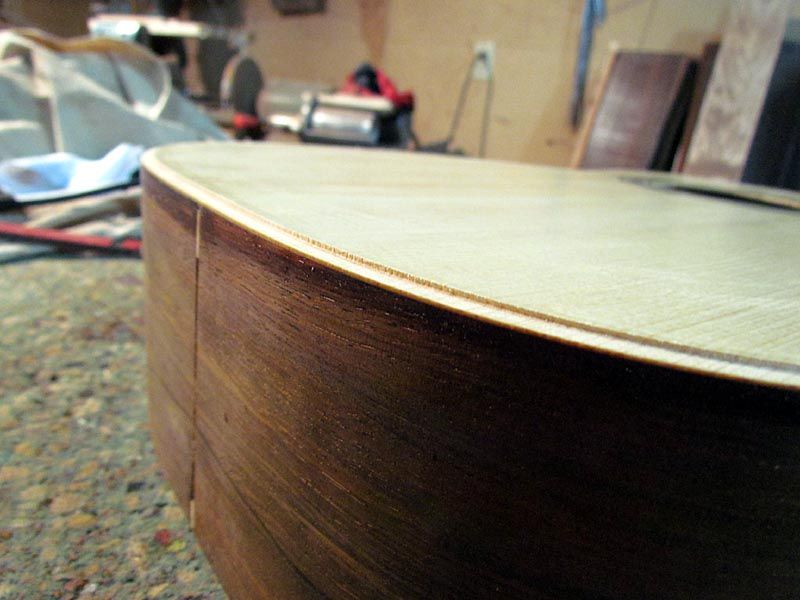
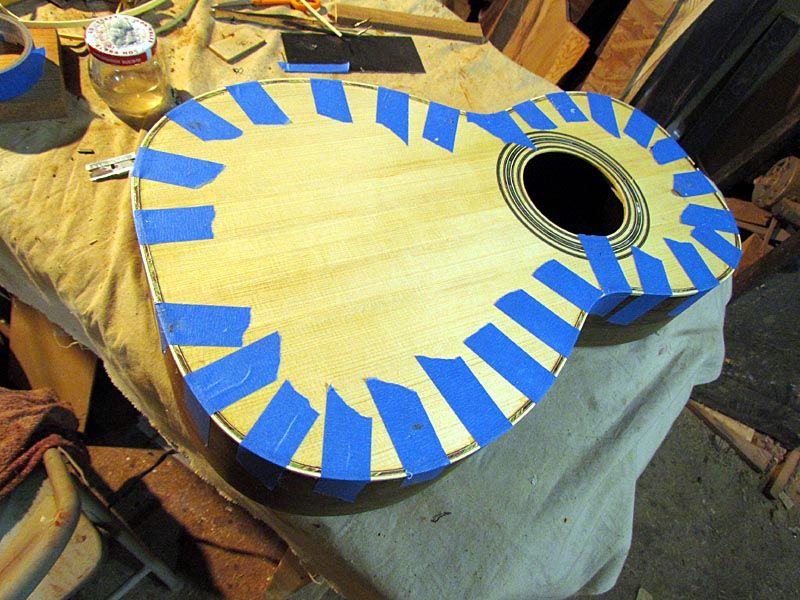
And the back
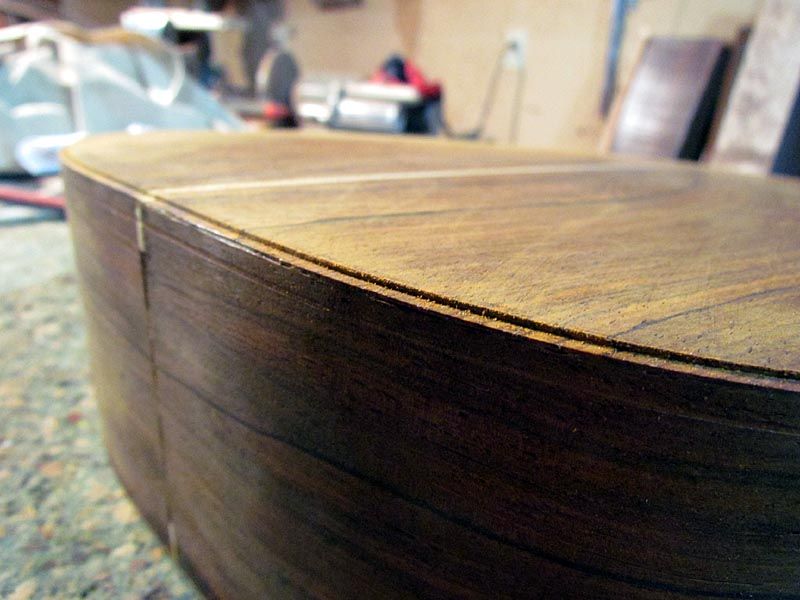
And here are the top and back binding channels
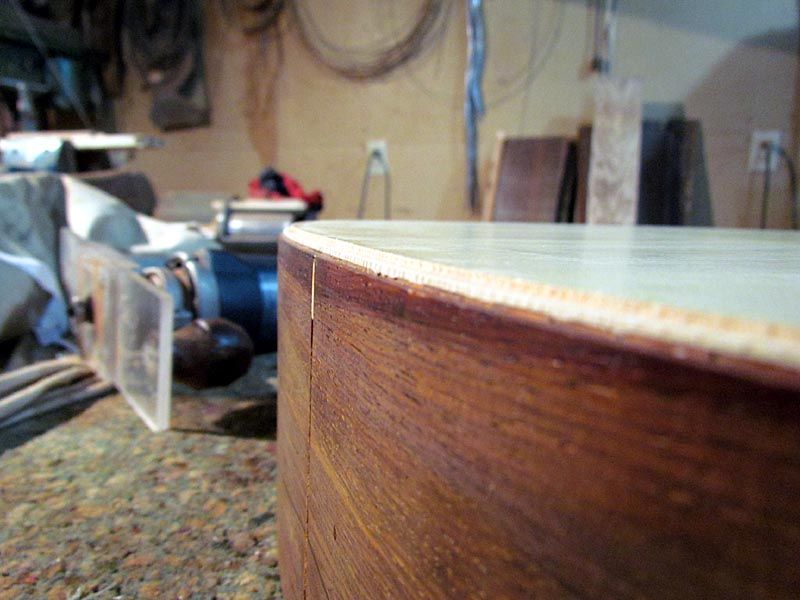
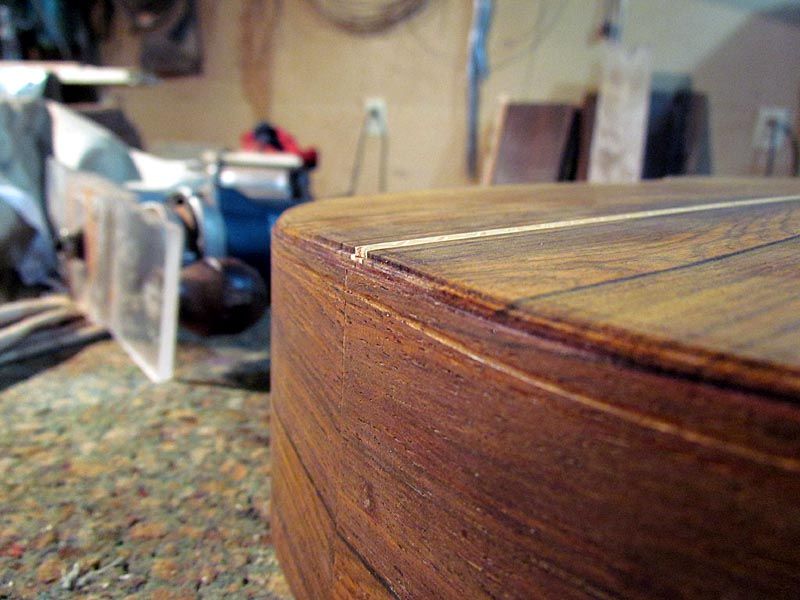
BTW, the "bathtub ring" on the side of that last photo is just a rub mark from the bearing. A damp cloth with warm water makes it go away.
So that is done, Took less than a minute for each of the 4 cuts. The most time consuming part was setting up the depth and choosing the right bearing.
On to the end graft.
G


