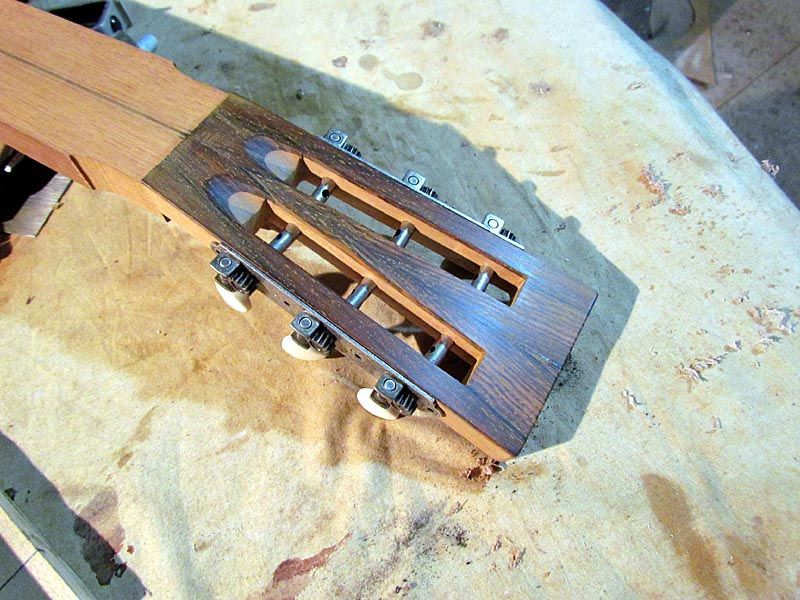
Well, this thing is getting close, so I am anxious to get it done. Worked on the peghead today.
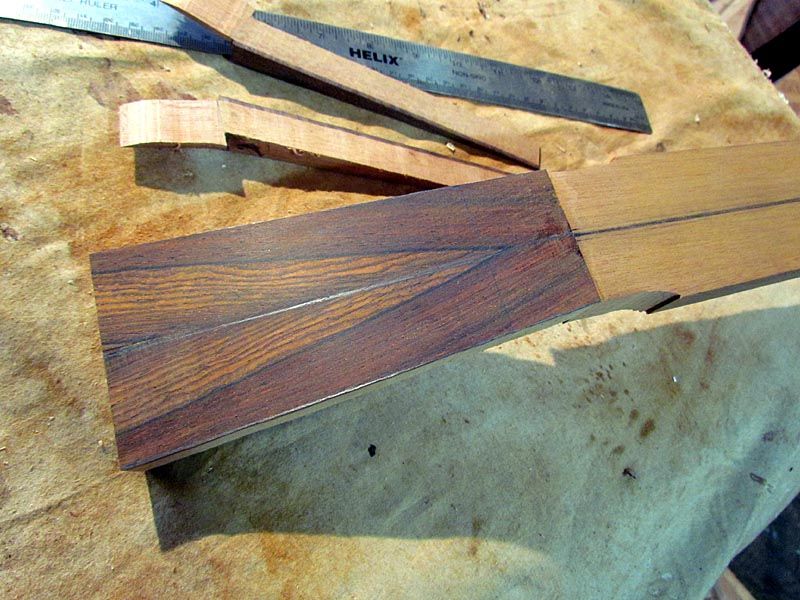
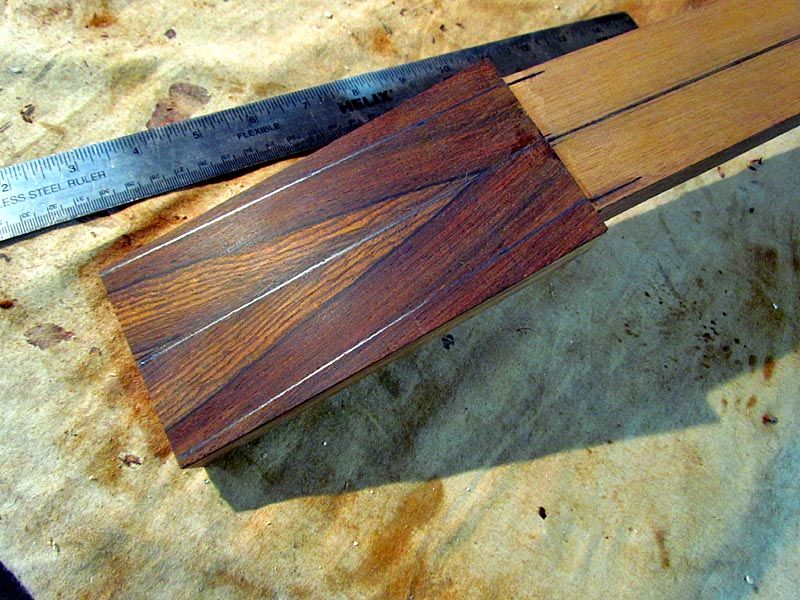
Here is the peghead overlay glued on
This is a bookmatched offcut from the end of the sides
And here it is trimmed to shape
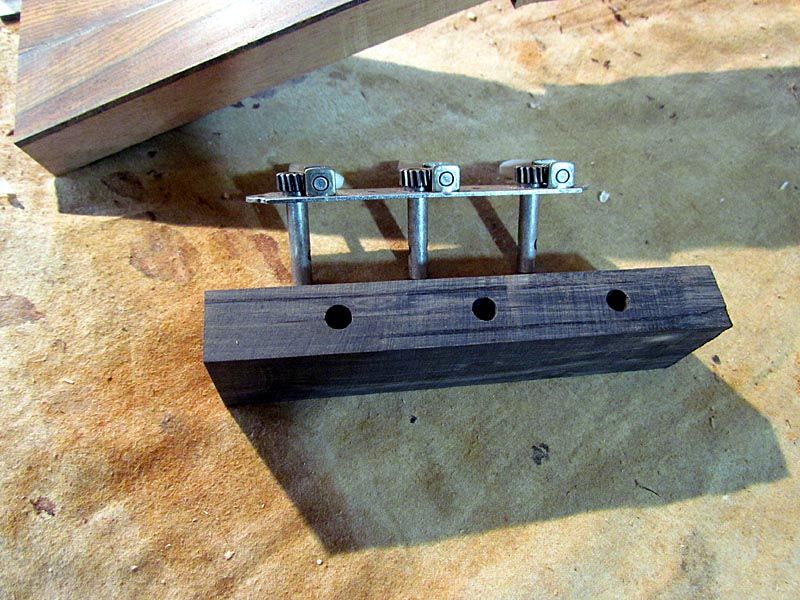
Now I had to make a drilling jig to do the holes for the tuner pegs. So I used a scrap block of ebony because it is hard and will Make good drilling guide holes. First I squared it up nicely and then marked the hole spacing and drilled them out
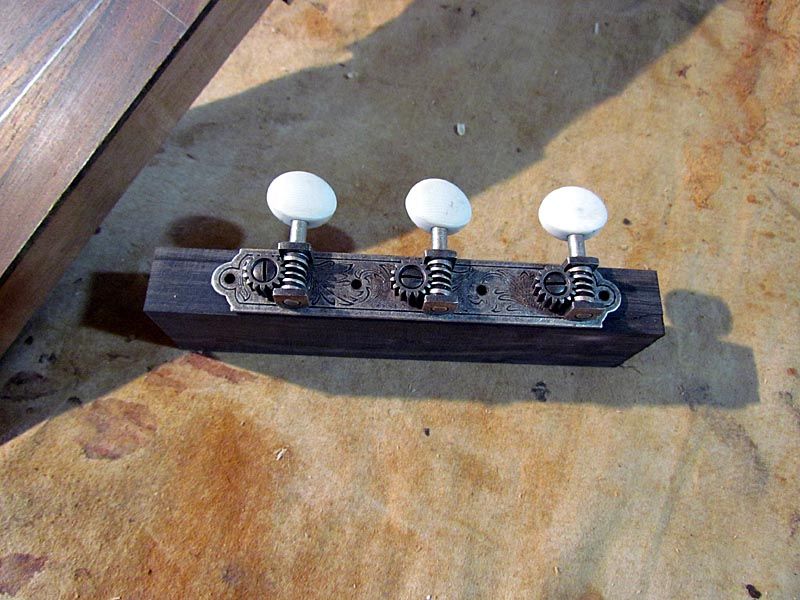
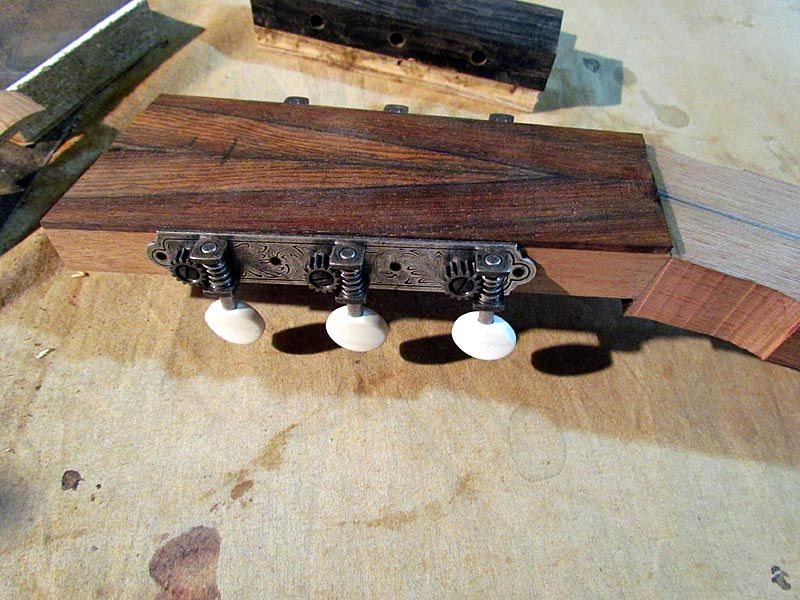
And here is a test fit of the tuners
These are the latest version of the Stew Mac "restoration tuners" with the engraved plates. Not as nice looking as I had hoped for, but they will work
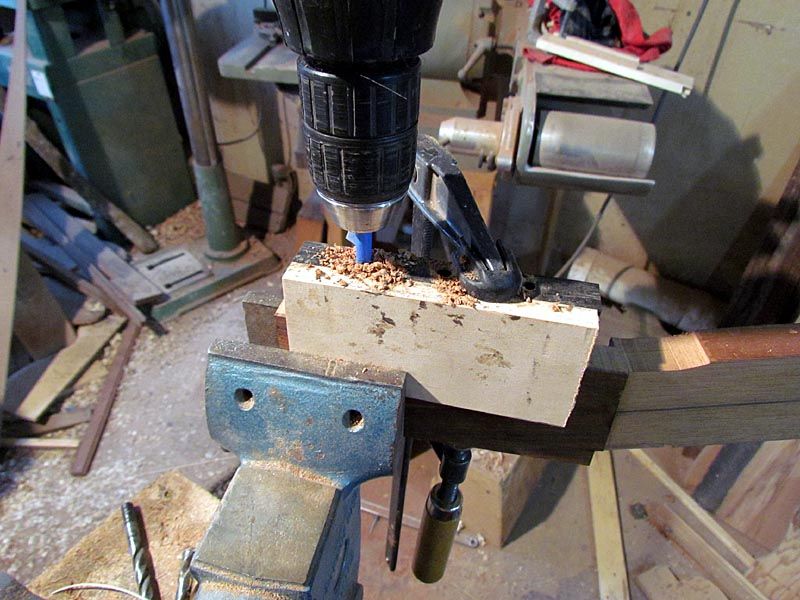
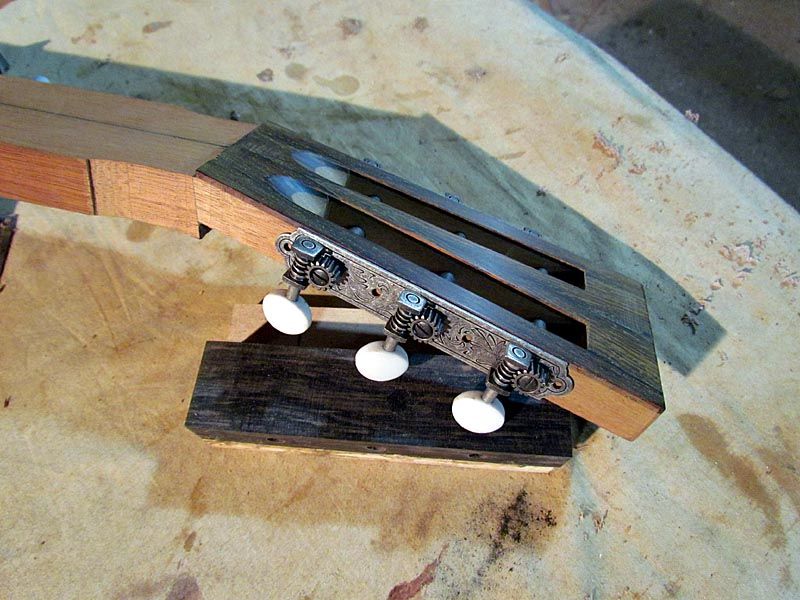
So here is the drilling jig clamped on the peghead and holes being drilled
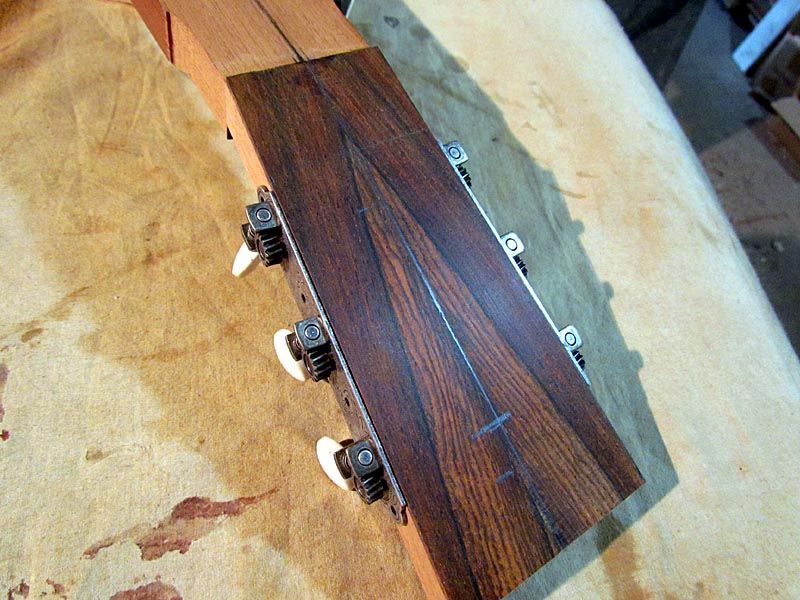
And a couple of shots with the tuners fit
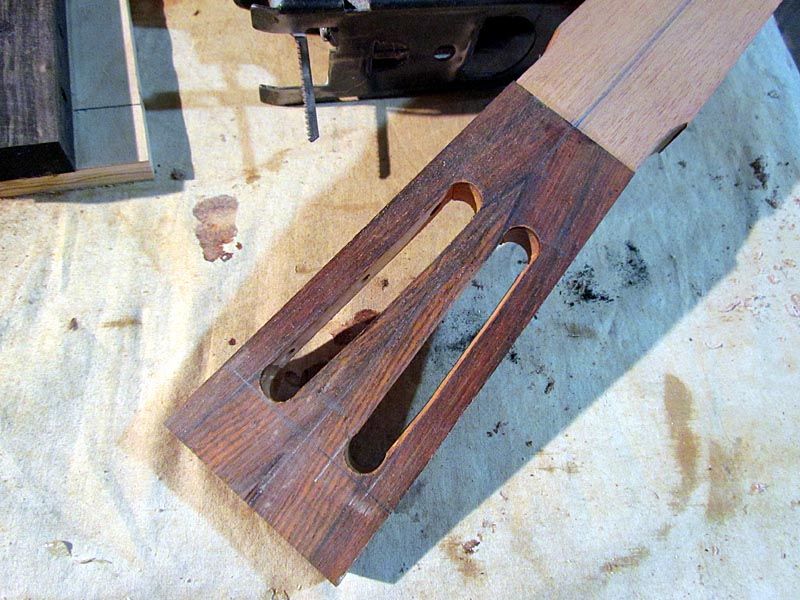
For the slots, I just marked them out and drilled 1/2" holes at each end. Then cut out the center with a hand jig saw
Then I used rasps, files, and sanding blocks to shape them up and even them out. Took about a half hour.
And here is the final result
Still needs some final sanding, but I am happy with how they came out.
So now I got to do the fingerboard. I have some of those bar frets like are on the original, so I gotta do a bit of reading on how best to instal them. Once I get the fingerboard done, just have to carve the neck and do the bridge, and this one will be pretty much done. Guess I had better order up some strings. The original has gut strings, but I am thinking of using "silk and steel"
Stay tuned and don't hesitate to ask questions or comment
G
Size 2 Martin build coming late October
- whitespruce
- Site Admin
- Posts: 4367
- Joined: Thu Aug 21, 2008 6:53 am
- Include Off Topic: Yes
- Location: Northern Minnesota, USA
- garydemos
- Posts: 140
- Joined: Sat Aug 23, 2008 6:36 pm
- Include Off Topic: Yes
- Location: Hilliard, OH
- Contact:
Re: Size 2 Martin build coming late October
I like it!
-
- Posts: 656
- Joined: Mon Dec 08, 2008 6:08 pm
- Include Off Topic: Yes
- Contact:
Re: Size 2 Martin build coming late October
Grant,
That is REALLY cool looking. Can't wait to hear it (or maybe even play it.) What is your plan for after it is done? Keeping, giving or selling?
Dave
That is REALLY cool looking. Can't wait to hear it (or maybe even play it.) What is your plan for after it is done? Keeping, giving or selling?
Dave
there's no such thing as a ten minute project
Re: Size 2 Martin build coming late October
I wondered about the grain orientation of the headplate and now that the slots are cut, I can see the result you were after. Nice detail.
Jim
Jim
"When people hear good music, it makes them homesick for something they never had and never will have." -- Edgar Watson Howe
- Marcus McGuinness
- Posts: 265
- Joined: Tue Sep 22, 2009 2:54 am
- Include Off Topic: Yes
- Location: Málaga, Spain
Re: Size 2 Martin build coming late October
Way cool - all of it.
Mac
Mac
- whitespruce
- Site Admin
- Posts: 4367
- Joined: Thu Aug 21, 2008 6:53 am
- Include Off Topic: Yes
- Location: Northern Minnesota, USA
Re: Size 2 Martin build coming late October
Well, since this thing is on a roll, I chugged along a bit more today. Read up a bit about installing bar frets. Main thing seems to be a whale of a lot of filing after they are in.
So I picked me out a fingerboard, used one that was a tad short for a regular size guitar, and ran it through the thickness sander. Took a strip of acrylic and laid it on the fretboard of the original guitar and marked the fret positions carefully. Then I took a little knife edge file and made notches at the marks so I had a fretting template.
Now the slots for these bar frets are way wider than regular "T" frets. That's because they are simply "bars" of nickel-silver. So the slots need to be the full width of the bars (about .055"). Well, I tried one of those thin kerf Diablo blades, but it cut too wide, about .063 or so. So I took a green 10" diameter silicon carbide grinding stone and laid it flat on the bench. Then I wet it and laid an old Diablo blade on it and started rubbing it around by hand. Worked one side for a while, then the other. What I was doing was grinding down the sides of the carbide tooth inserts. Took about a half hour and I had the blade down to cutting the correct size slots. In the process, it resharpened the corners of the teeth, so it cut like new
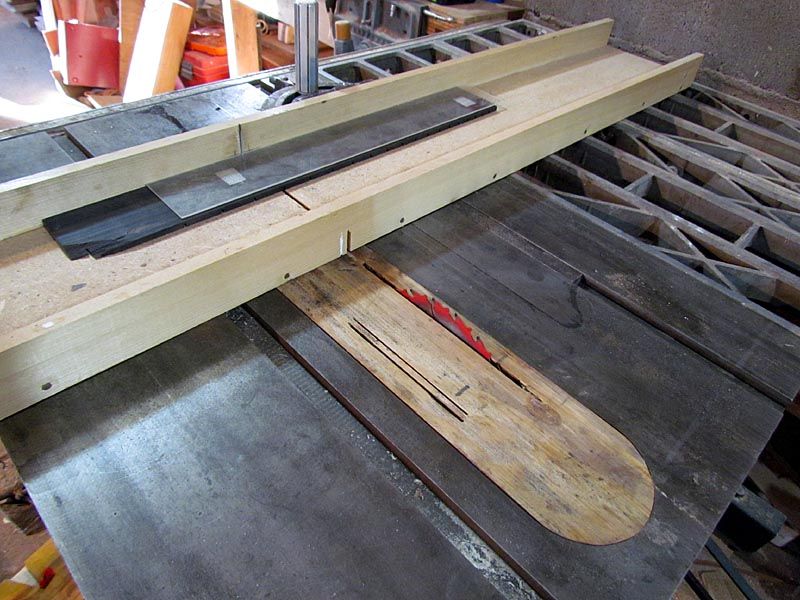
So I put the blade on the table saw and set up the sled I use for making kerfed lining. Then I used a couple of dabs of double stick tape to attach the acrylic template to the fingerboard blank. So here is what that setup looked like
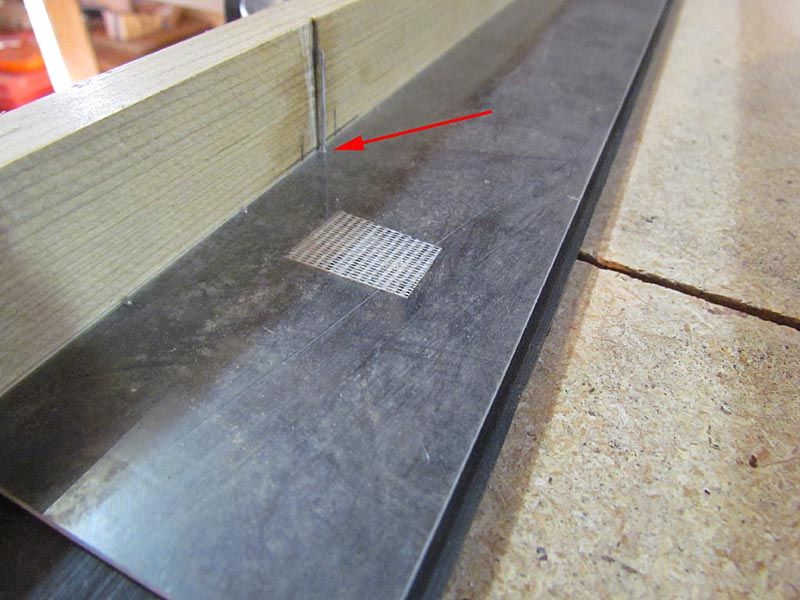
Now, in this next photo you can see the little aluminum fin (red arrow) that I glued into a slot in the sled, and how it fits into the little notches in the fretting template
Just like downtown
So it just took a couple of minutes to slot the board
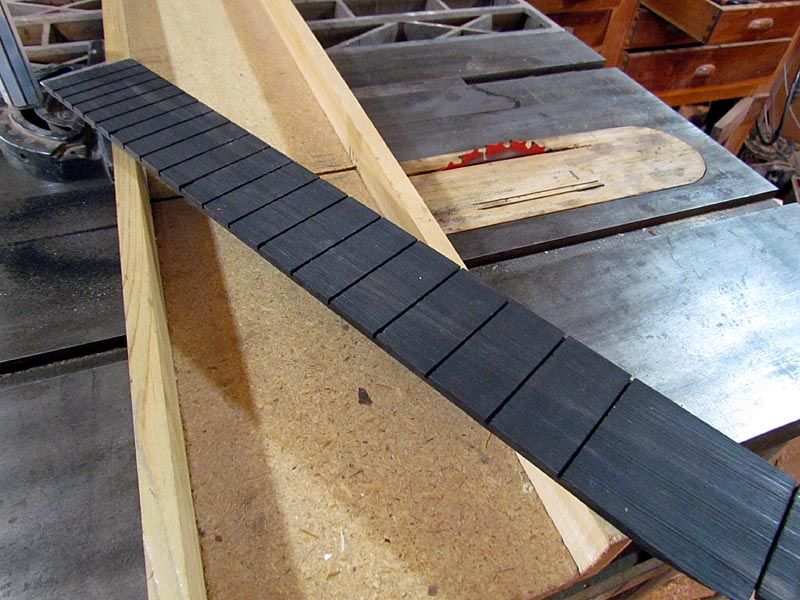
Ya, I know those slots look wide,
But here is the bar fretwire for comparison
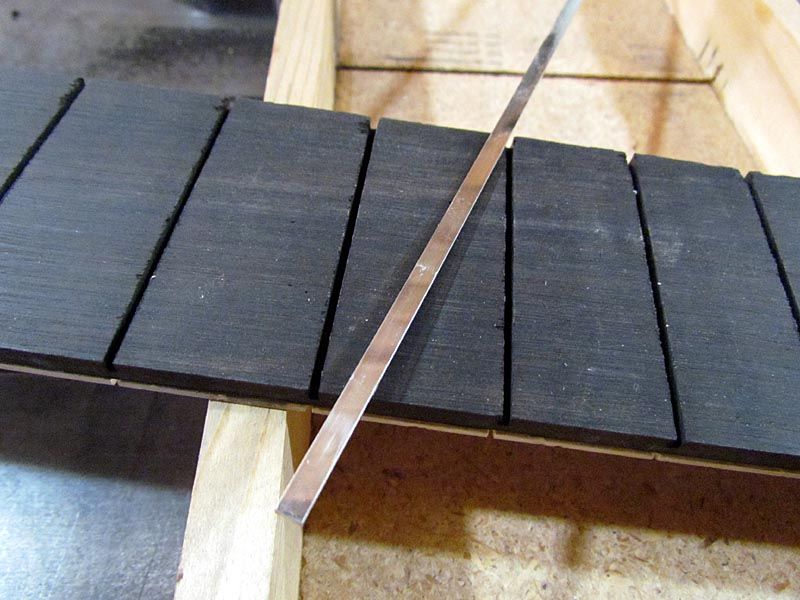
So then I cut the board to length and tapered the sides, leaving room for the ivoroid binding. Here it is ready to be glued to the neck
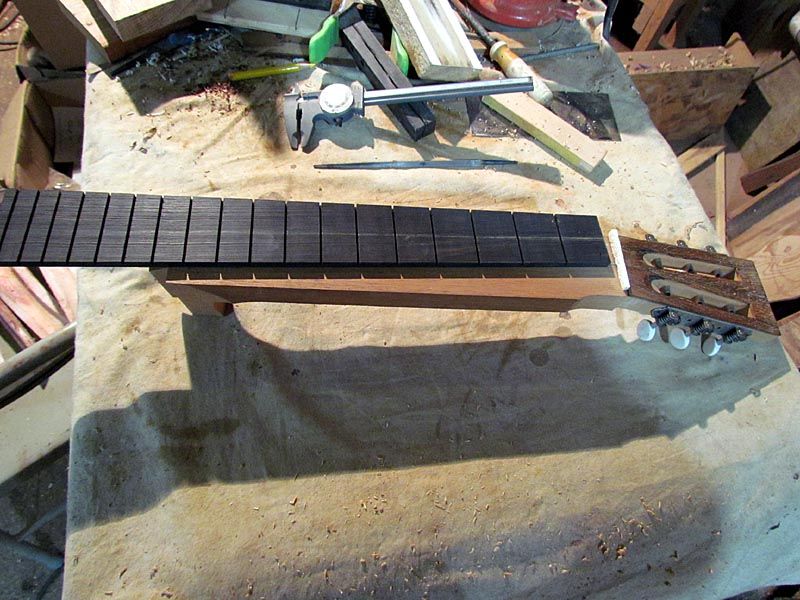
I am using a scrap bone piece to get the nut slot the right width, and I drilled small holes at the 1st and 11th fret slot so I can pin the fingerboard in place while I glue it
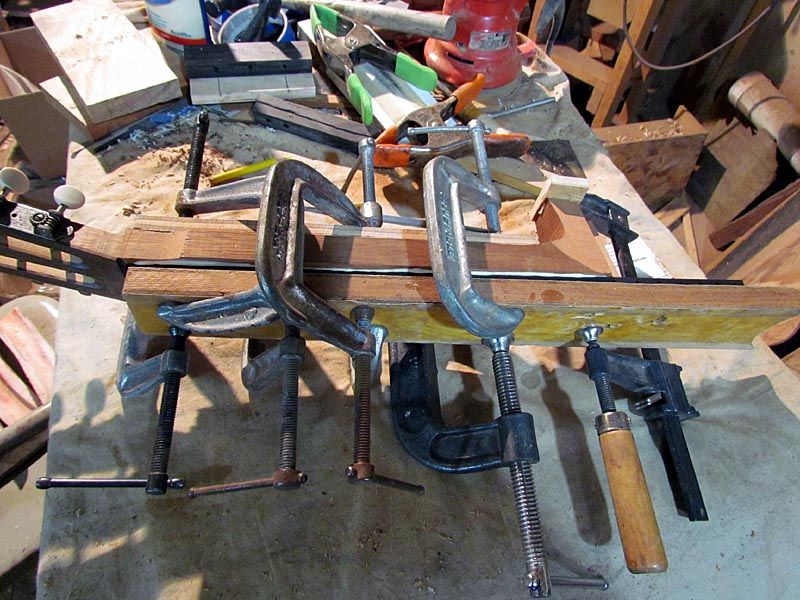
So here it is glued and clamped
And ready for the binding
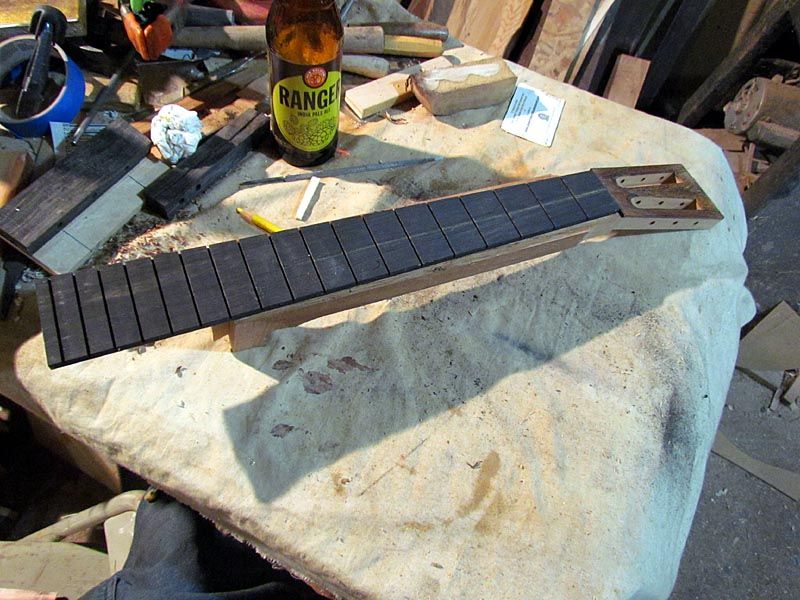
So that is all for today
One thing that I have been meaning to mention. Hopefully you have noticed that I make up "quick and dirty" jigs and such as I need them...nothing fancy and little time or $$ into them. The dovetail neck stuff and the tuner peg hole drilling guide are some good examples. Now, I suppose I could have spent a few hundred $$ and bought real stuff, or I could have spent more time and made up something a bunch more fancy. But what I am trying to demonstrate is that you don't have to. There are a lot of first time or low budget builders on this Forum and I want to show them that it CAN be done for little expense and one can "make do" quite well with quick home made stuff. I hope this is helpful to some of you. Down the road a bit, I will probably do a thread on more detail on some of these things and explain the how's and why's.......at least as they relate to that sorta different drum that I sometimes march to
Oh, and you have probably also noticed that I don't clean my shop or workbench very often
Thanks for looking,
G
So I picked me out a fingerboard, used one that was a tad short for a regular size guitar, and ran it through the thickness sander. Took a strip of acrylic and laid it on the fretboard of the original guitar and marked the fret positions carefully. Then I took a little knife edge file and made notches at the marks so I had a fretting template.
Now the slots for these bar frets are way wider than regular "T" frets. That's because they are simply "bars" of nickel-silver. So the slots need to be the full width of the bars (about .055"). Well, I tried one of those thin kerf Diablo blades, but it cut too wide, about .063 or so. So I took a green 10" diameter silicon carbide grinding stone and laid it flat on the bench. Then I wet it and laid an old Diablo blade on it and started rubbing it around by hand. Worked one side for a while, then the other. What I was doing was grinding down the sides of the carbide tooth inserts. Took about a half hour and I had the blade down to cutting the correct size slots. In the process, it resharpened the corners of the teeth, so it cut like new
So I put the blade on the table saw and set up the sled I use for making kerfed lining. Then I used a couple of dabs of double stick tape to attach the acrylic template to the fingerboard blank. So here is what that setup looked like
Now, in this next photo you can see the little aluminum fin (red arrow) that I glued into a slot in the sled, and how it fits into the little notches in the fretting template
Just like downtown
So it just took a couple of minutes to slot the board
Ya, I know those slots look wide,
But here is the bar fretwire for comparison
So then I cut the board to length and tapered the sides, leaving room for the ivoroid binding. Here it is ready to be glued to the neck
I am using a scrap bone piece to get the nut slot the right width, and I drilled small holes at the 1st and 11th fret slot so I can pin the fingerboard in place while I glue it
So here it is glued and clamped
And ready for the binding
So that is all for today
One thing that I have been meaning to mention. Hopefully you have noticed that I make up "quick and dirty" jigs and such as I need them...nothing fancy and little time or $$ into them. The dovetail neck stuff and the tuner peg hole drilling guide are some good examples. Now, I suppose I could have spent a few hundred $$ and bought real stuff, or I could have spent more time and made up something a bunch more fancy. But what I am trying to demonstrate is that you don't have to. There are a lot of first time or low budget builders on this Forum and I want to show them that it CAN be done for little expense and one can "make do" quite well with quick home made stuff. I hope this is helpful to some of you. Down the road a bit, I will probably do a thread on more detail on some of these things and explain the how's and why's.......at least as they relate to that sorta different drum that I sometimes march to
Oh, and you have probably also noticed that I don't clean my shop or workbench very often
Thanks for looking,
G
Re: Size 2 Martin build coming late October
Very happy to see another traditonalist, Grant! It's going to be a beauty.
Johann D. Brentrup
http://www.brentrup.com" onclick="window.open(this.href);return false;
- Marcus McGuinness
- Posts: 265
- Joined: Tue Sep 22, 2009 2:54 am
- Include Off Topic: Yes
- Location: Málaga, Spain
Re: Size 2 Martin build coming late October
You bet it's helpful, and a thread on the subject would be incredibly useful, but no pressure .whitespruce wrote:....There are a lot of first time or low budget builders on this Forum and I want to show them that it CAN be done for little expense and one can "make do" quite well with quick home made stuff. I hope this is helpful to some of you.
Mac