Page 2 of 8
Re: New commission, Coco jumbo
Posted: Sat Nov 05, 2011 10:36 am
by BaldEagle55
I always love looking at your work Grant.
All the best!
Tom


Re: New commission, Coco jumbo
Posted: Sat Nov 05, 2011 11:01 am
by Dennis Leahy
Grant,
For the laminated linings: did you make the upper cutaway lining (against the top) and the lower cutaway lining (against the back) in 2 separate molds? Seems like it would be impossible to cram an upper cutaway lining into place, where a compound cutaway side meets the back.
Dennis
Re: New commission, Coco jumbo
Posted: Sat Nov 05, 2011 12:19 pm
by whitespruce
Dennis Leahy wrote:Grant,
For the laminated linings: did you make the upper cutaway lining (against the top) and the lower cutaway lining (against the back) in 2 separate molds? Seems like it would be impossible to cram an upper cutaway lining into place, where a compound cutaway side meets the back.
Dennis
At first, that is what I thought I would have to do, but I didn't want to go there. So, I made one cutaway mold and just cut both curves in it
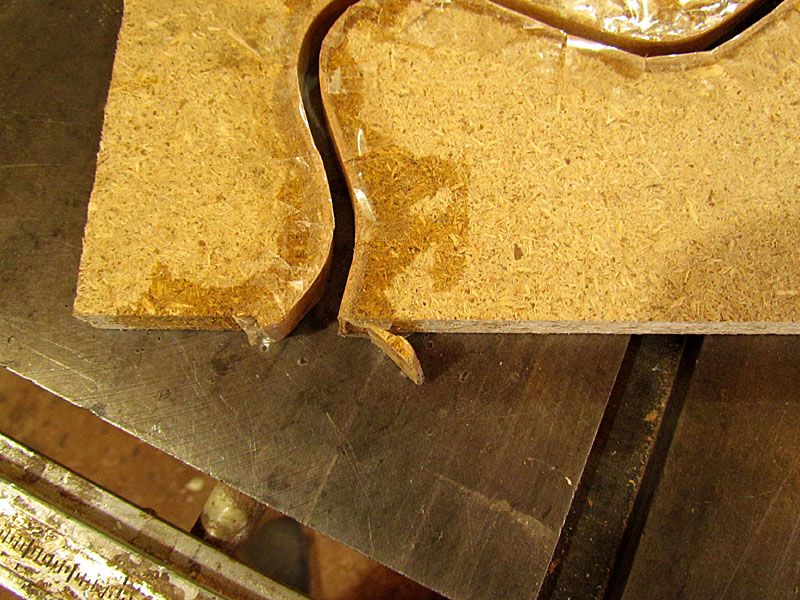
And I saved the little "wedge" piece from between
For the top lining, I do lika 'dis
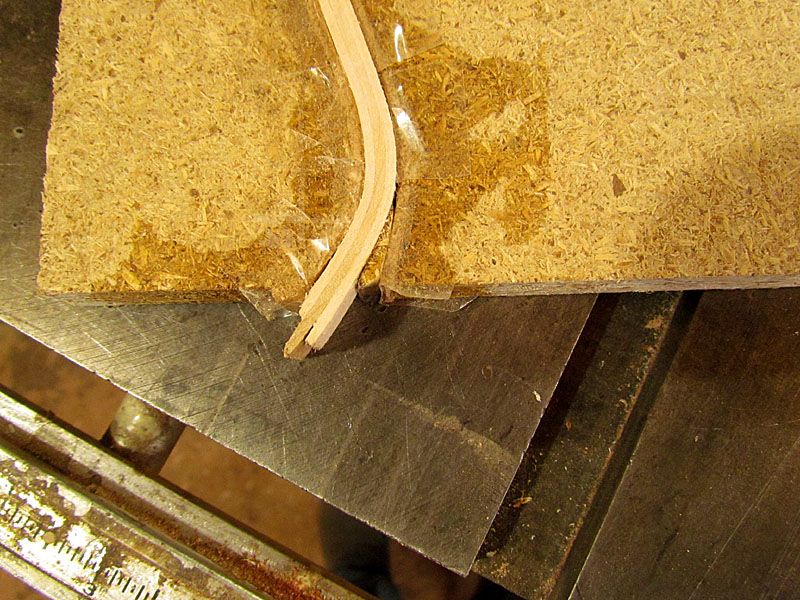
And the back lining, I do lika 'dis
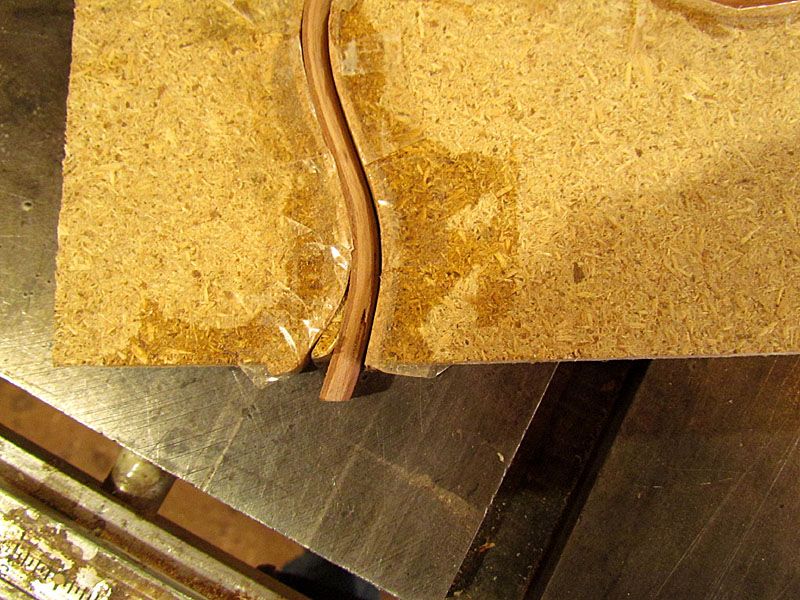
Works like a charm

G
Re: New commission, Coco jumbo
Posted: Sat Nov 05, 2011 12:55 pm
by Dennis Leahy
hehehehehhehe You are one clever fella!
Re: New commission, Coco jumbo
Posted: Sun Nov 13, 2011 8:27 pm
by whitespruce
Just a bit more on the laminated linings.
For this first set, I just ripped down some basswood for the top linings and used a variety of mahogany pieces, including a few layers of standard veneer, for the back linings
Since then, I have bought some 1/16" thick veneer in poplar (for top linings) and African mahogany (for back linings). So now I just have to rip off a pile of 5/8" wide strips and use 4 strips for each lining.
So here are some strips ready to go
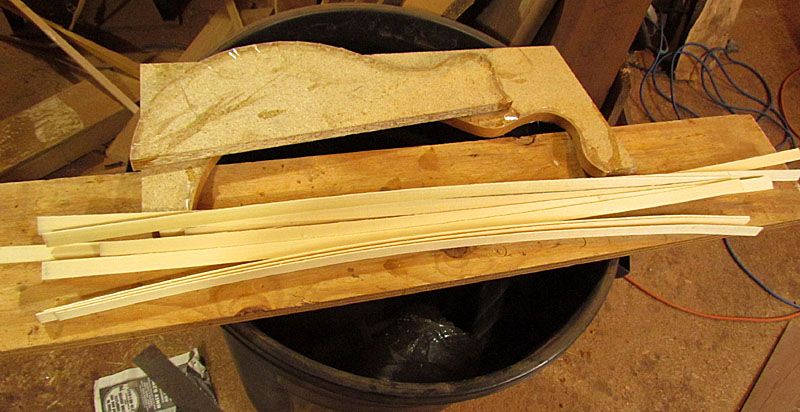
Once they have glue spread, they bend to shape quite easily.
And rather than fussing with a bunch of clamps, after I get the glued stack in the form and the inner form pushed into place, I just stick the whole thing in my bench vise and torque it down tight lika dis
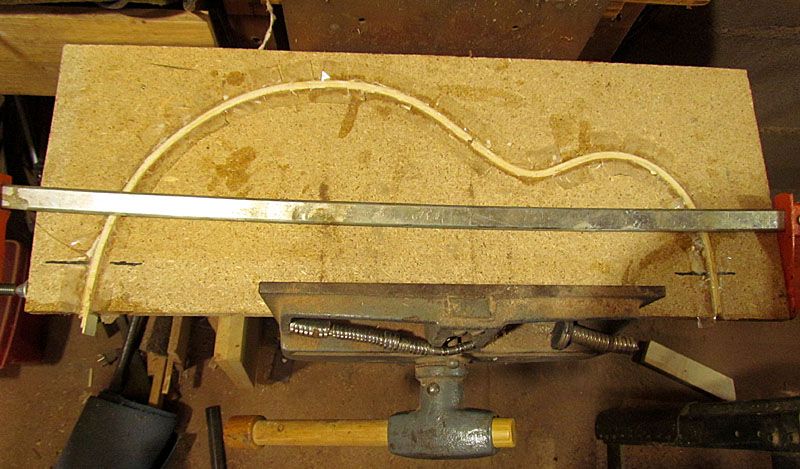
and then put a long clamp on lengthwise.
Here are some glued up linings that just need some edge sanding and rounding over with the router, and they will be ready to go
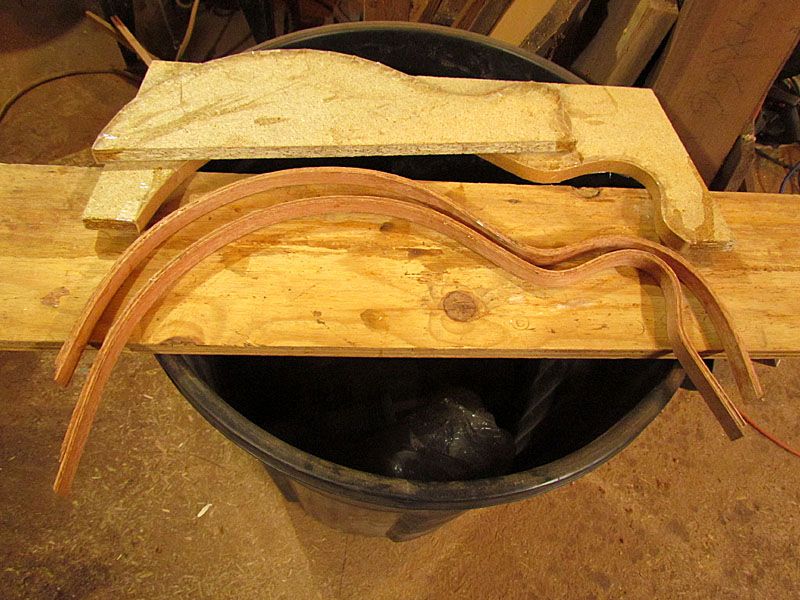
Takes only a few minutes to spread glue and clamp one of these up. I like it


G
Re: New commission, Coco jumbo
Posted: Fri Nov 23, 2012 10:11 pm
by whitespruce
Well, I guess I skipped assembling the box, but it is the same as all my others.
So, today I routed the binding channels
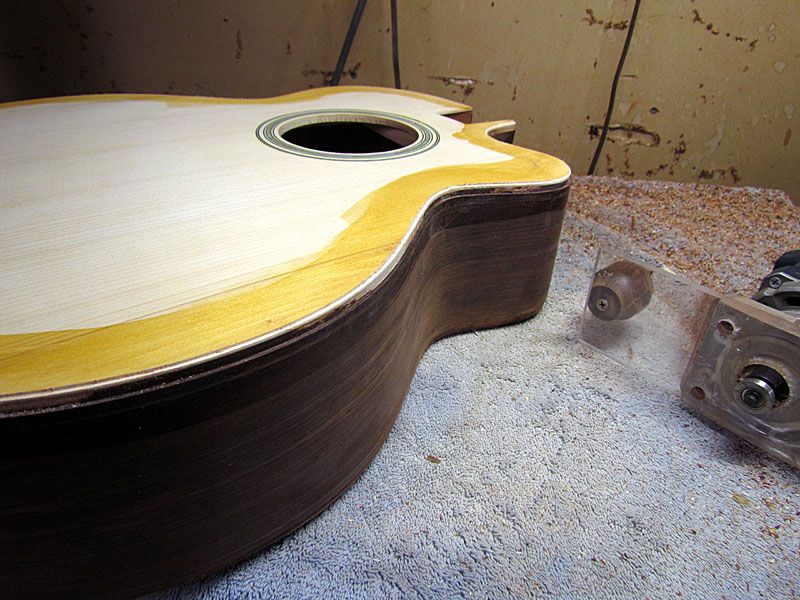
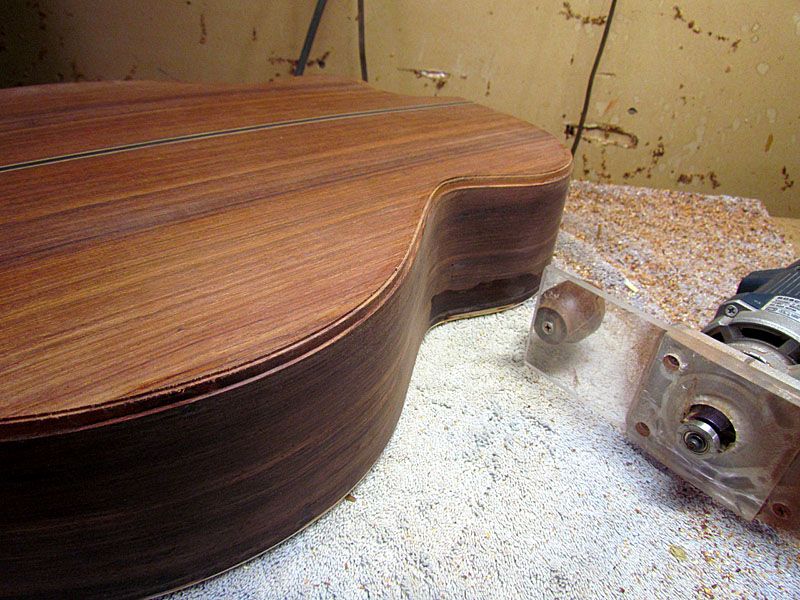
Will probably glue bindings on Sunday.
G
Re: New commission, Coco jumbo
Posted: Fri Nov 23, 2012 10:24 pm
by michael
Grant, it doesn't look like there is any arch in the top (radius). Is it truely a flat top?
Mike
Re: New commission, Coco jumbo
Posted: Sat Nov 24, 2012 11:12 am
by whitespruce
michael wrote:Grant, it doesn't look like there is any arch in the top (radius). Is it truely a flat top?
Mike
Mike, I brace the top in a dish mold with a 25 foot radius. I do, however sand the top of the rims level before gluing to the top.
Here are a couple of photos to show the results
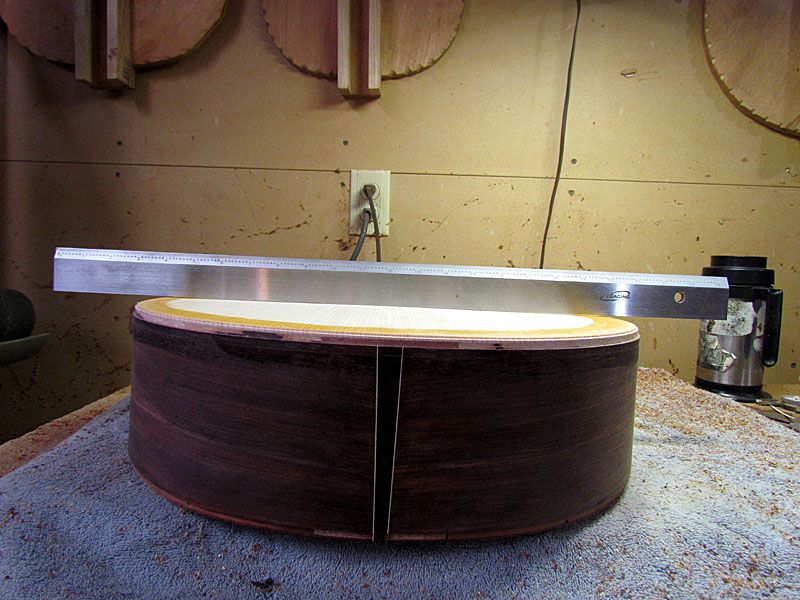
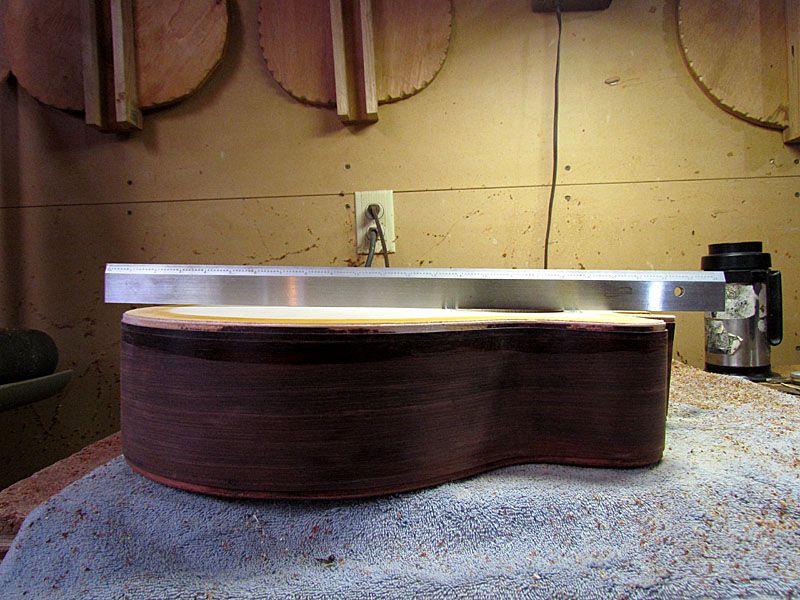
You gotta look close, but the arch is there.
I brace the back to a 16 foot radius and do sand that into the rims before gluing on the back.
G


