Page 2 of 3
Re: Another Bass Build
Posted: Thu Aug 29, 2013 11:29 am
by Dennis Leahy
Enjoying this build!
I'm going to have some questions on using the CF tow... after I think of them.
Looking beautiful!
Dennis
Re: Another Bass Build
Posted: Sun Sep 01, 2013 11:53 pm
by Tedward
Dennis, I hope I will be able to answer your questions. Pickup time!!!
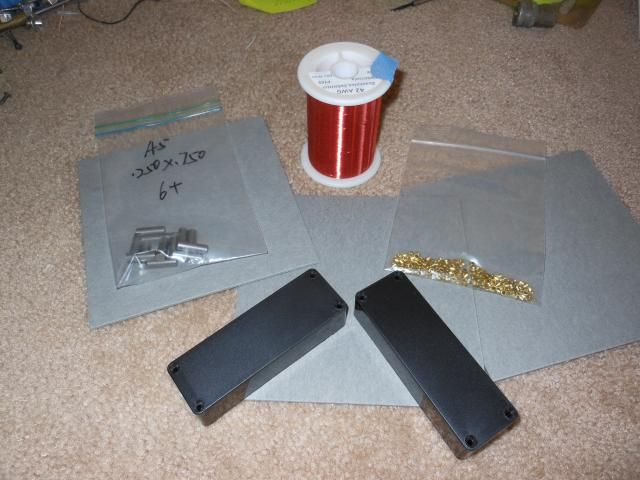
I got the 42 gauge wire, bobbin flat work, eyelets, covers, and 1/4" A5 slugs.
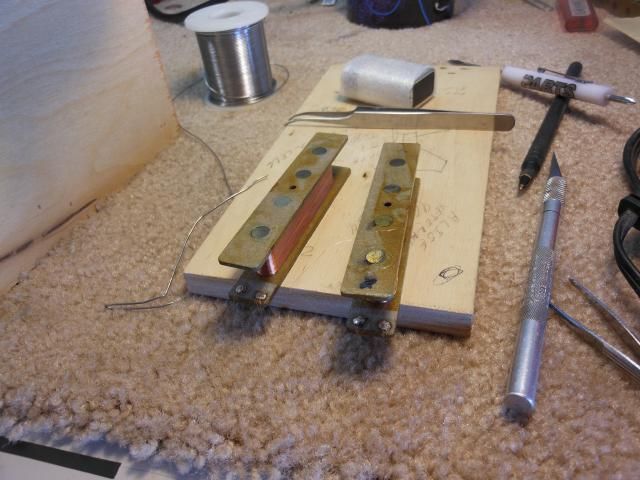
With the bobbins cut and measurements made I drilled the slug holes, eyelet holes, and center mounting hole to mount to the winder. After eye ball drilling the holes and having everything out of line I made a jig. Now everything is consistent.
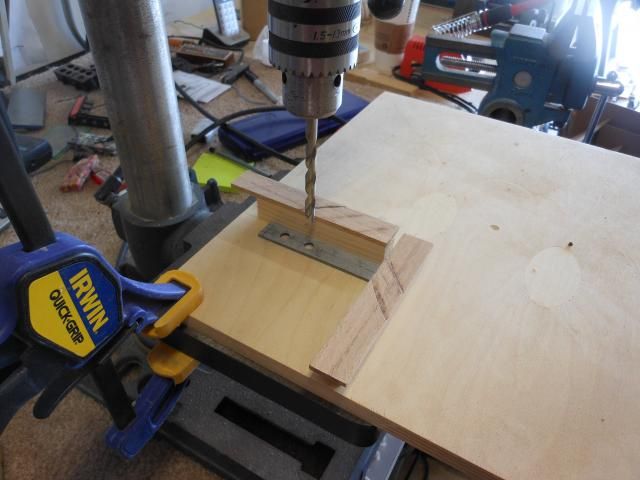
Drill the eyelet holes and we're read to press in the magnets and eyelets.
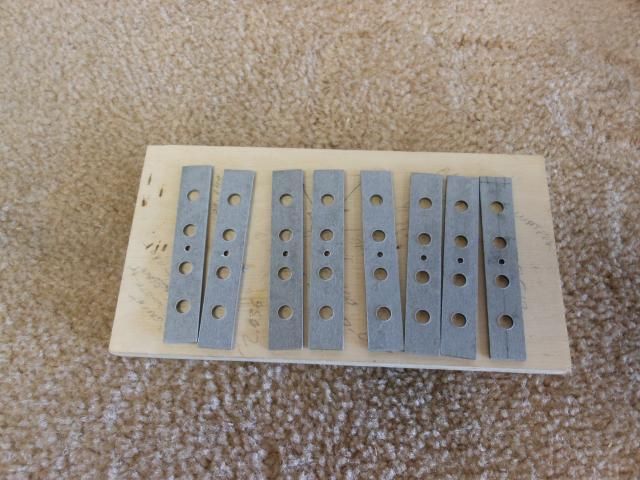
Tedward
Re: Another Bass Build
Posted: Fri Sep 06, 2013 12:17 am
by Tedward
With the flat work cut and measurements made I drilled the slug holes, eyelet holes, and center mounting hole to mount to the winder. After eye ball drilling the holes and having everything out of line I made a jig. Now everything is consistent.
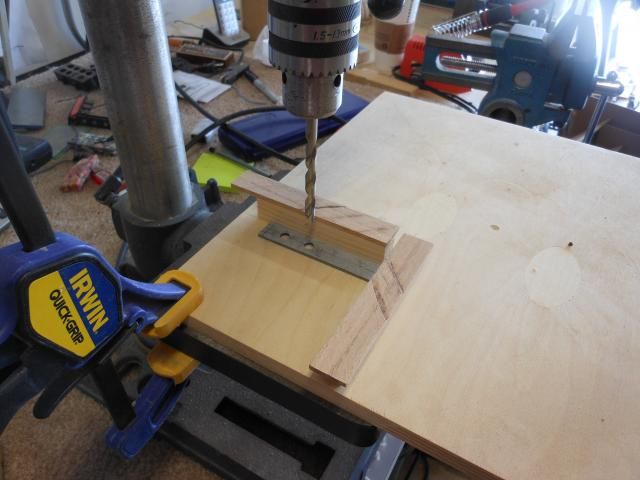
Drill the eyelet holes and we're read to press in the magnets and eyelets.

Slugs and bobbins glued up. The marks on the slugs identify the north poles.
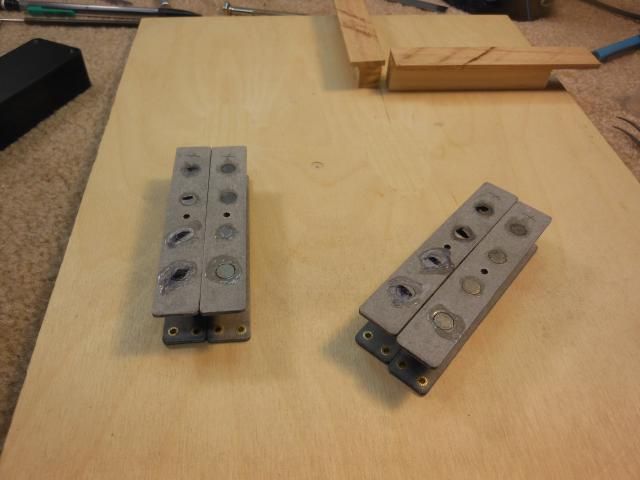
Bobbin mounted and ready for the wire.
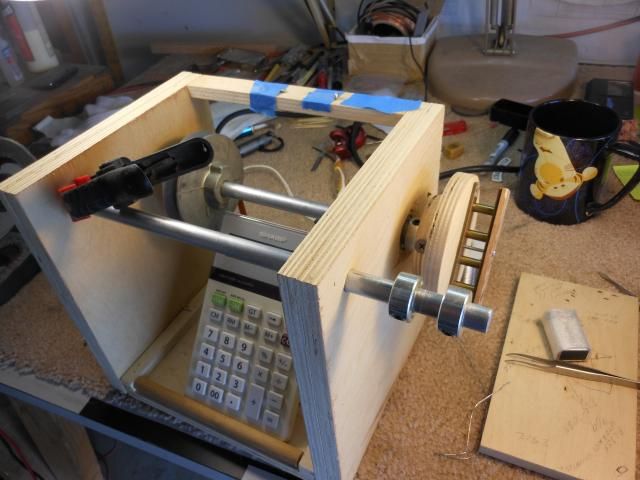
Two coils done.
Coils at home in the cover.
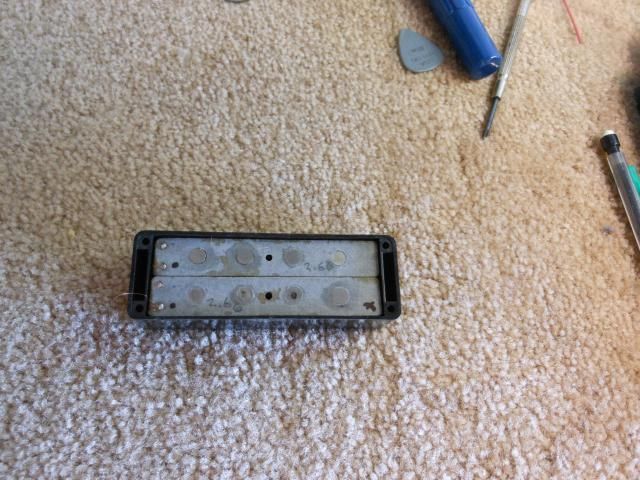
Time to call it a day.
LowNote
Re: Another Bass Build
Posted: Tue Oct 01, 2013 10:52 am
by Tedward
It's been a while since I last posted. So, here's what I've gotten done so far. Testing the pickups I found out that the coils where shorting out to the magnets, even with three coats of lacquer and a coat of shellac. Had to cut the wire off all four coils, tape the magnets, and rewind. No shorts now. The next thing I did was sand, sand, sand, and sand.
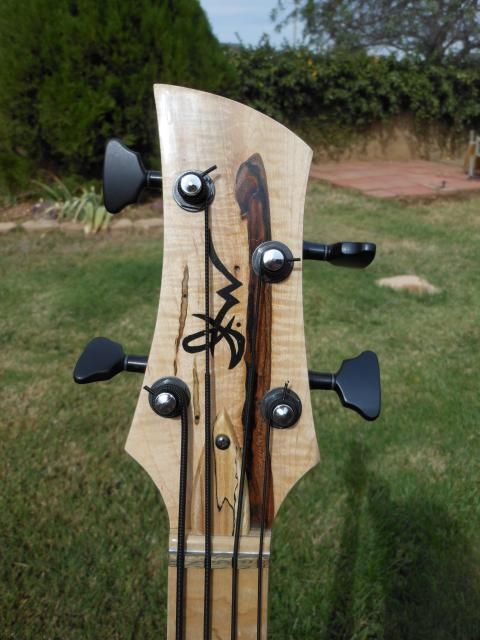
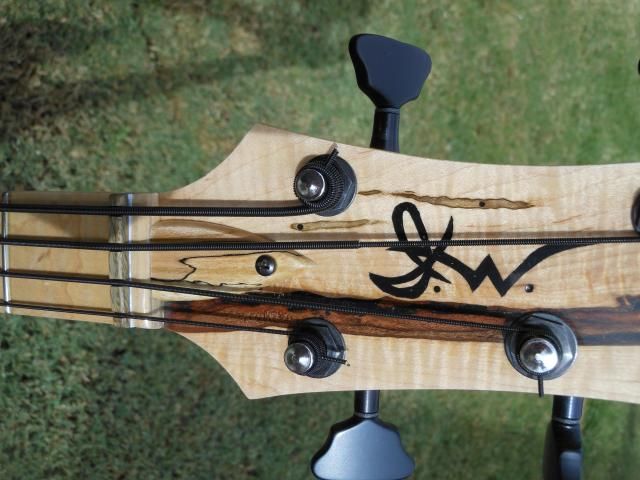
The logo was next in line.
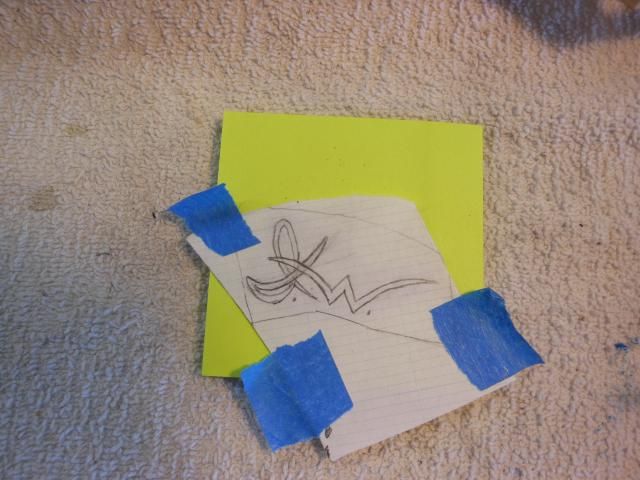
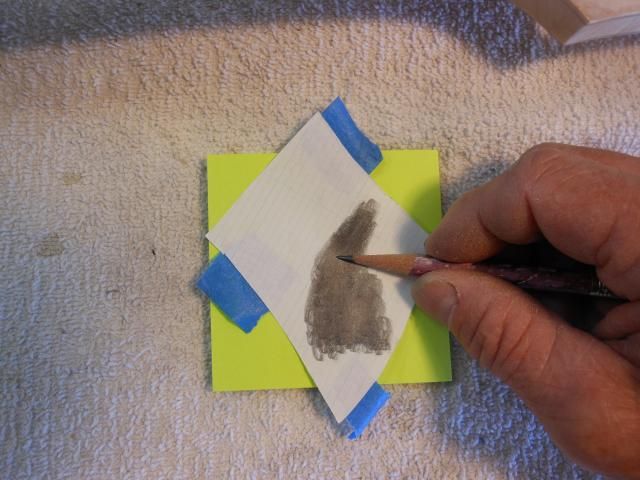
I draw out the logo on a piece of paper and flip it over and with a pencil I rub the paper with the side of the lead to make it like carbon paper. With that done It is taped in position on the head stock and traced with a scribe and the logo is transferred. I take an exacto knife and cut out the letters and fill with epoxy mixed with black powder. When the epoxy is cured it is sanded smooth and I have an inlayed logo.
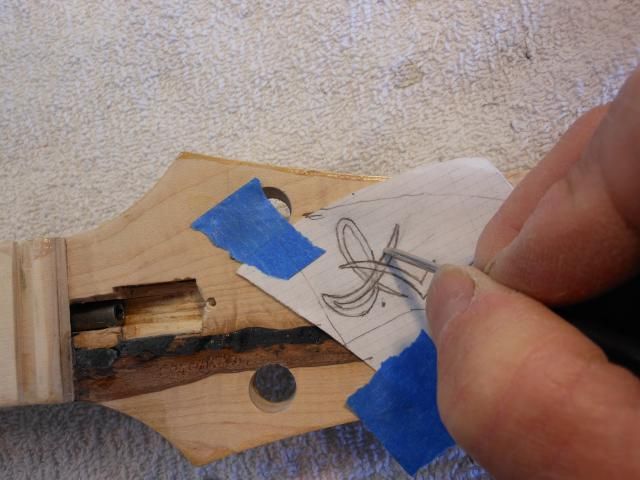
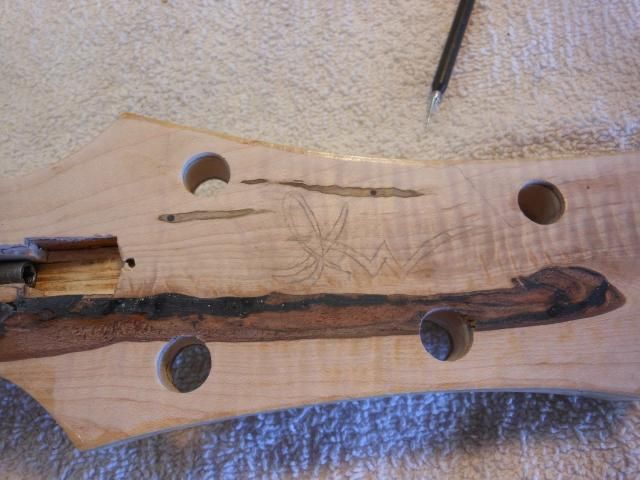
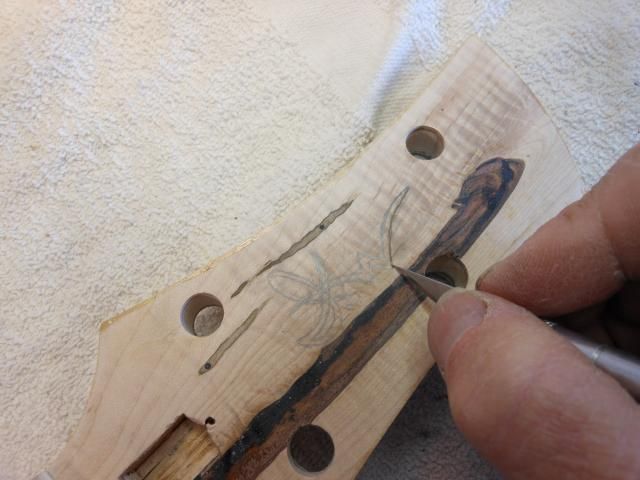
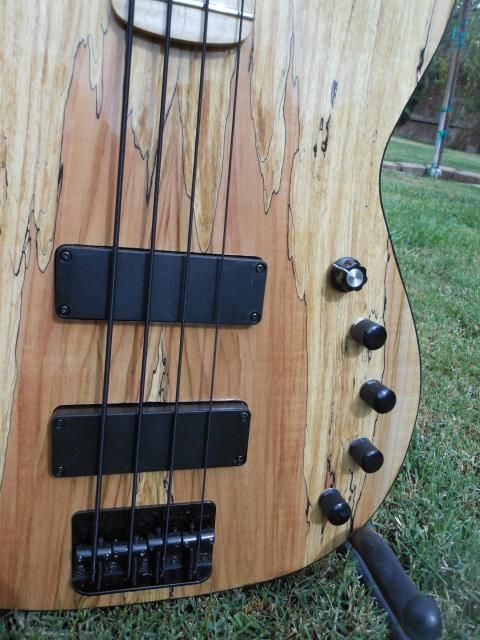
The finish I use is Stew Mac's Target brush on waterborne EMC2000. I use a cheap foam brush and get very good results. I tried a good nylon brush and kept getting bubbles in the finish. It dries fast enough to apply four coats in one day with no sanding in between coats. The next day I lightly sand to scuff up the surface and apply four more coats and let it dry and cure for a week before level sanding.

Now we are up to date.
Thanks for looking
Tedward
Re: Another Bass Build
Posted: Mon Oct 07, 2013 1:32 pm
by Tedward
Re: Another Bass Build
Posted: Tue Oct 08, 2013 5:52 am
by Andyjr1515
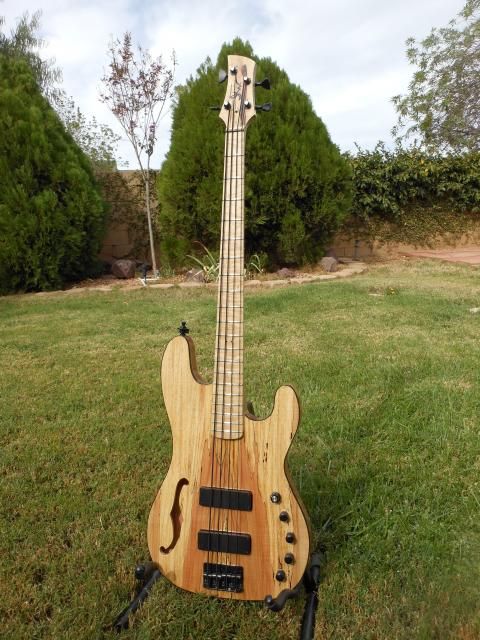
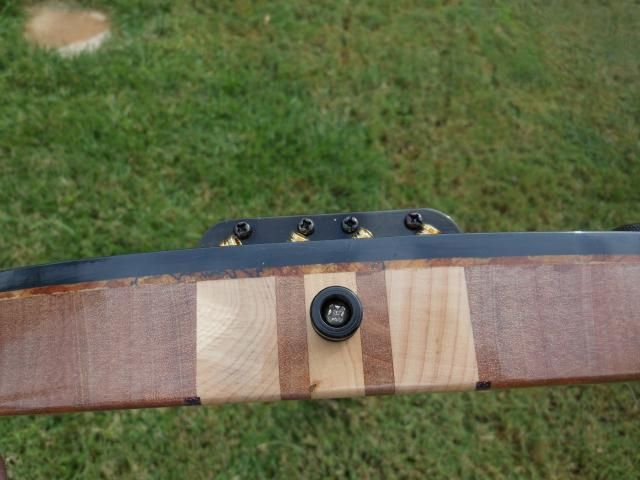
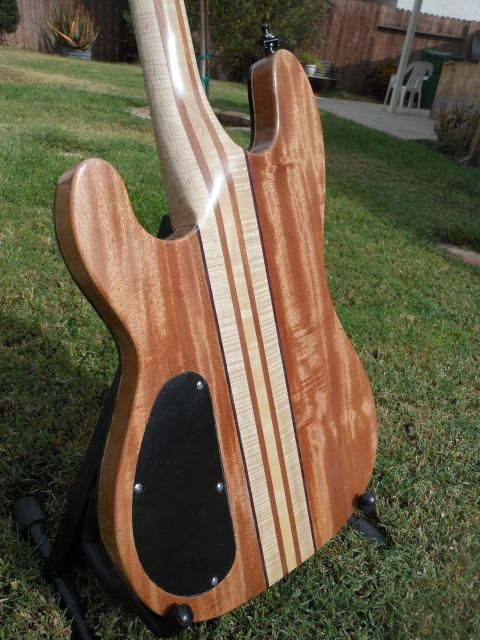
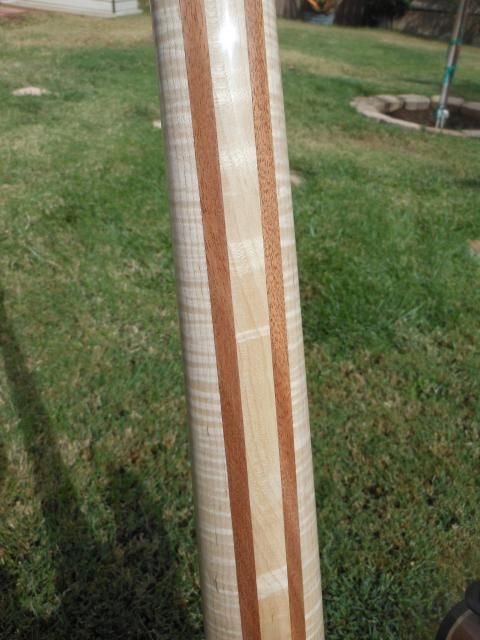
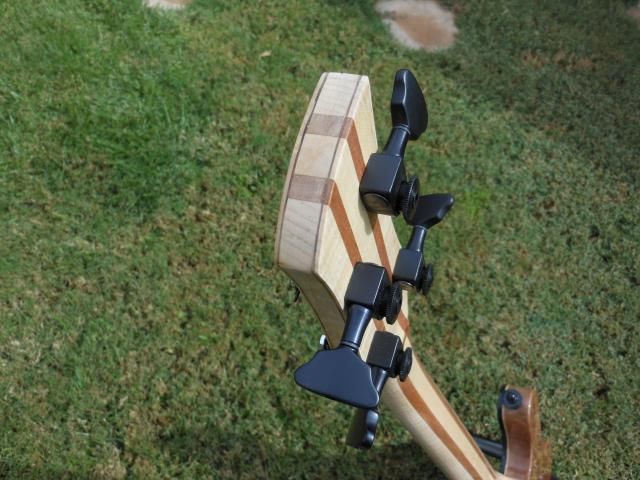
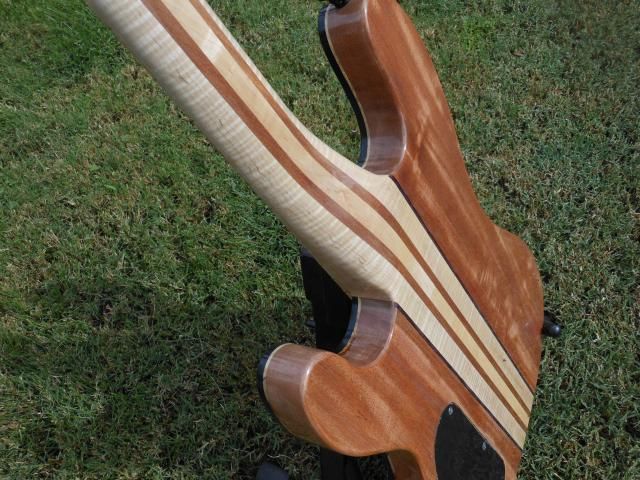
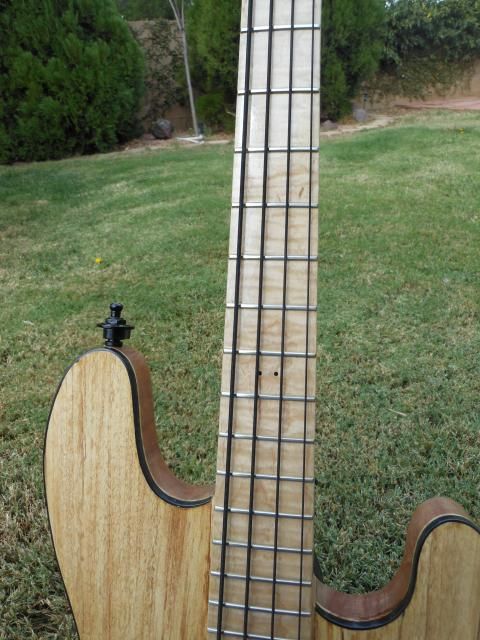
That is absolutely gorgeous! Fabulous neck carve and finish, too
Andy
Re: Another Bass Build
Posted: Tue Oct 08, 2013 8:27 am
by Dennis Leahy
Looks great, Tedward!
Do you put a finish on Maple fingerboards? If yes, what do you use?
Dennis
Re: Another Bass Build
Posted: Tue Oct 08, 2013 11:51 am
by Pat Foster
Way cool!
Pat


