OK, here is the skinny on the back bracing.
On my last 3 guitars, I have been using a double "X" back bracing laminated out of layers of strips. The strips are 3/16" wide by 5/32" thick.
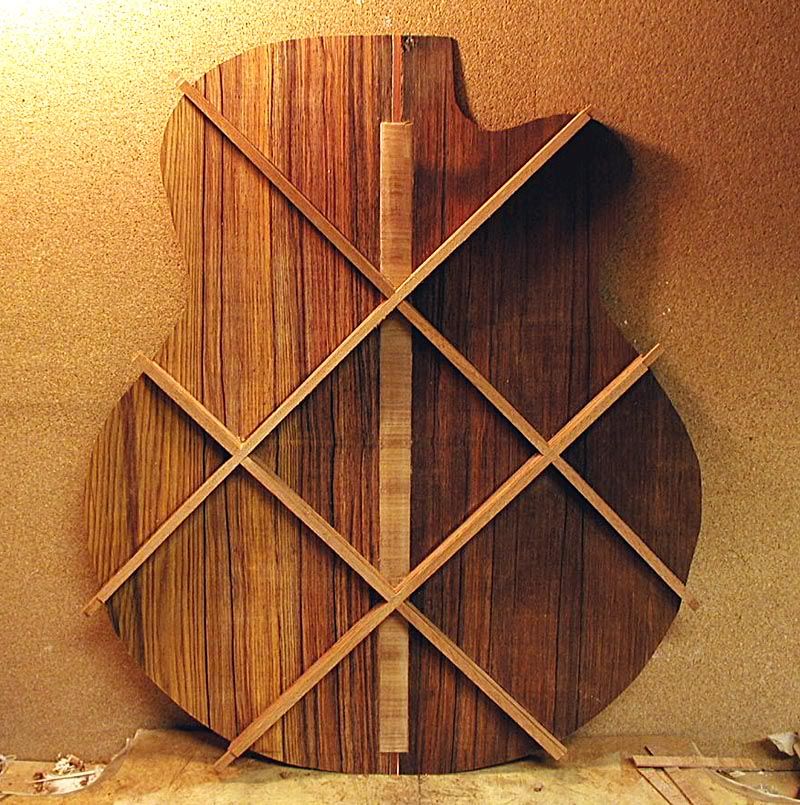
Here is the layout for the first layer:
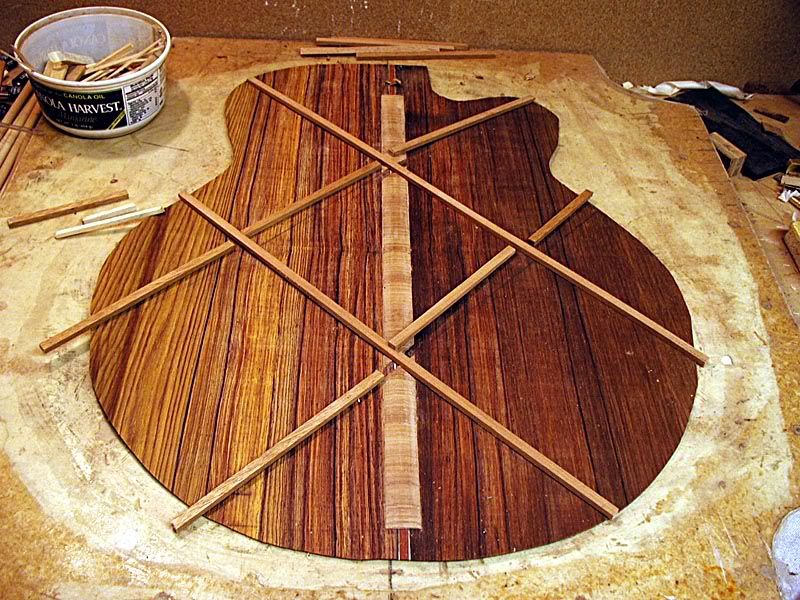
Alternating layers cross the opposite ways at the "X's", so the joins interlock. This is glued up in my radius dish mold.
Here it is starting the glueup:
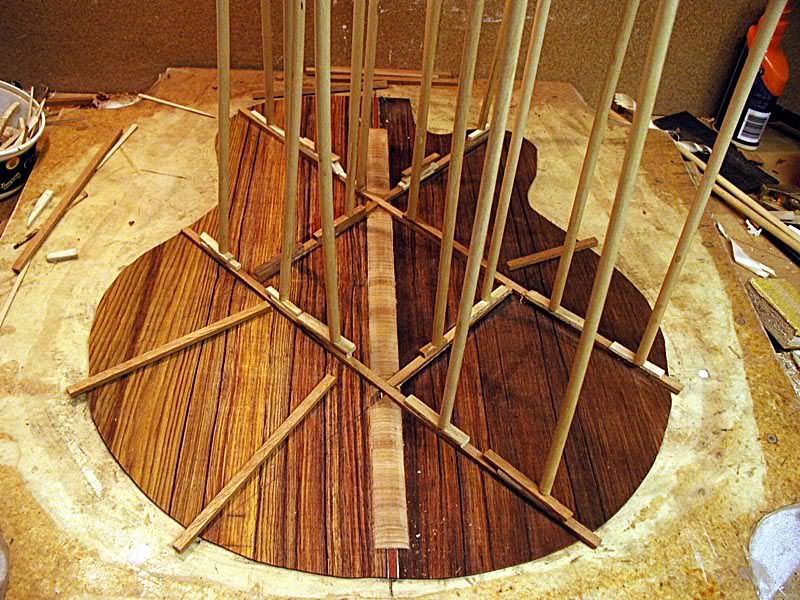
The central part is 6" square on the outside. On smaller bodied guitars I use 5 1/2".
After a few more layers:
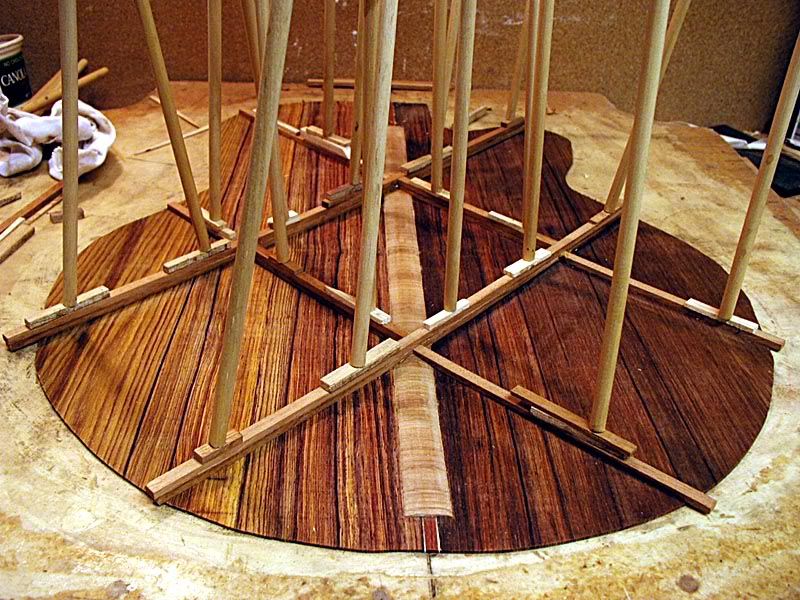
I use 3 layers of the 5/32" thick strips.
The fourth layer is a 1/16" thick strip to cap off the x's
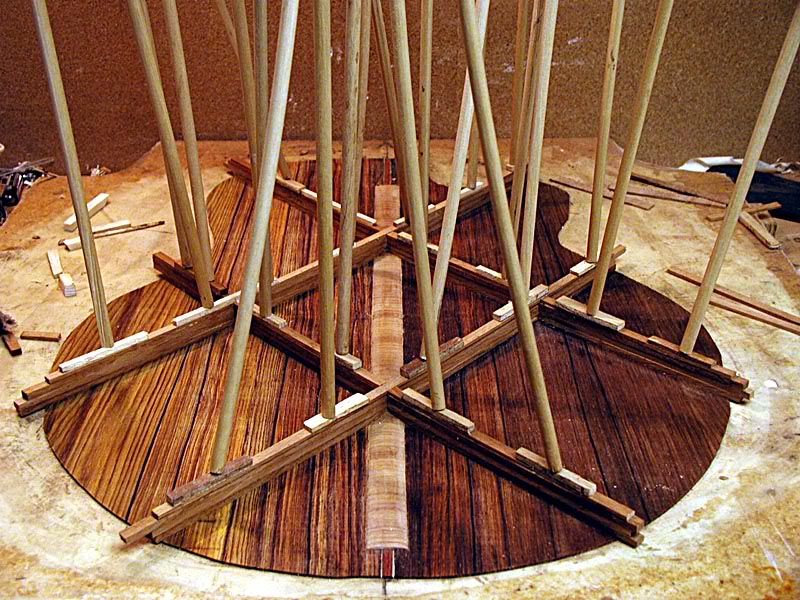
This gets everything level and ties everything together.
Here it is all glued up:
At this point it is pretty massive.
Next, I will go over it with a specially ground router bit to taper the sides of the braces.
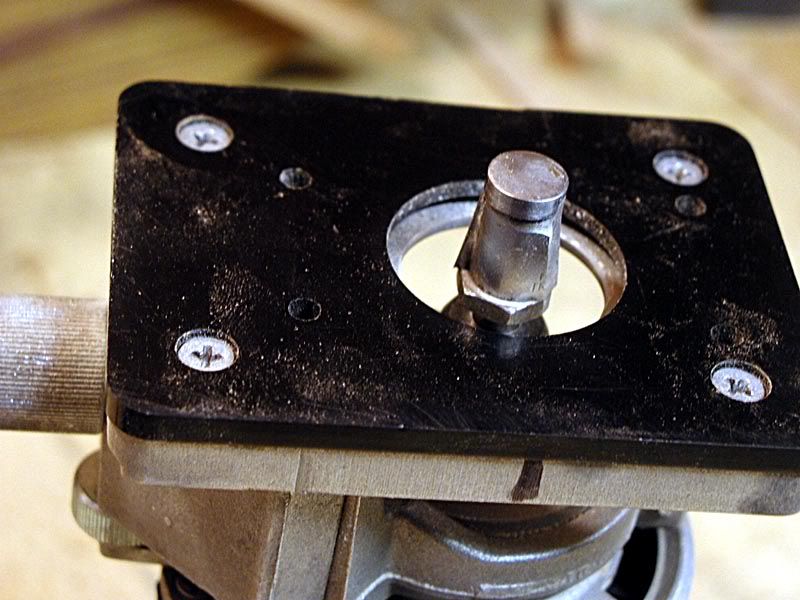
I ground this bit down from an old Craftsman bit, and cut the pilot to a shallow depth so it just rides on the bottom layer strip.
Here it is after routing:
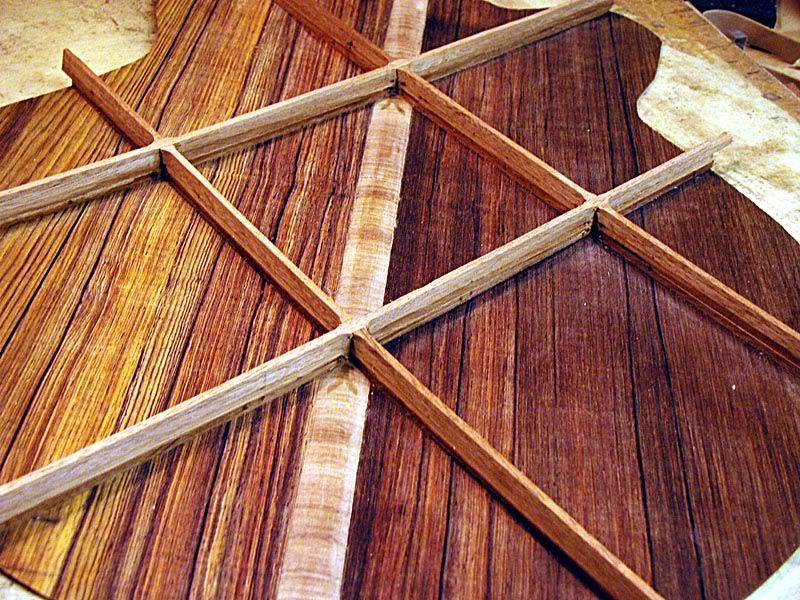
This is just the first step in shaping the cross section of the braces. It is rough at this point, but a lot of wood has been removed.
You can see that the full height laminated braces follow the curve of the dish mold:
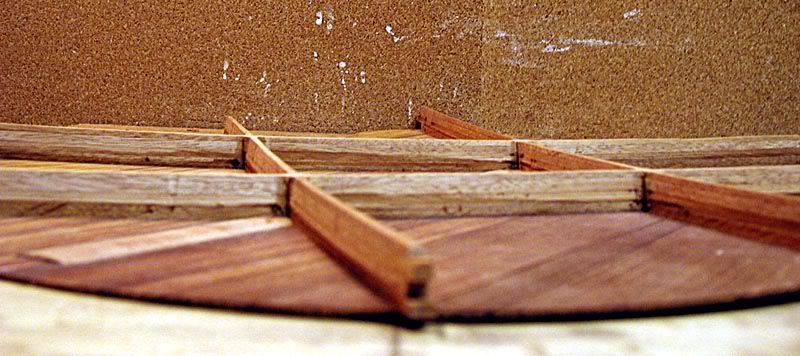
I will use a block plane and a sanding board to make the tops of the braces level.
Here it is after that step:
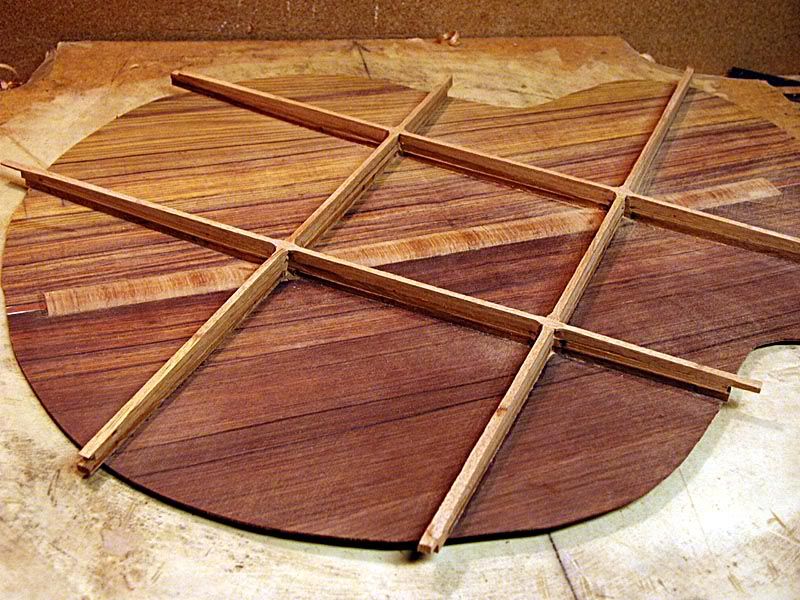
This tapers the braces a bit.
Another view:
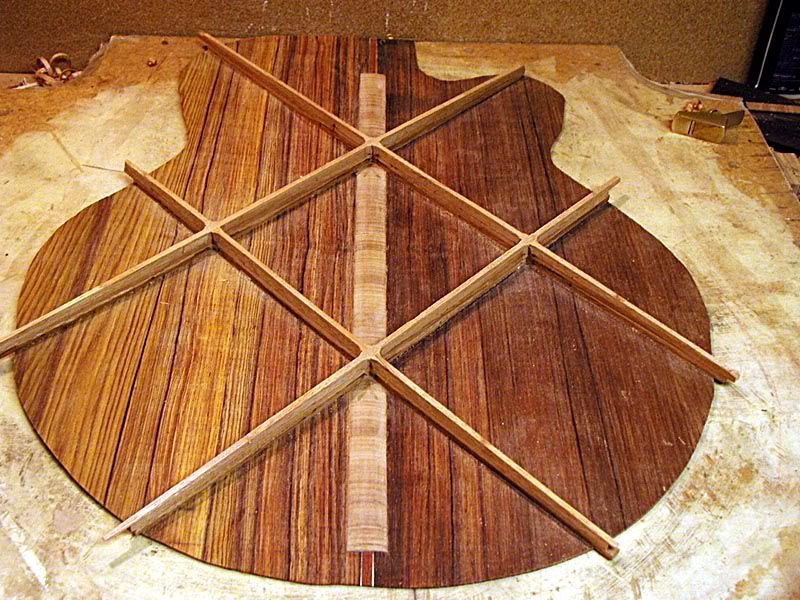
These two steps have removed about 25% of the brace mass. Next, I will be using small planes to further taper the ends of the braces and clean up the brace sides. Then everything will be rounded over and sanded smooth. I will be doing that tomorrow.
I really like the result of this bracing. The back shape ends up very uniform and sturdy. It is a bit more time consuming than traditional ladder style bracing, so it is not a good "production" alternative. I do feel that an added benefit is that it will better allow the back to expand and contract with moisture changes without cracking.
G


