Well, I farted around a bit more today than I planned. Didn't even get out to the shop until after lunch

And then this afternoon I spent a couple of hours out in our garden tunnels and hiking out in the woods to the peat mine to get some dirt so Christy could transplant tomato plants.
But I did make progress on the guitar

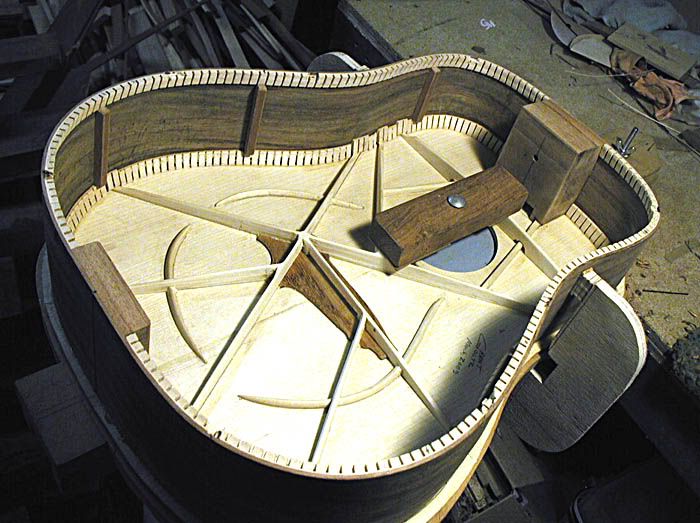
Here are the top linings after removing the clamps.
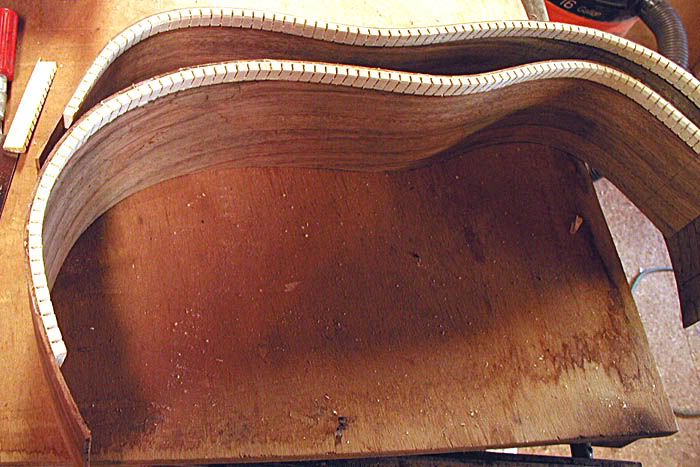
Then I clamped a big long sheet of sandpaper to the top of the table saw and sanded the lined edge perfectly flat.
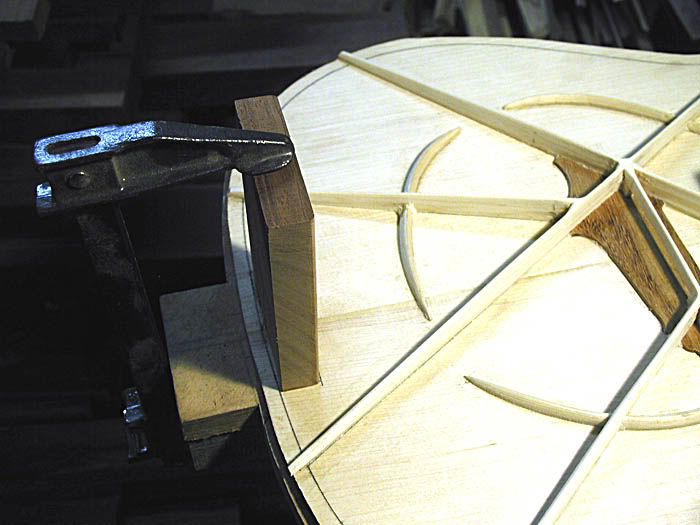
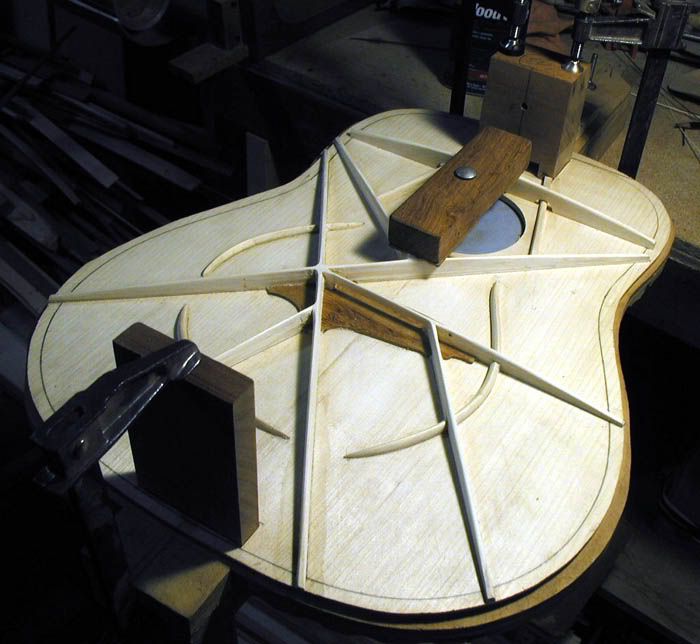
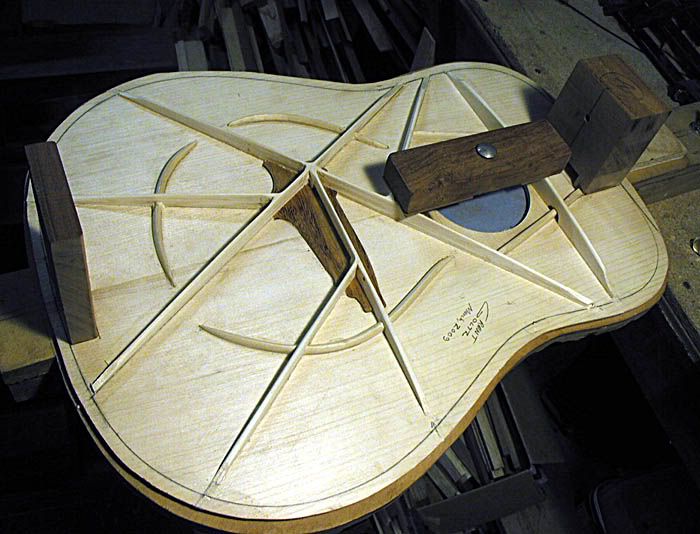
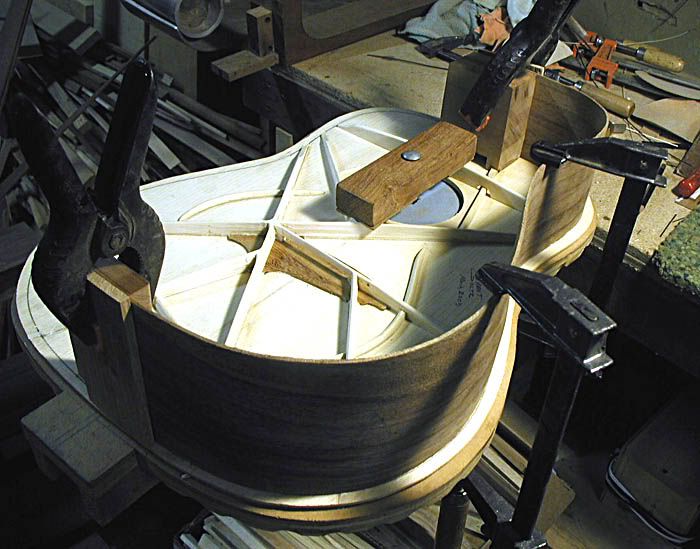
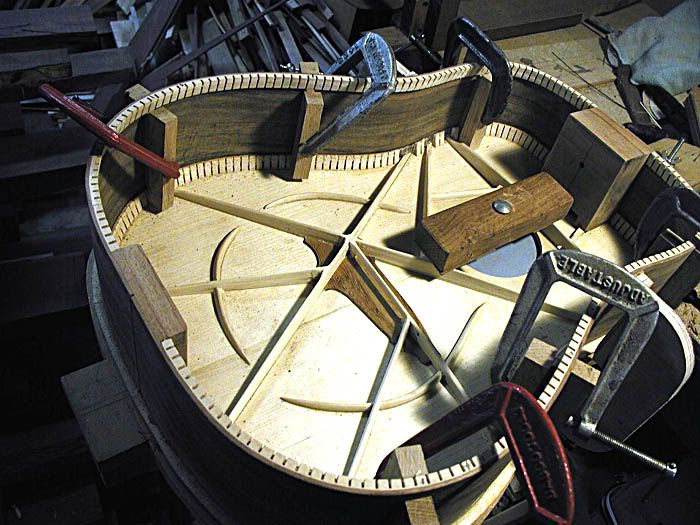
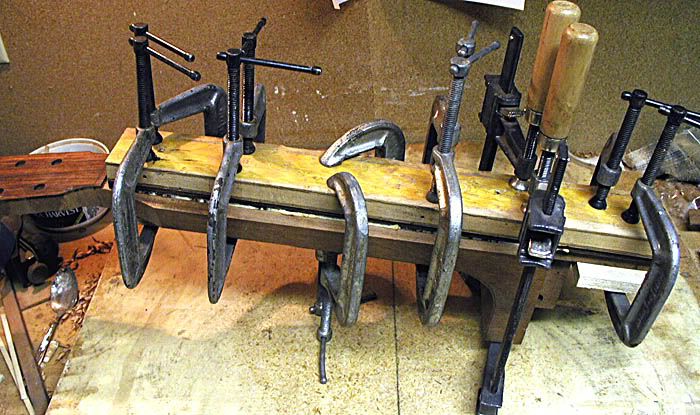
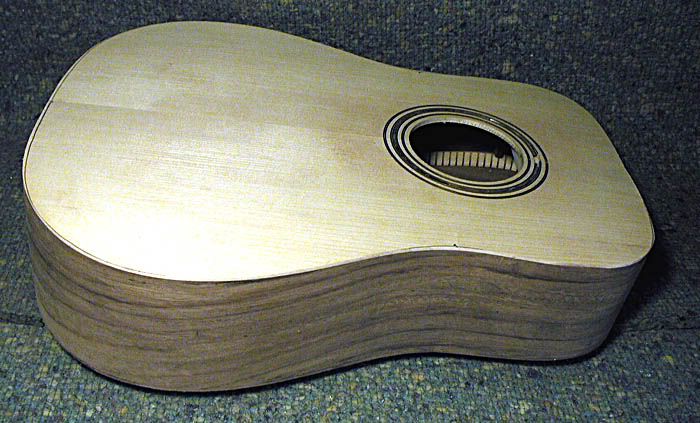
So here is the first side being glued in.
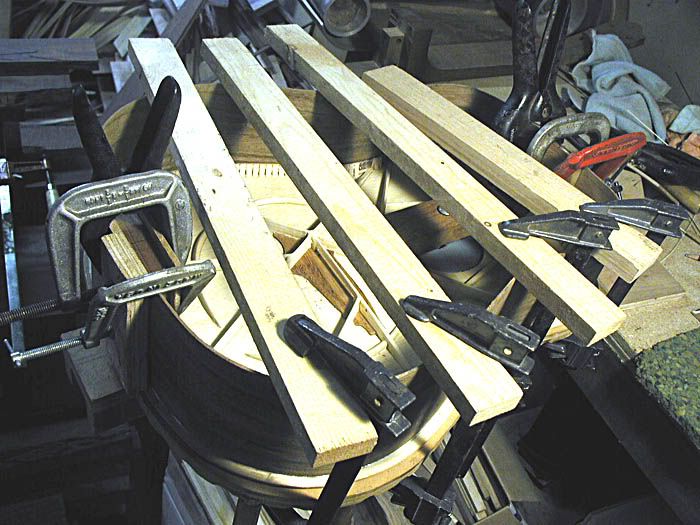
The far side is in place just to support the clamping crosspieces. I clamp the sides down to the top while the ends of the side are just held to the blocks with spring clamps. The body outline is drawn on the inside of the top, and I just adjust the sides to the line as I clamp. Loosen and reclamp as needed. Then I clamp the cork lined cauls at the end blocks tightly with C-clamps. When the first side is dry, I repeat the process on the other side.
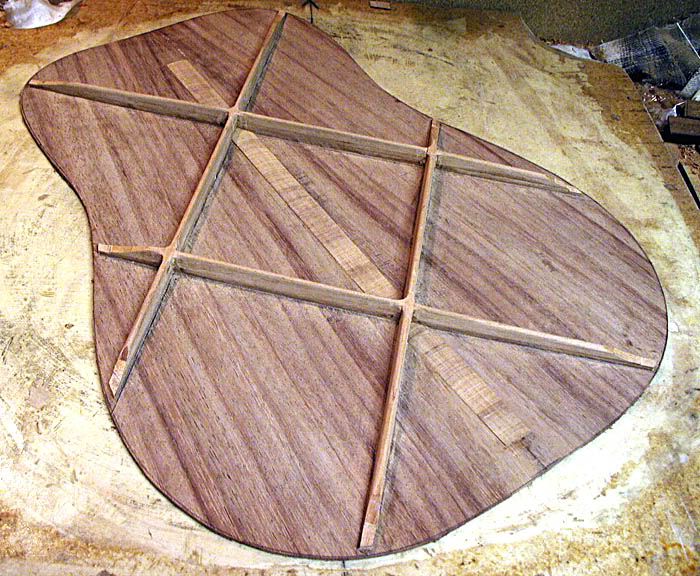
Another task today was to brace the back. I used my laminated X bracing.
Here is the layout.
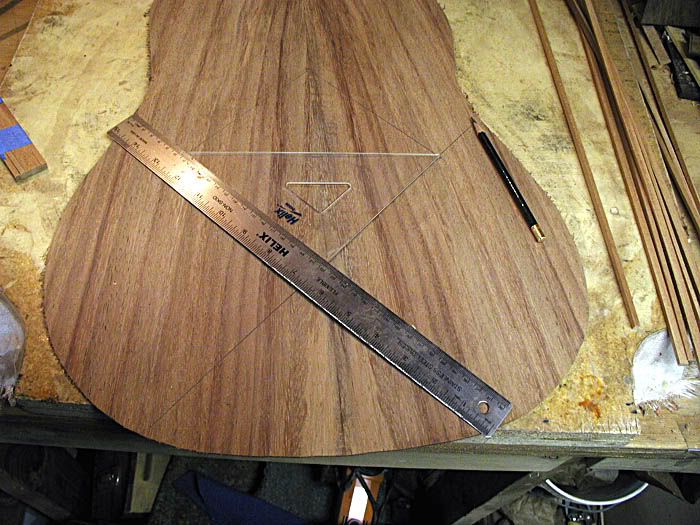
I use a small triangle to lay out the center section. It is just a square, 6" on a side, approximately centered on the back, diagonally. Then I extend the lines by placing a ruler against the triangle. Takes just a few minutes.
Here are the pieces for the first layer.
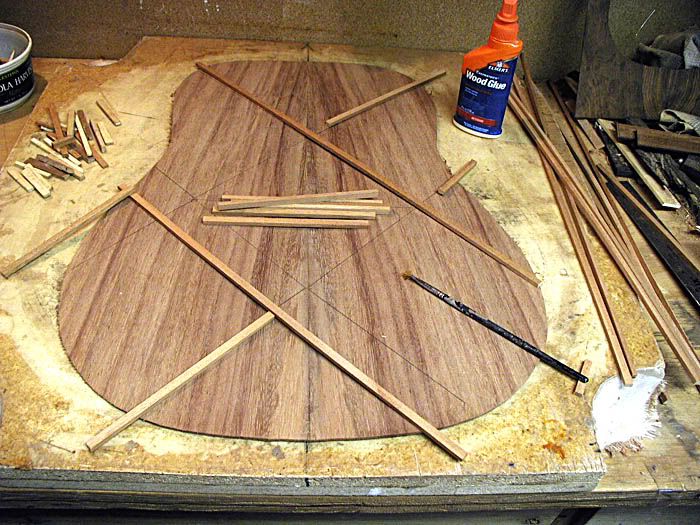
I use 4 layers, alternating the full length diagonals with each layer to lock the X crossings.
Here is the first layer glued.
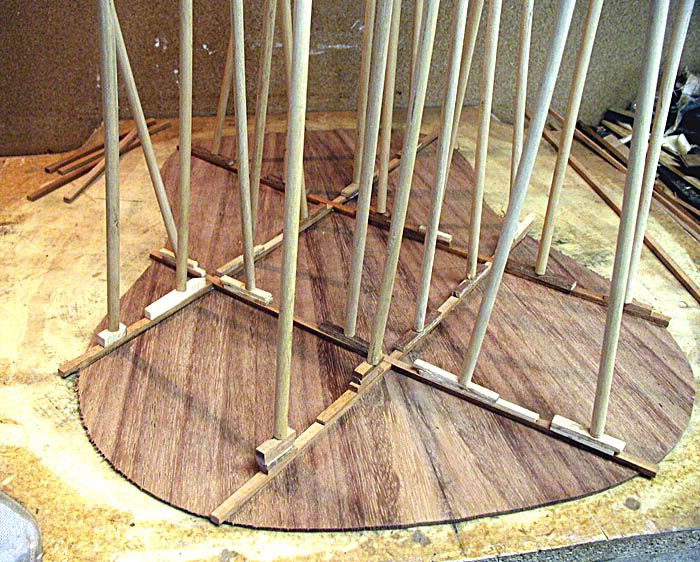
Just keep adding layers as the glue dries. The last layer is a bit thinner than the first 3. It is important to get the first 2 layers perfectly stacked. If the last 2 layers are a bit off, the routing cleans them up fine.
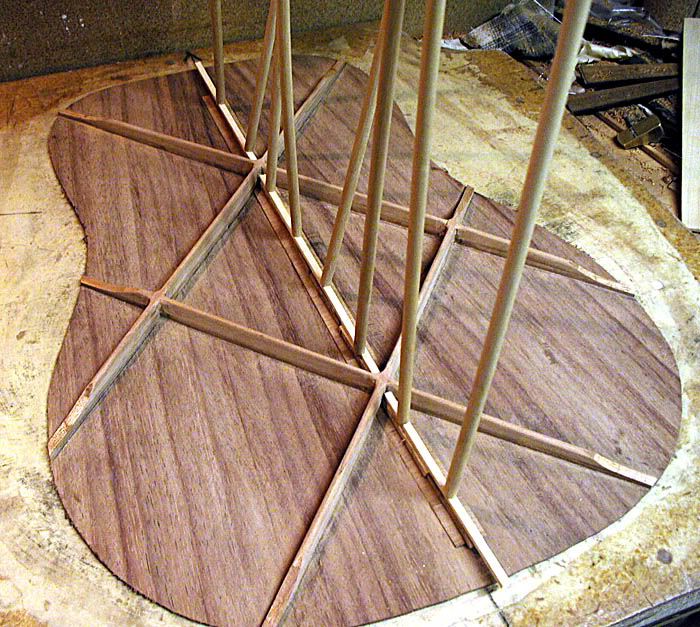
All the layers glued.
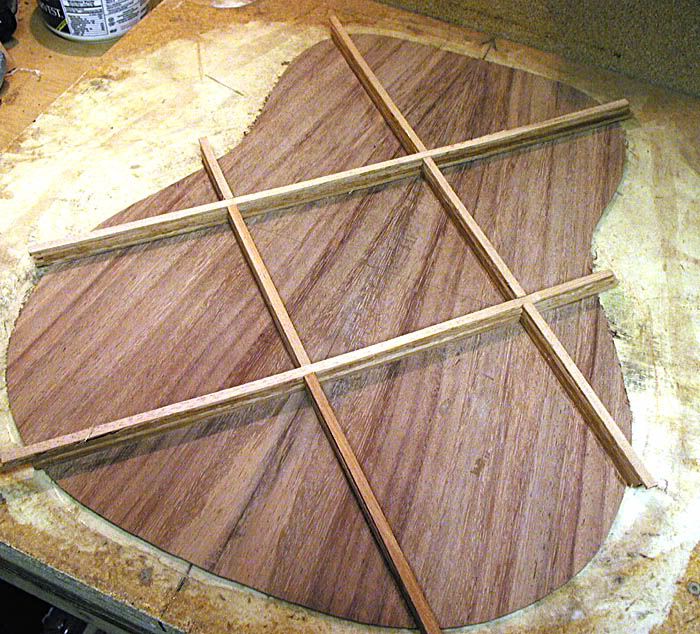
And routed with my remodeled tapered bit.
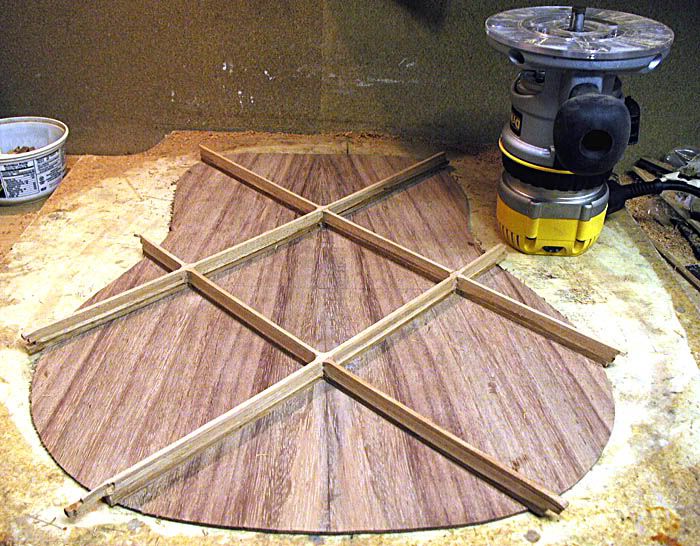
I used my regular router on this because I can set the speed slower. Each side of the braces ends up being tapered about 1/16" inward.
Here they are all sanded and with the ends trimmed.
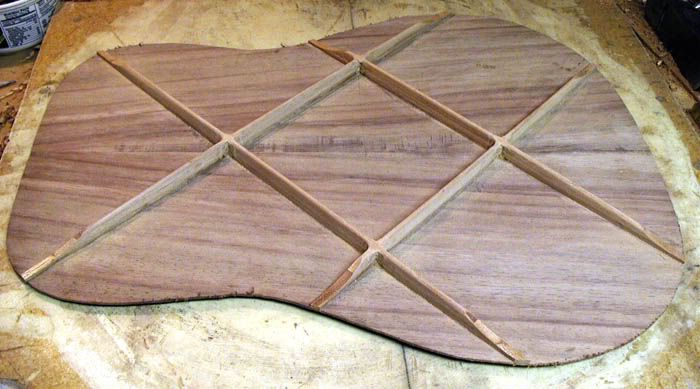
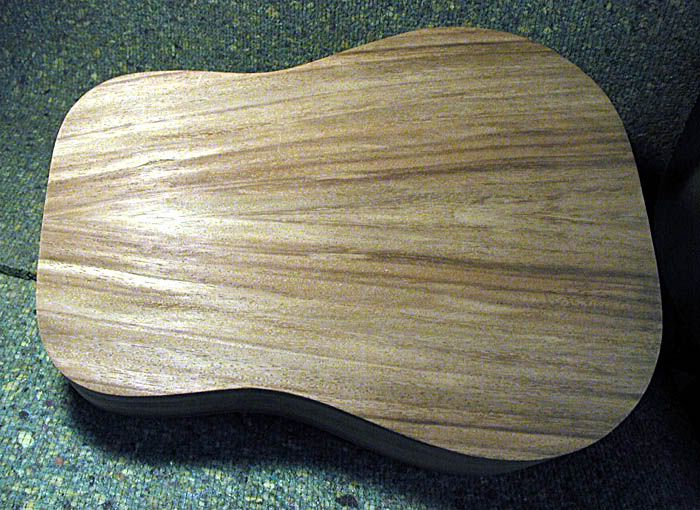
So the back is almost ready to go. Just need to add the center crossgrain strip. I left it out until after routing and sanding the braces to make that easier.
I have to say that I really like this back bracing. The unbraced back had a rather dead sounding tap. With this bracing it really rings. And it holds the shape very well.
I put the dish mold onto the sides and traced around under it to mark the high spots on the sides. Then I used the block plane to do the small bit of trimming needed and finished by pulling a piece of coarse sandpaper between the dish mold and the sides to even things up a bit more.
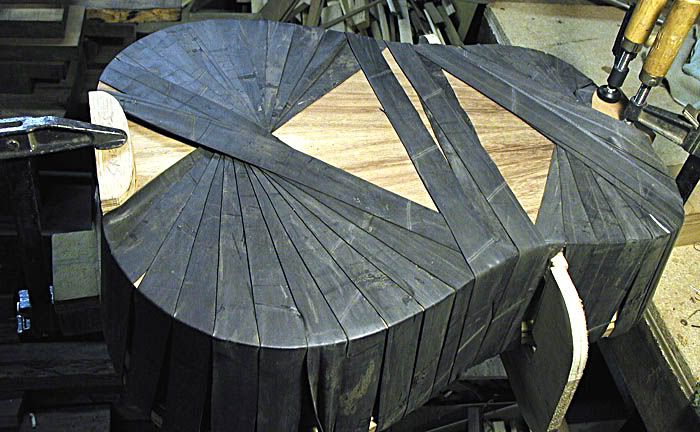
Then I glued on the back linings.
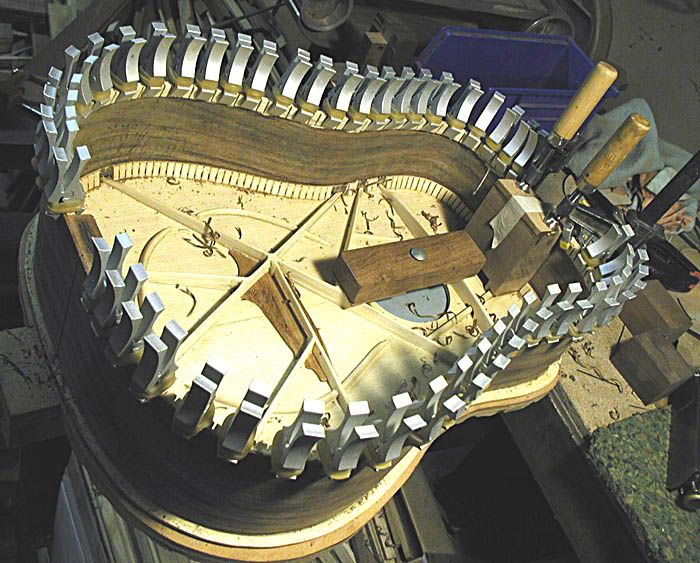
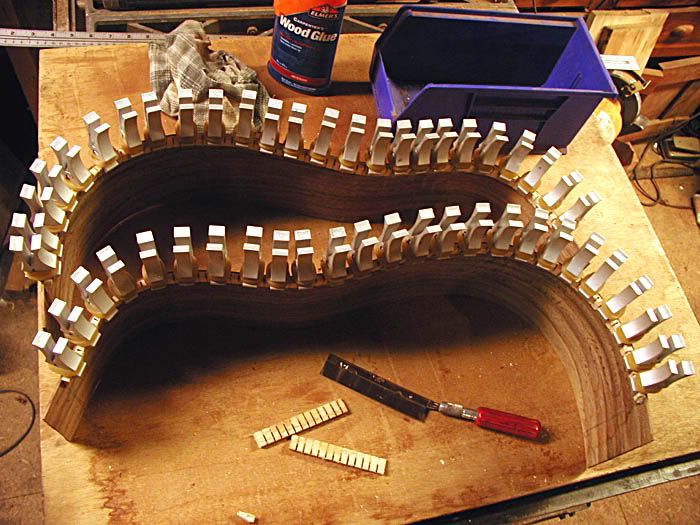
Notice I had to add a thin piece to buld up the neck block a bit. And I did clean up the glue run on the far side. Kinda looks like a huge crown roast with all those clamp ends sticking up

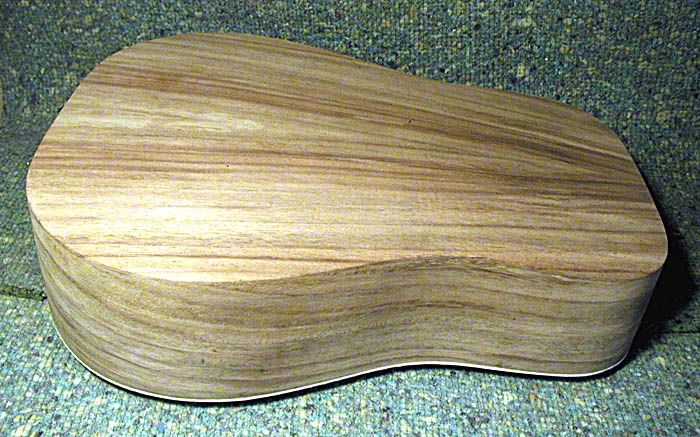
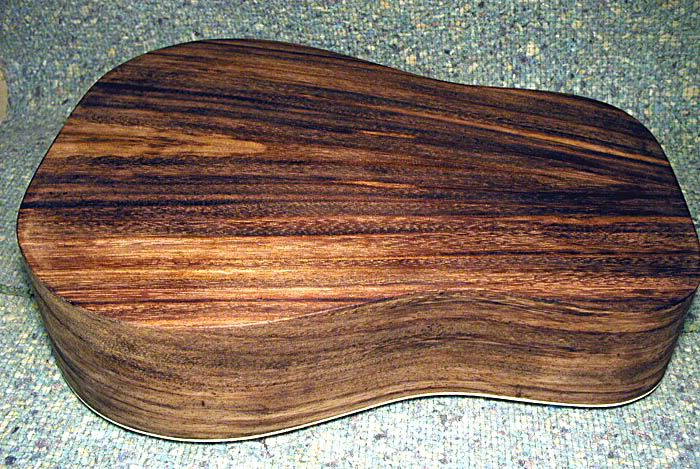
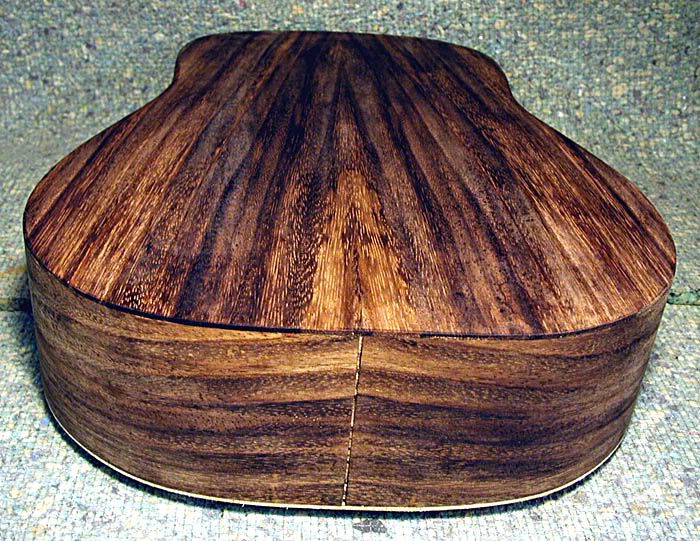
So that's all I did today. I have to clean up the neck block and get the bottom of it shaped, glue in the side braces and the crossgrain strip in the back, and cut the brace pockets in the back linings. Then I can glue on the back and it will be closed up. Maybe get that done tomorrow night.
G
