Double Cut Santana build
Posted: Sun Apr 08, 2012 6:32 am
Well I'm in the mood for building electrics at the moment and my Maple turned up a couple days ago from curlymaple.com so following the sucess of the PRS 24custom build and the faster turn around time compared to acoustic builds I'm off again with a Santanaesque double cut build, I found a set of gibson plans and tiled the image and printed out the body shape to make a template from mdf I had lying around, I then modified it slightly with my PRStemplate to get the pickup and control positioning right for the 25" 24 fret scale I'm using, up to now I'm using the same head shape as the custom but may change it to look more like the Santana headstock, so I guess its time for some pics cos I know thats what you guys like! 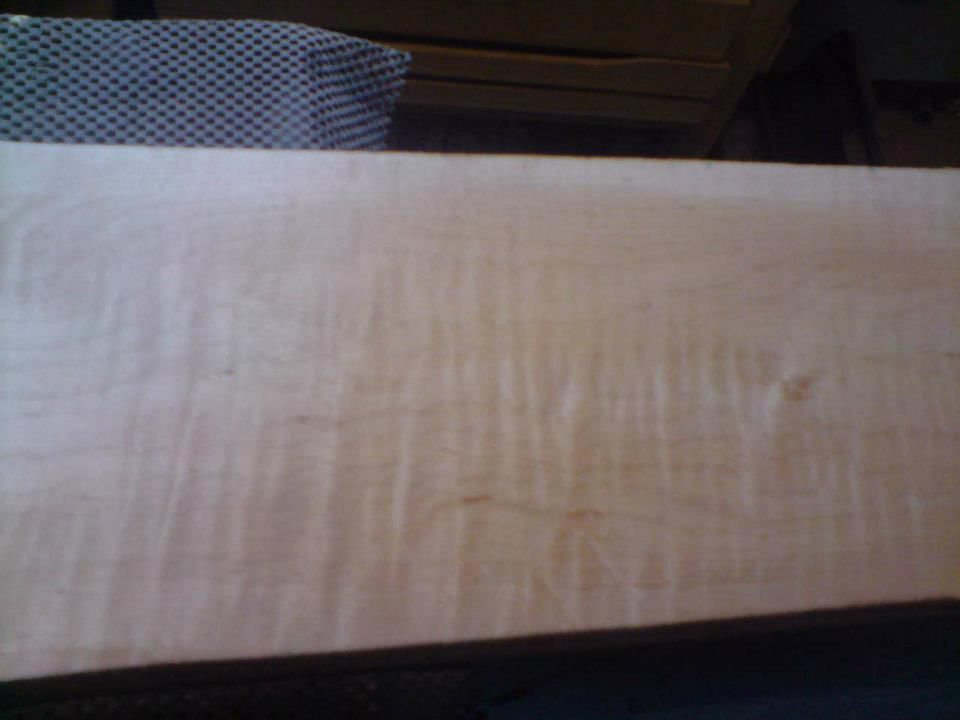 this is the maple I'm using for the neck stock... its 3"x 7 5/8" flat sawn kiln dried eastern red with some lovely figure, I re sawed it to get 6 28mm rough blanks out at 30" length
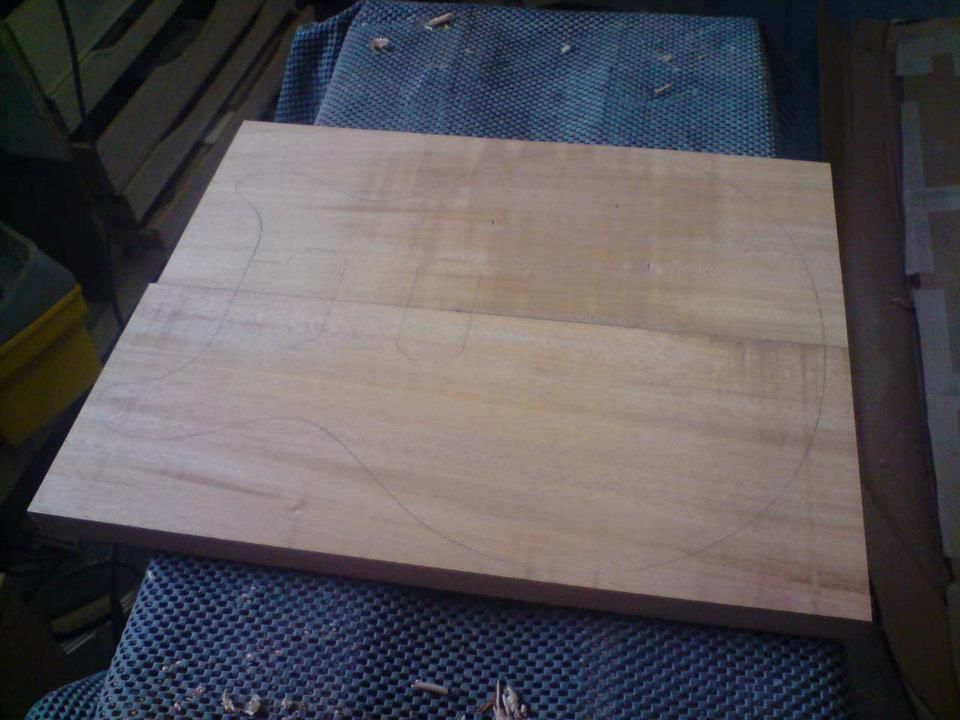 and this is some fijian mahogany I had lying around, it was 8" x1" so to make the body depth up I used a 20mm maple cap
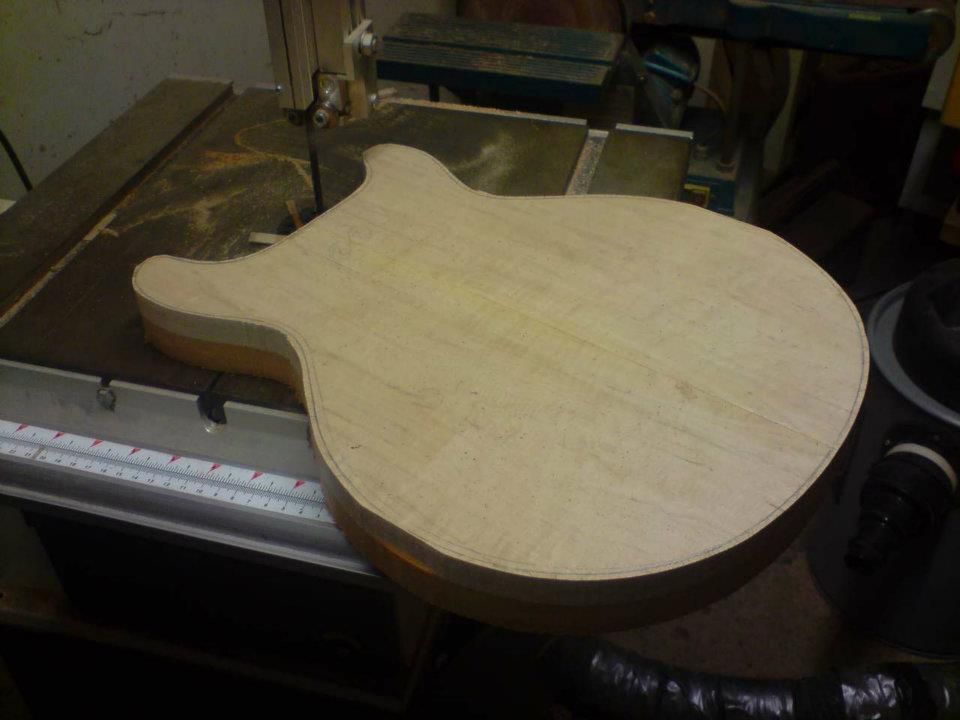 body blank glued up and bandsawed out oversized by about 3mm all round
 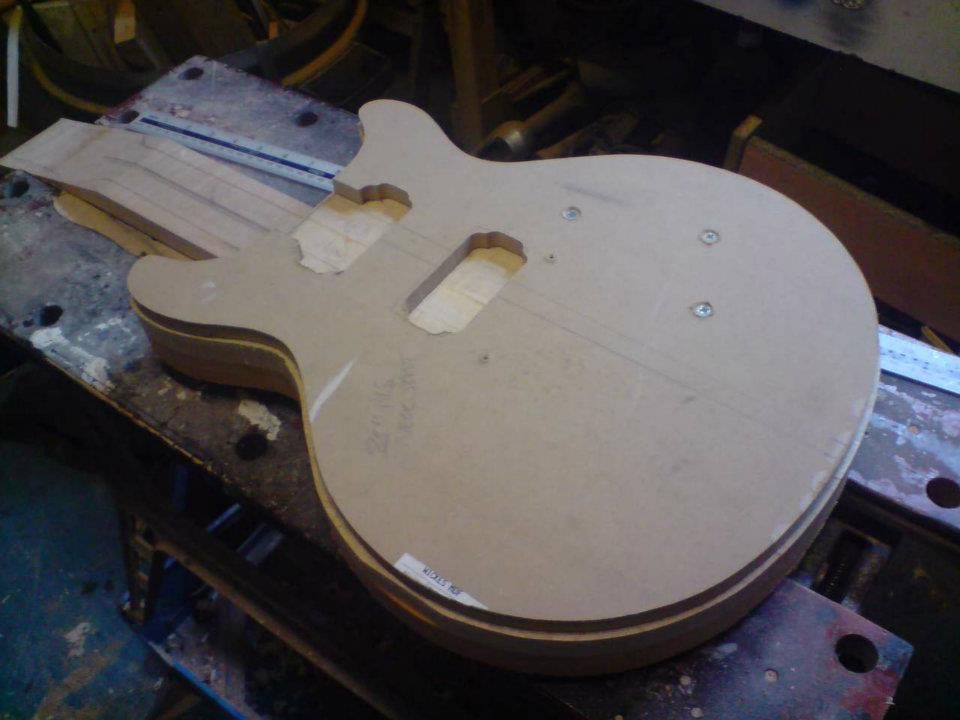 and here it is with the routing template screwed onto it using what will be the control mounting holes
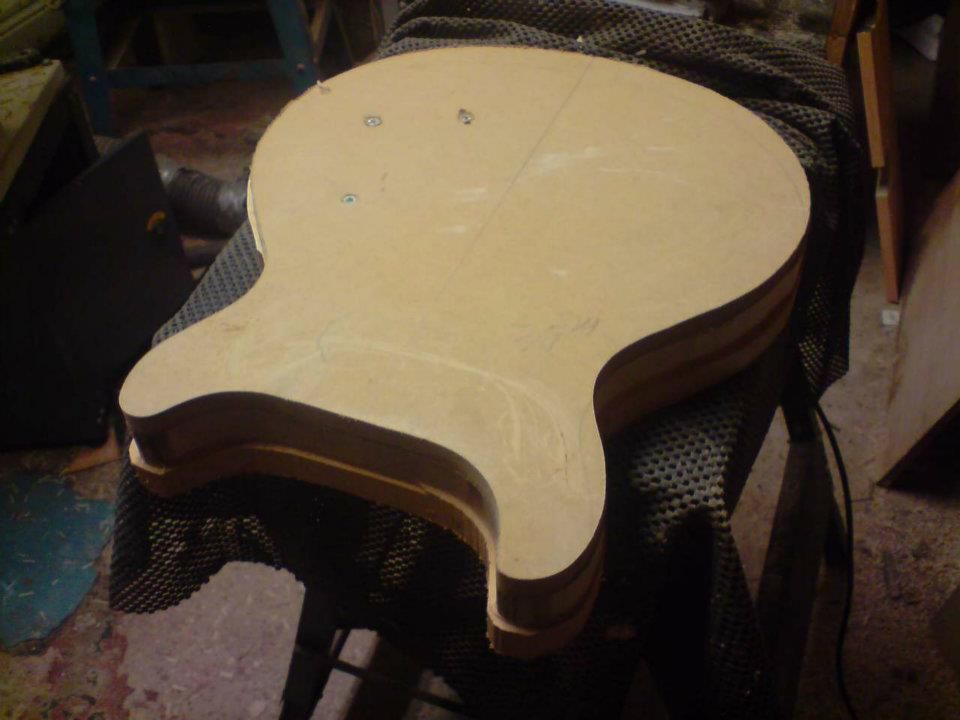
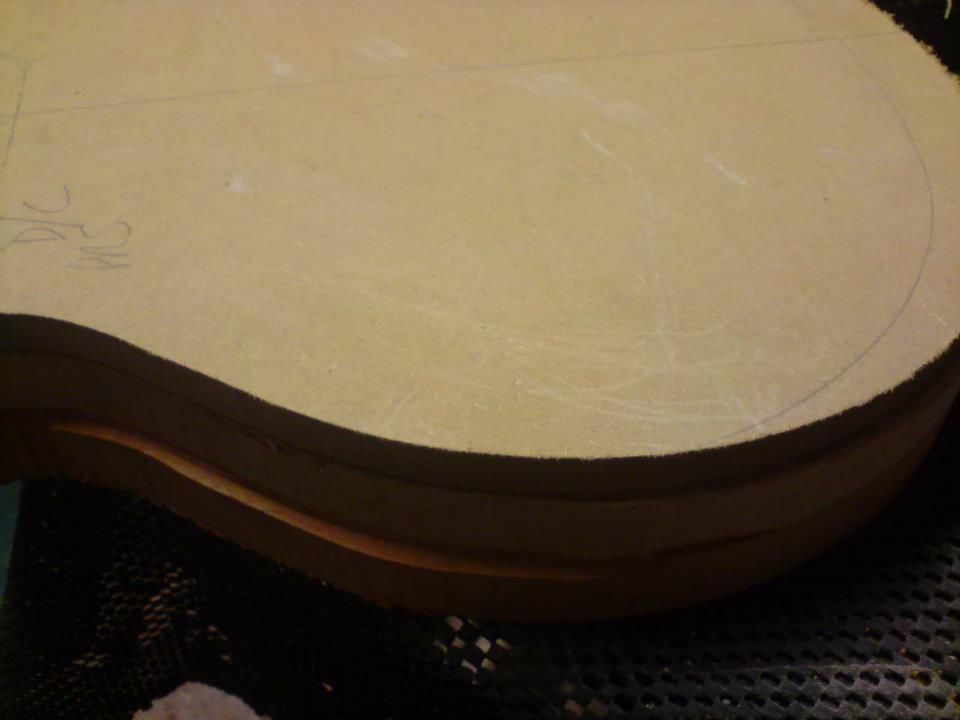
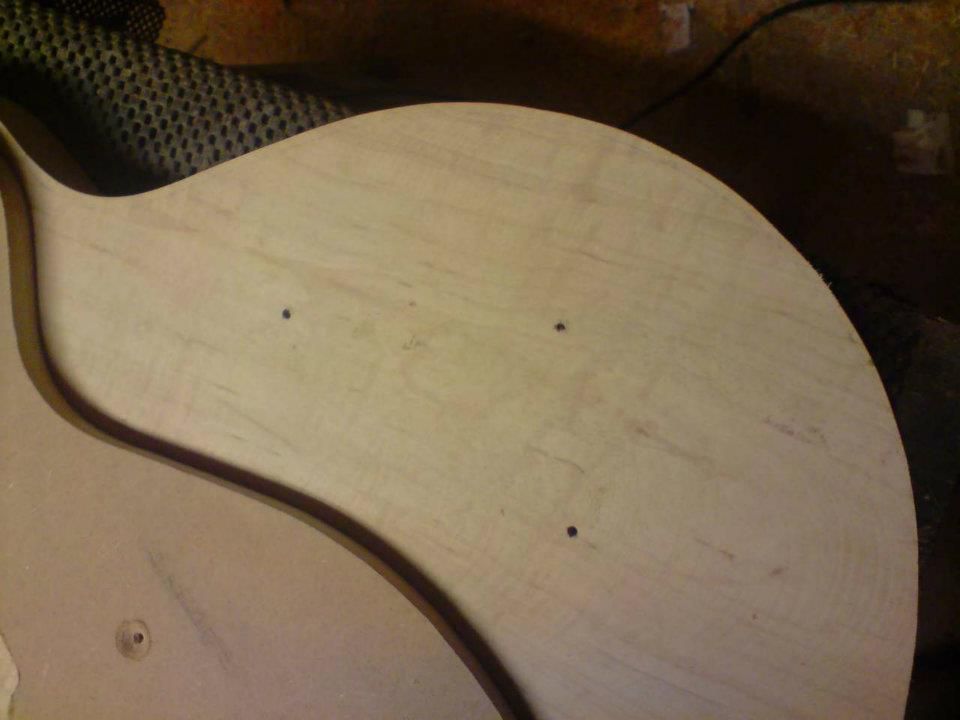 and onto the contour lines, drawn freehand
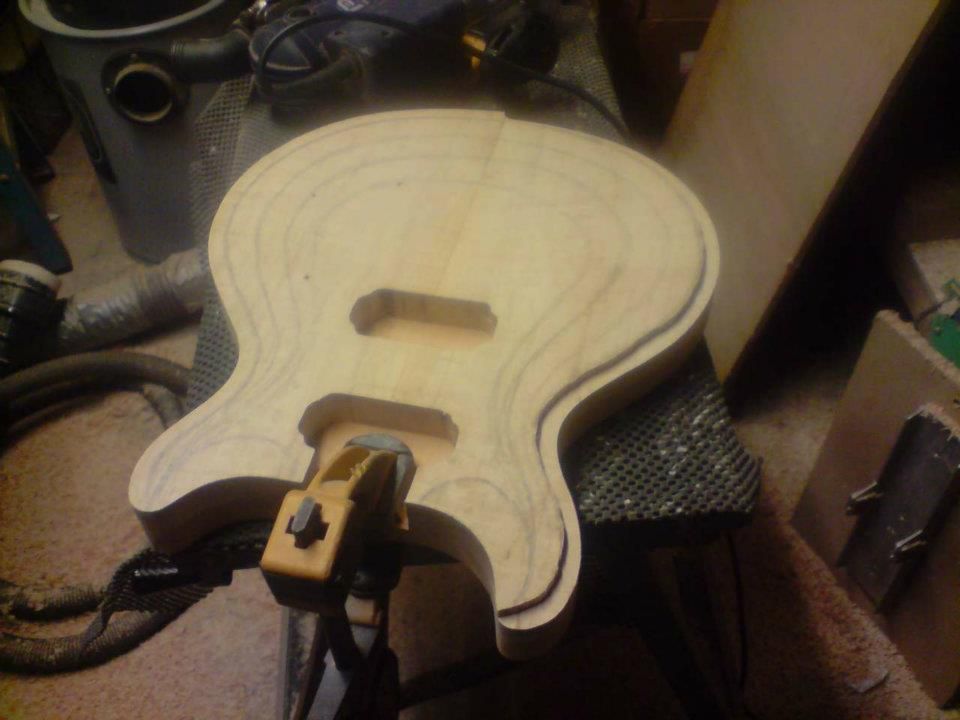 maybe should have put this pic in first , routing the neck pocket and pickup cavities before carving the top
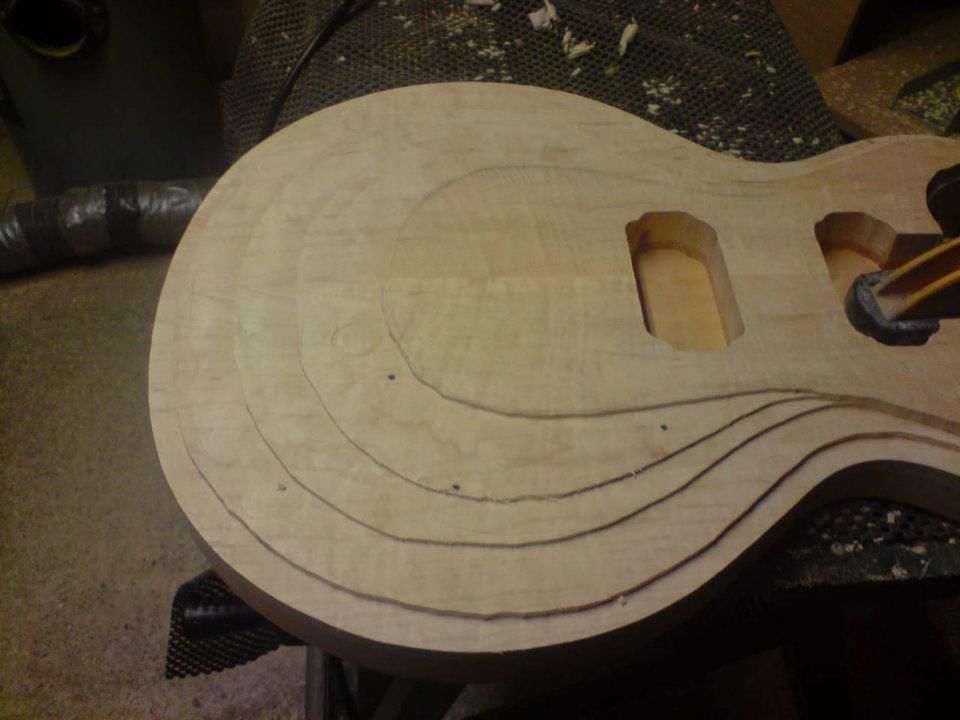
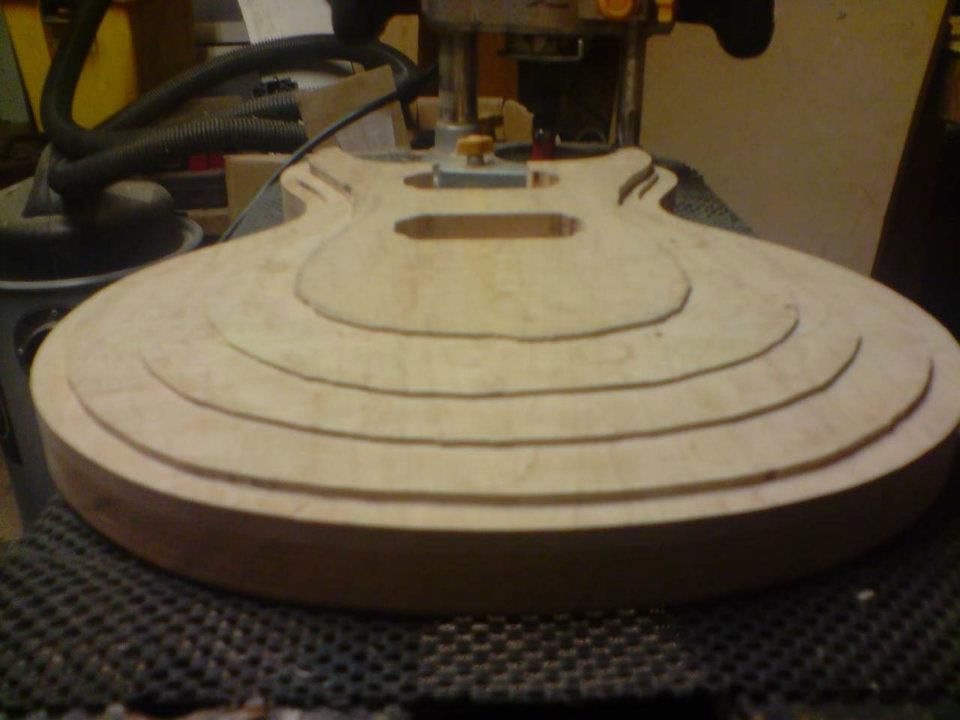
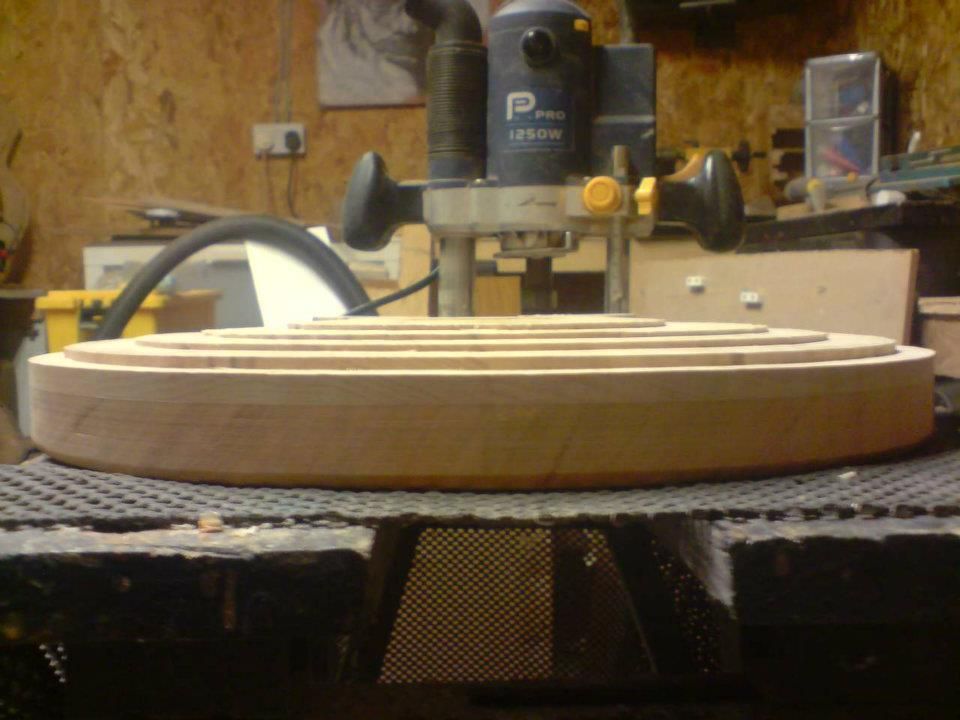 then its back to my favourite little plane to carve the top
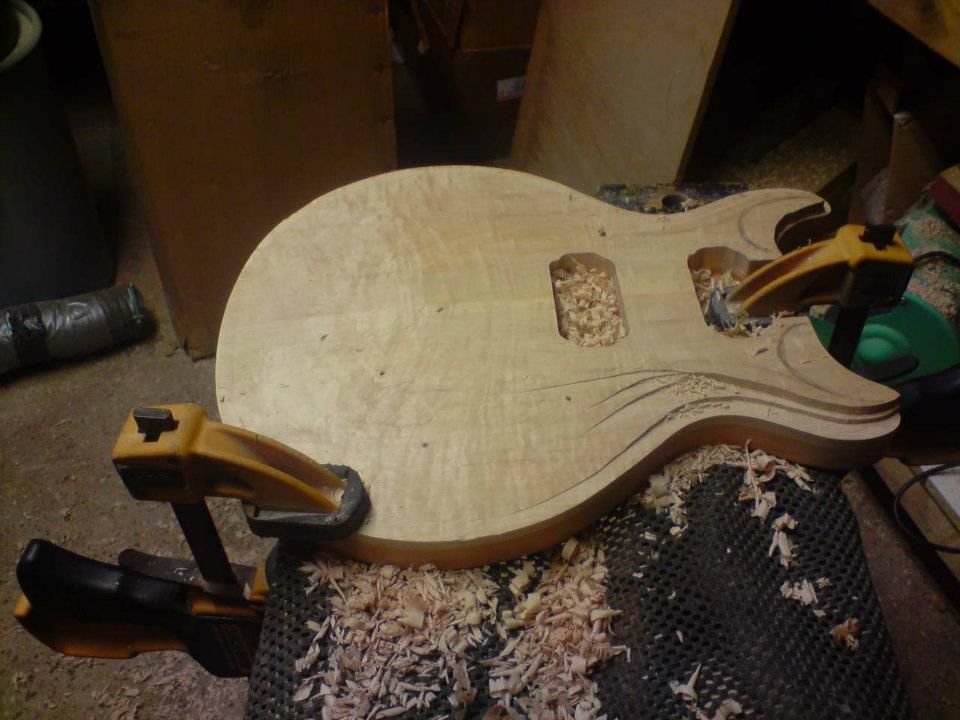
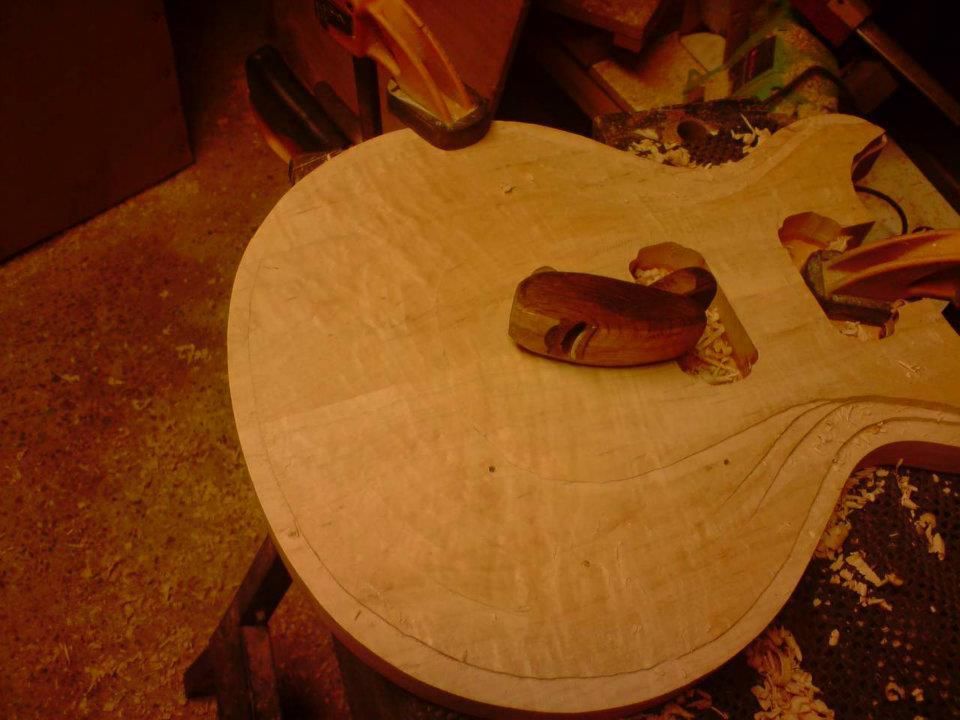
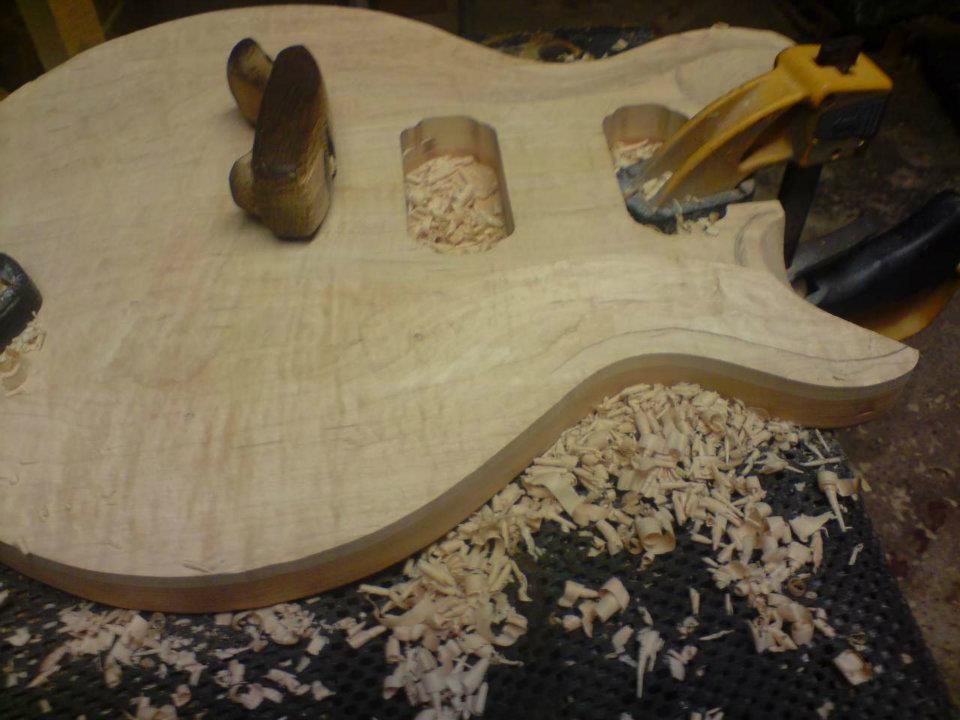
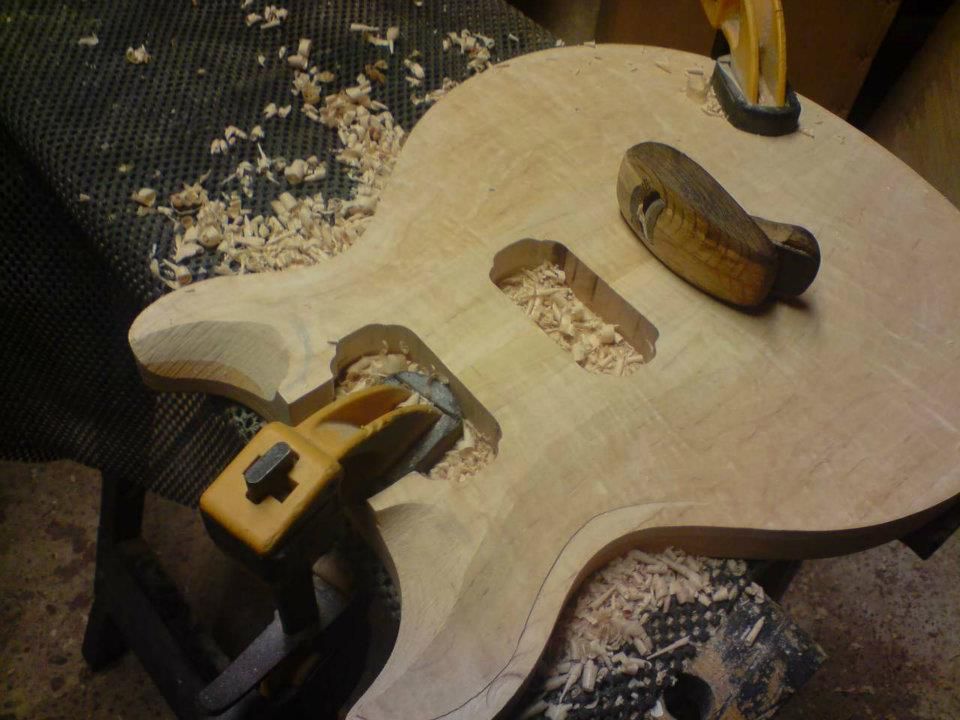 inside of the horn I did with a round surform
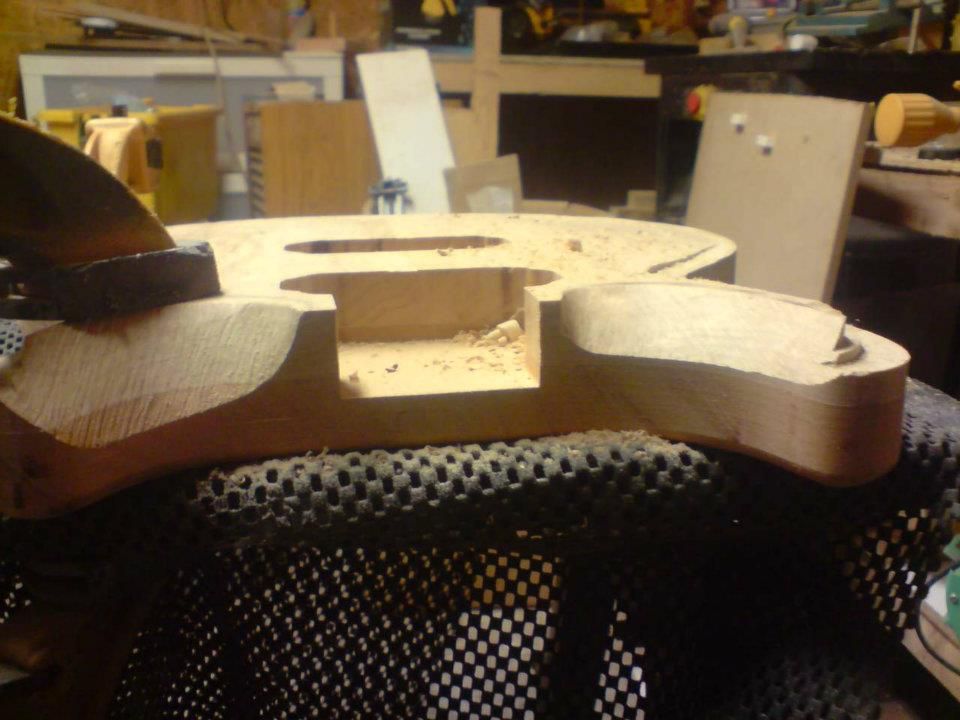
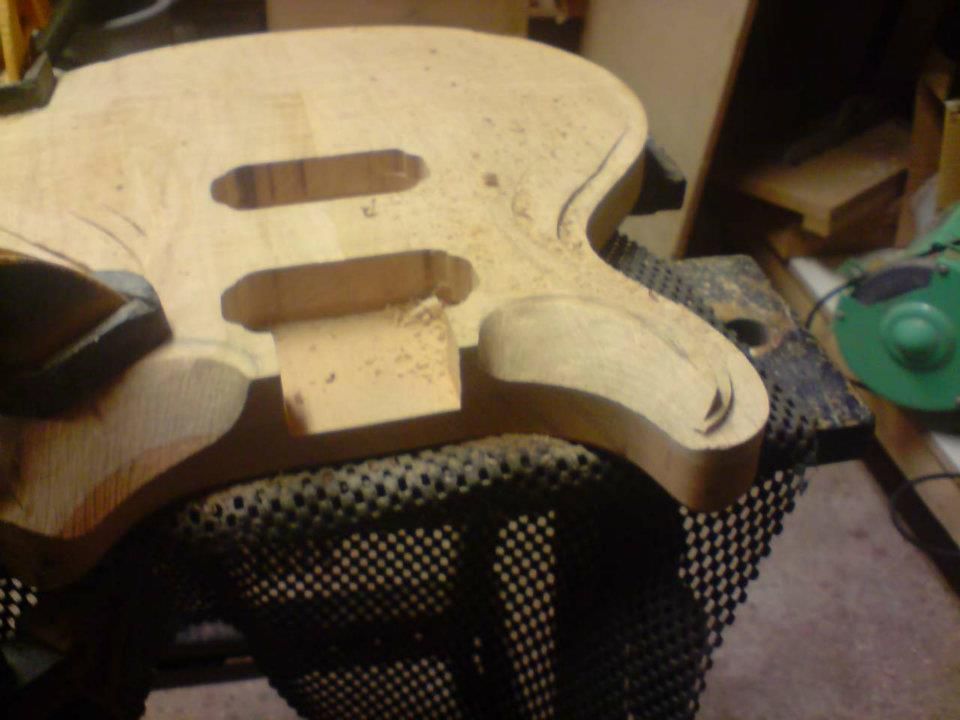 then onto the gooseneck cabinet scraper
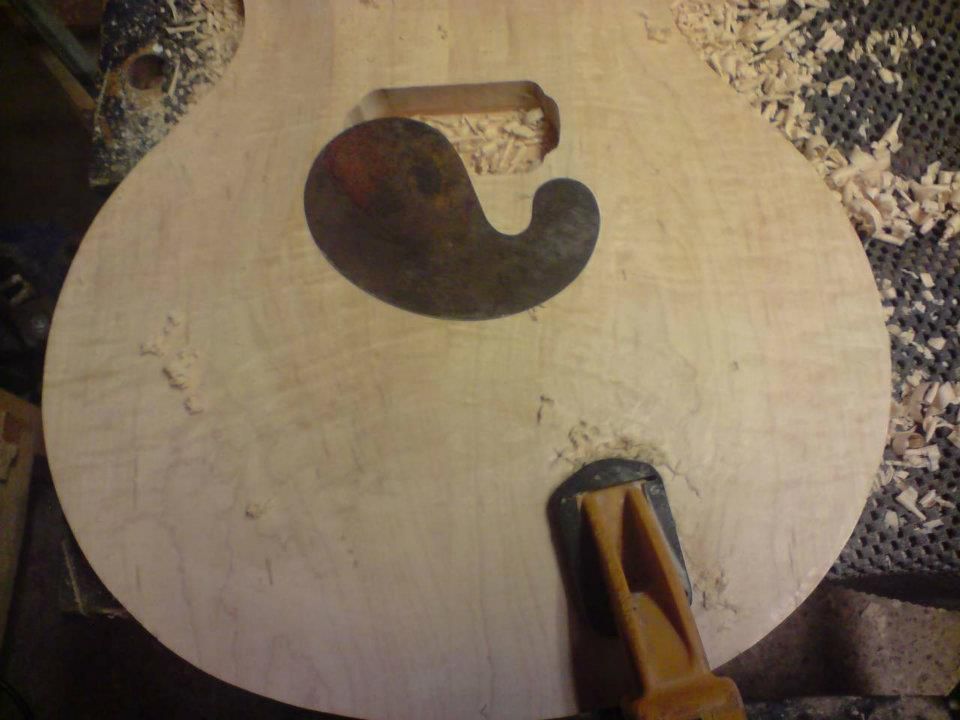
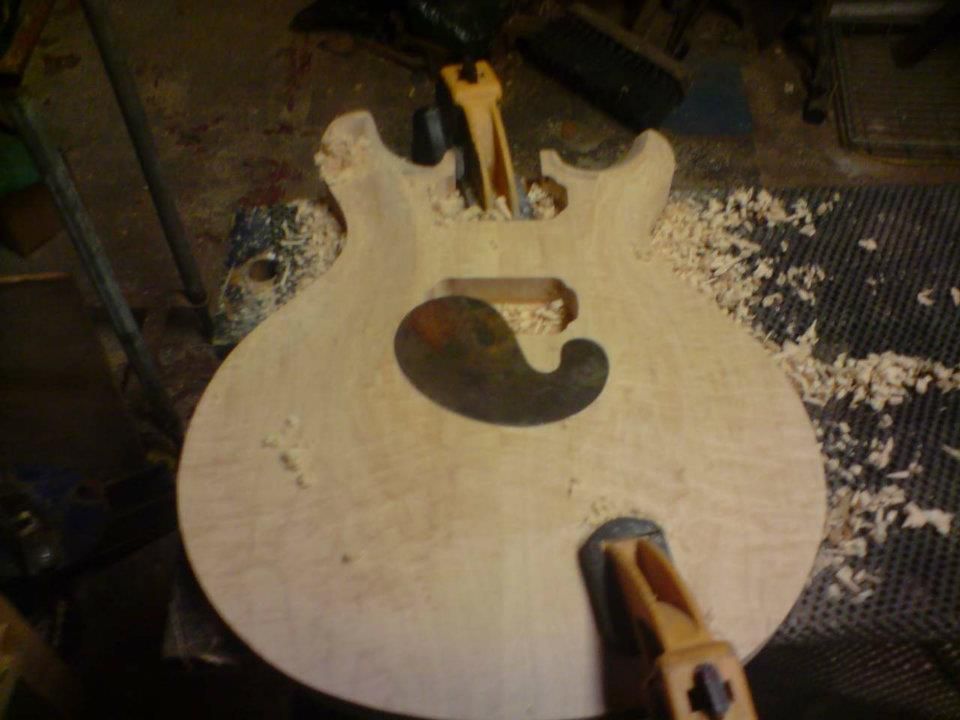 once I'm happy with the body carve its time to cut the neck angle onto the face of the guitar
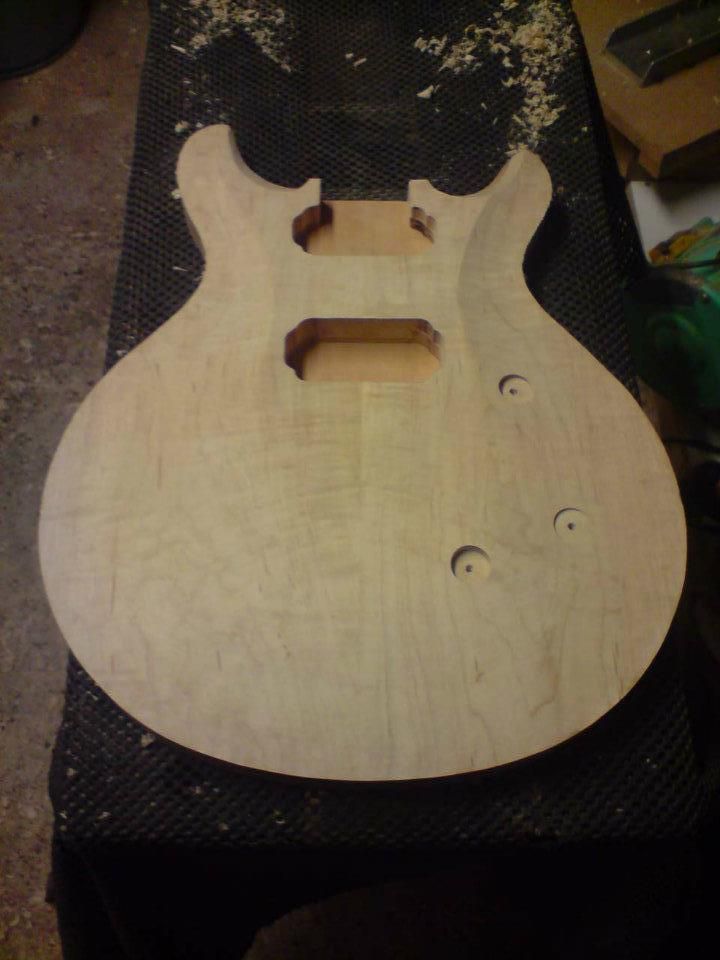
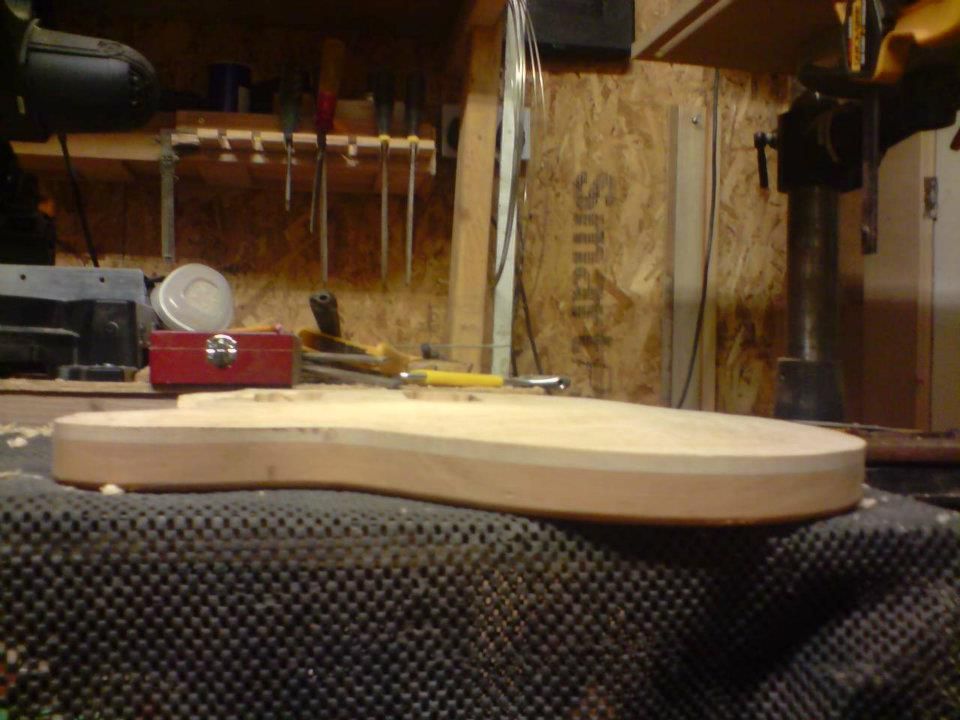 so while all this carving was going on I glued up the neck blank and let it set, its an 11degree head angle which I find is steep enough for good string break angle over the nut and it really keeps things in tune when using a trem setup and locking machine heads
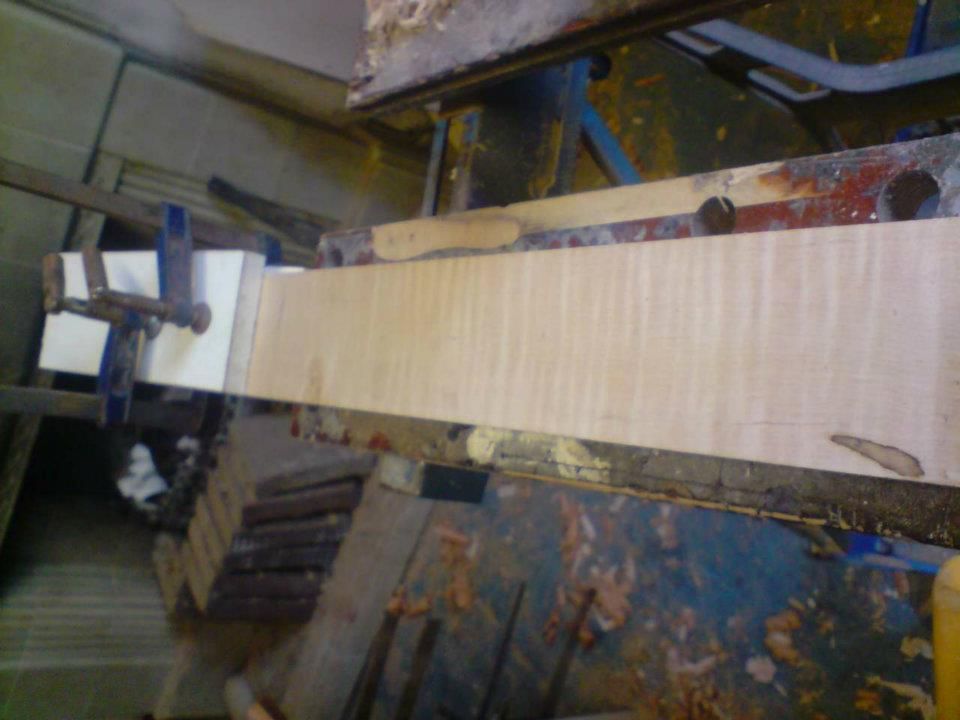
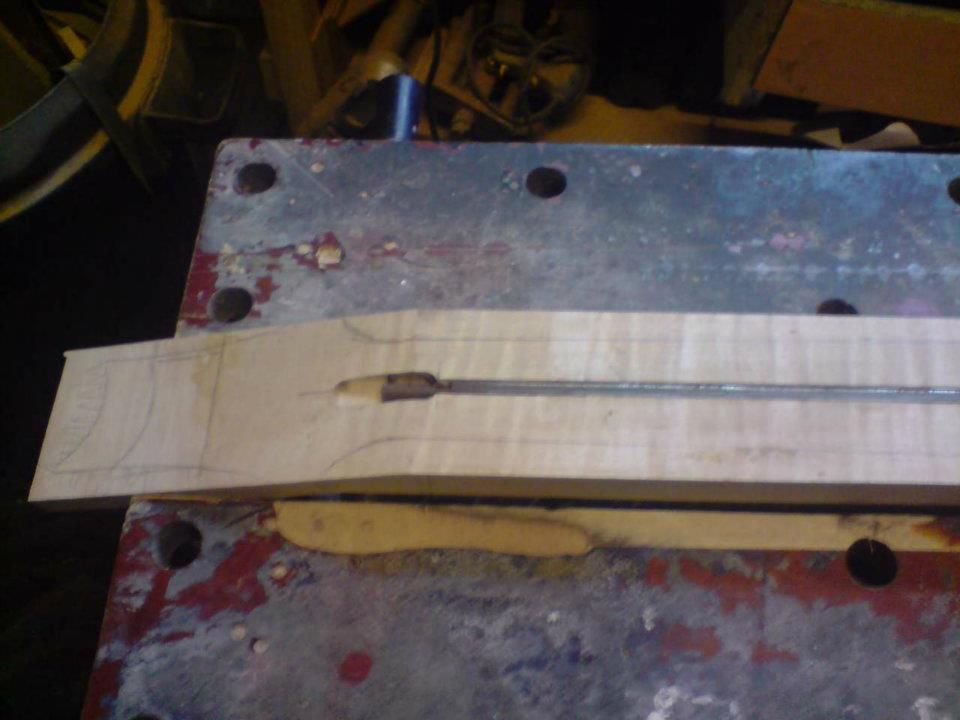
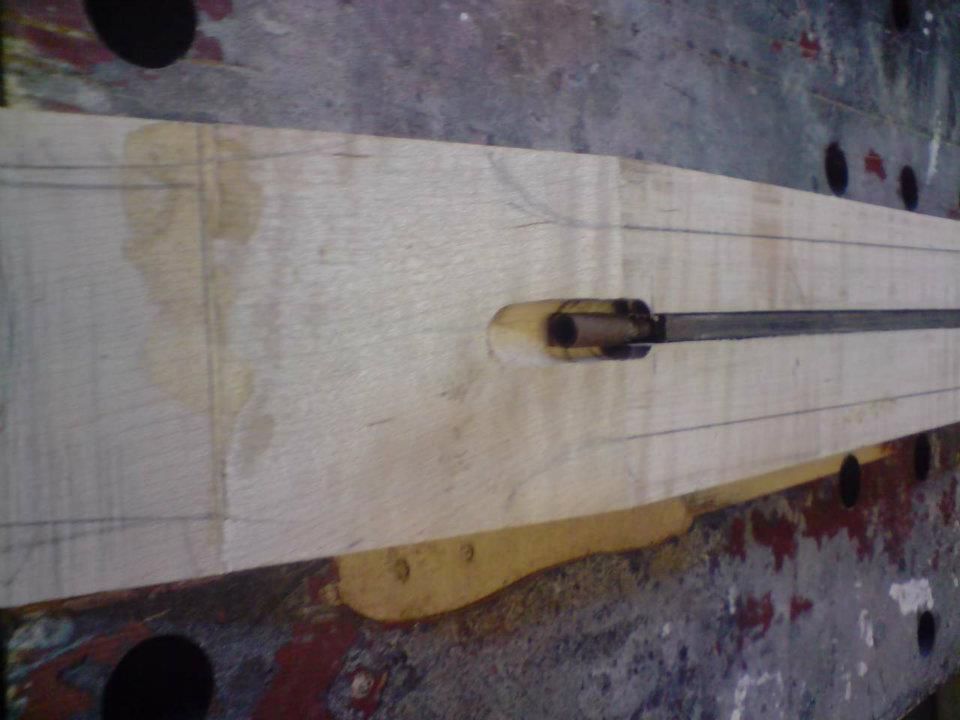
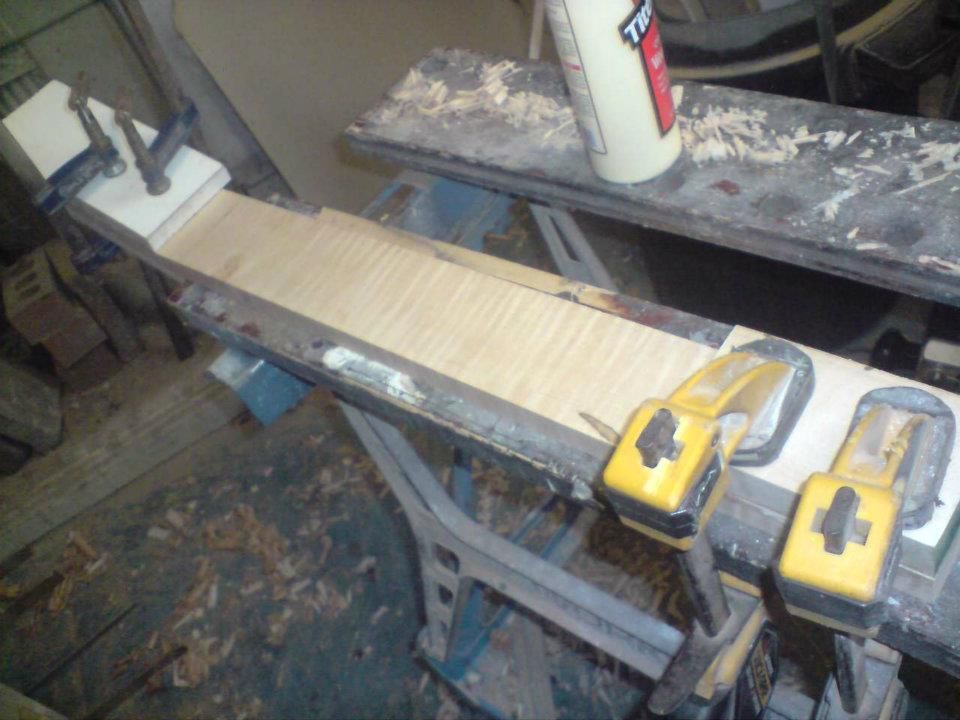 http://s1054.photobucket.com/albums/s48 ... _n.jpgneck layout marked onto the blank, truss rod slot goes in now, I use a double action truss rod which requires a 6mm slothttp://s1054.photobucket.com/albums/s486/howie12374/Facebook/Double%20cut%20build/?action=view¤t=539064_2985994452434_1353021873_n.jpg" onclick="window.open(this.href);return false;
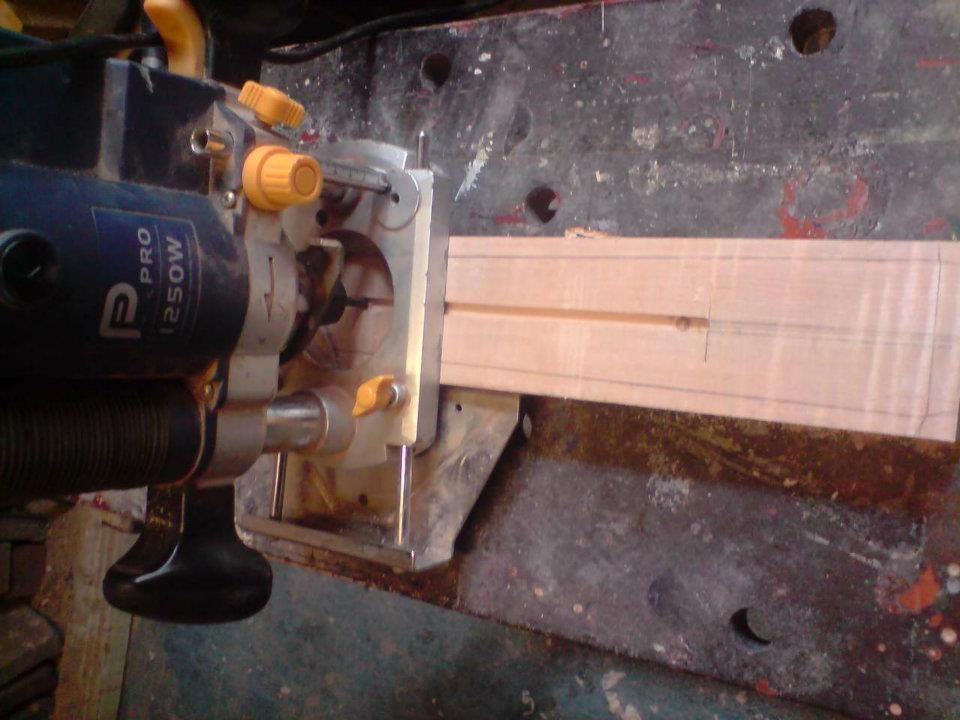 I use the routers edge guide to rout this slot while the neck blank is still square, the trussrod access on the head is also routed out at this point using a 3/8"ball end bit
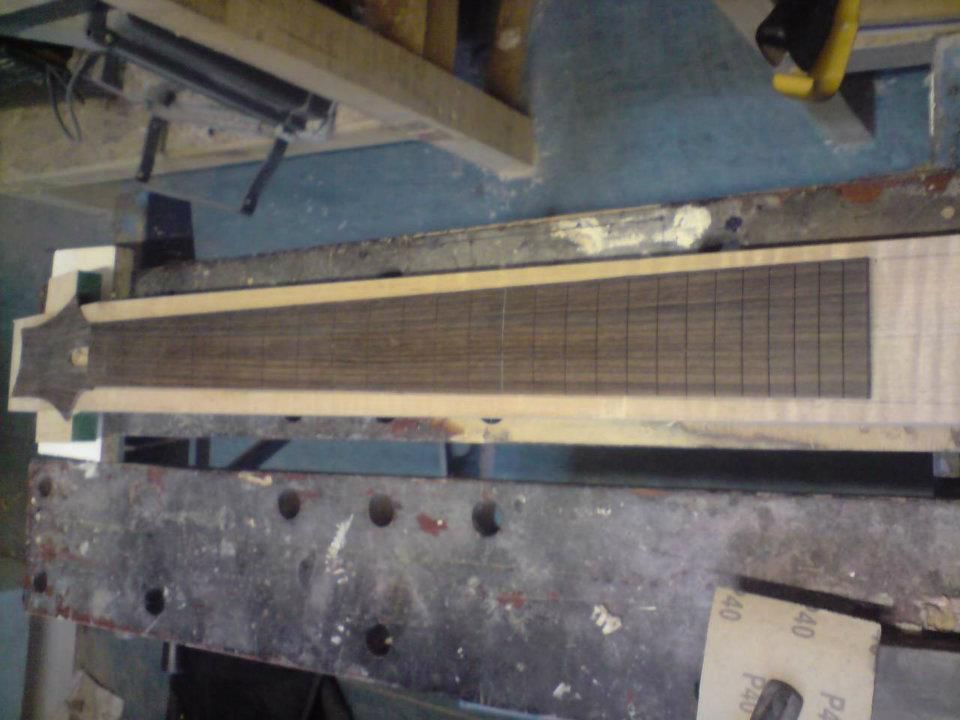
 time to lay out the head veneer and fretboard blank just to see how its looking, the board has a 12"radius and is already slotted to the 25"scale, there's a description on how I make my boards elsewhere in my posts
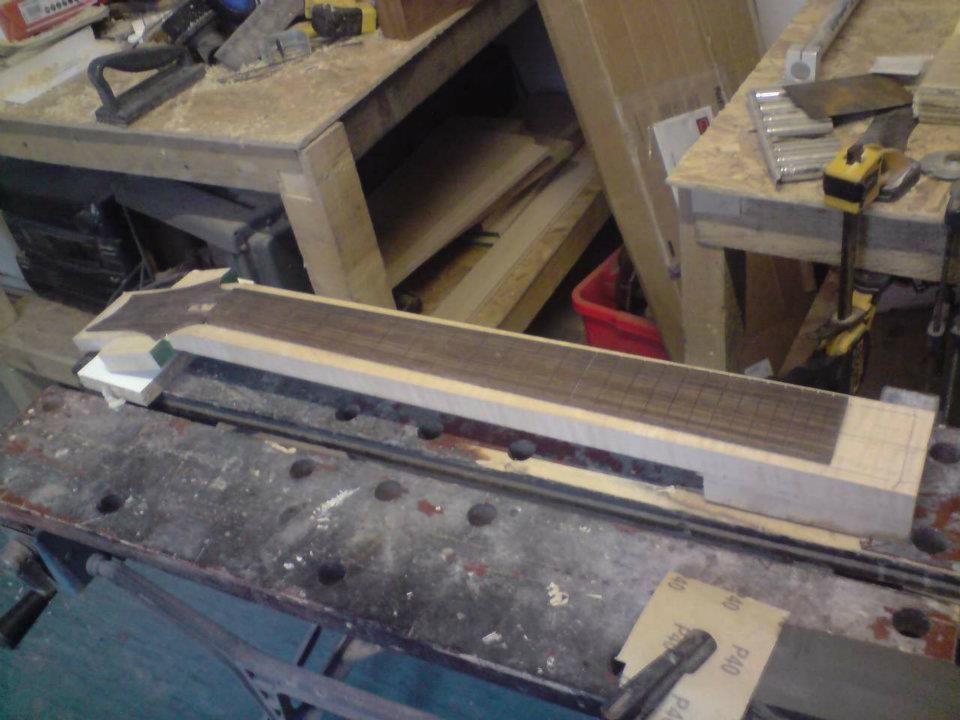 and thats as far as I've gotten in the past 2 days, what with it being a bank holiday weekend for easter....apparently that means I have to spend less time in the shop according to the litle lady ! bah....humbug
 this is the maple I'm using for the neck stock... its 3"x 7 5/8" flat sawn kiln dried eastern red with some lovely figure, I re sawed it to get 6 28mm rough blanks out at 30" length
 and this is some fijian mahogany I had lying around, it was 8" x1" so to make the body depth up I used a 20mm maple cap
 body blank glued up and bandsawed out oversized by about 3mm all round
  and here it is with the routing template screwed onto it using what will be the control mounting holes

 and onto the contour lines, drawn freehand
 maybe should have put this pic in first , routing the neck pocket and pickup cavities before carving the top

 then its back to my favourite little plane to carve the top


 inside of the horn I did with a round surform
 then onto the gooseneck cabinet scraper
 once I'm happy with the body carve its time to cut the neck angle onto the face of the guitar
 so while all this carving was going on I glued up the neck blank and let it set, its an 11degree head angle which I find is steep enough for good string break angle over the nut and it really keeps things in tune when using a trem setup and locking machine heads
 http://s1054.photobucket.com/albums/s48 ... _n.jpgneck layout marked onto the blank, truss rod slot goes in now, I use a double action truss rod which requires a 6mm slothttp://s1054.photobucket.com/albums/s486/howie12374/Facebook/Double%20cut%20build/?action=view¤t=539064_2985994452434_1353021873_n.jpg" onclick="window.open(this.href);return false;
 I use the routers edge guide to rout this slot while the neck blank is still square, the trussrod access on the head is also routed out at this point using a 3/8"ball end bit
 time to lay out the head veneer and fretboard blank just to see how its looking, the board has a 12"radius and is already slotted to the 25"scale, there's a description on how I make my boards elsewhere in my posts
 and thats as far as I've gotten in the past 2 days, what with it being a bank holiday weekend for easter....apparently that means I have to spend less time in the shop according to the litle lady ! bah....humbug
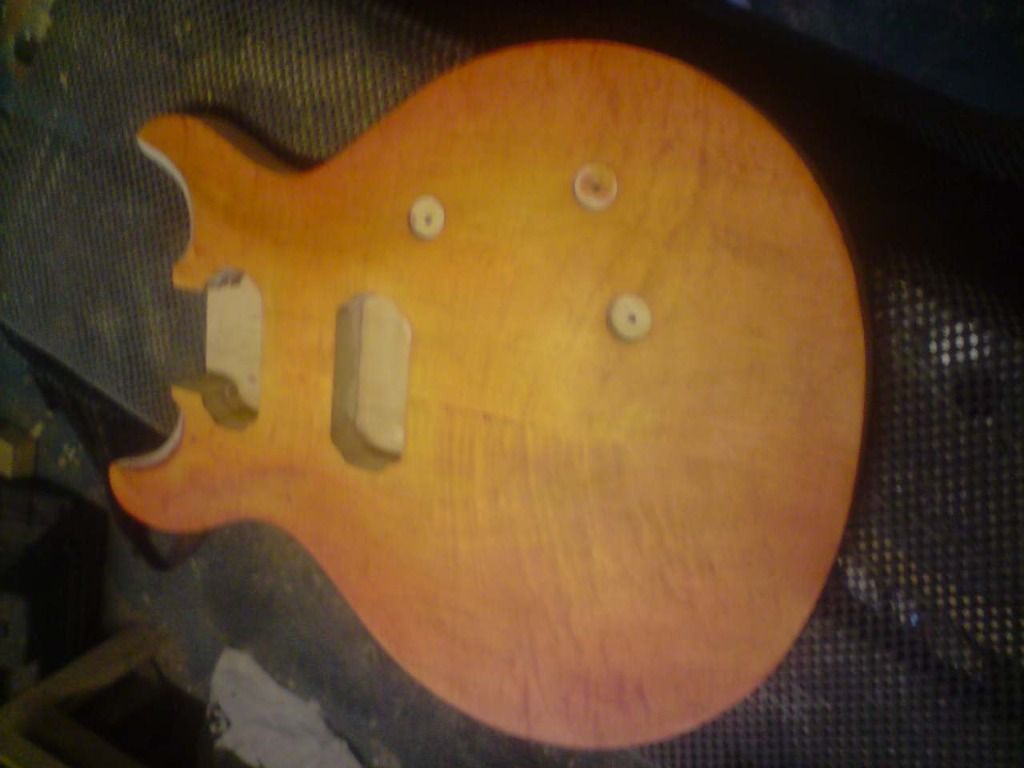
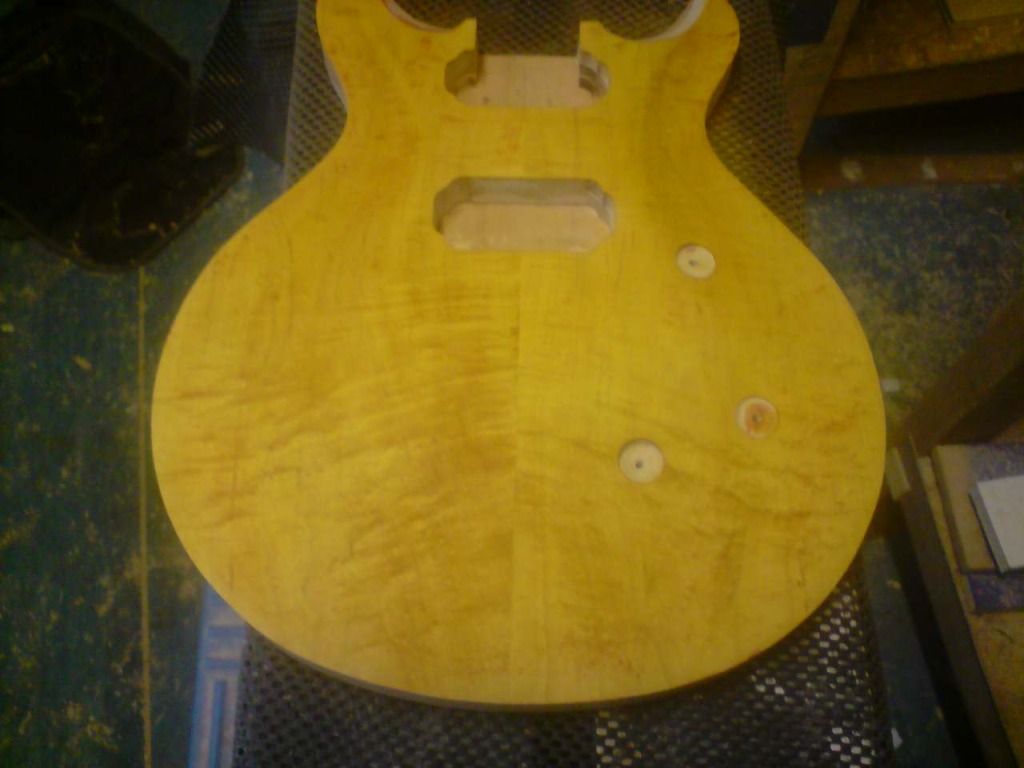 yeah thats stain way too soon in the build!.... so I thought while I'm doing this ass first may as well go for it properly
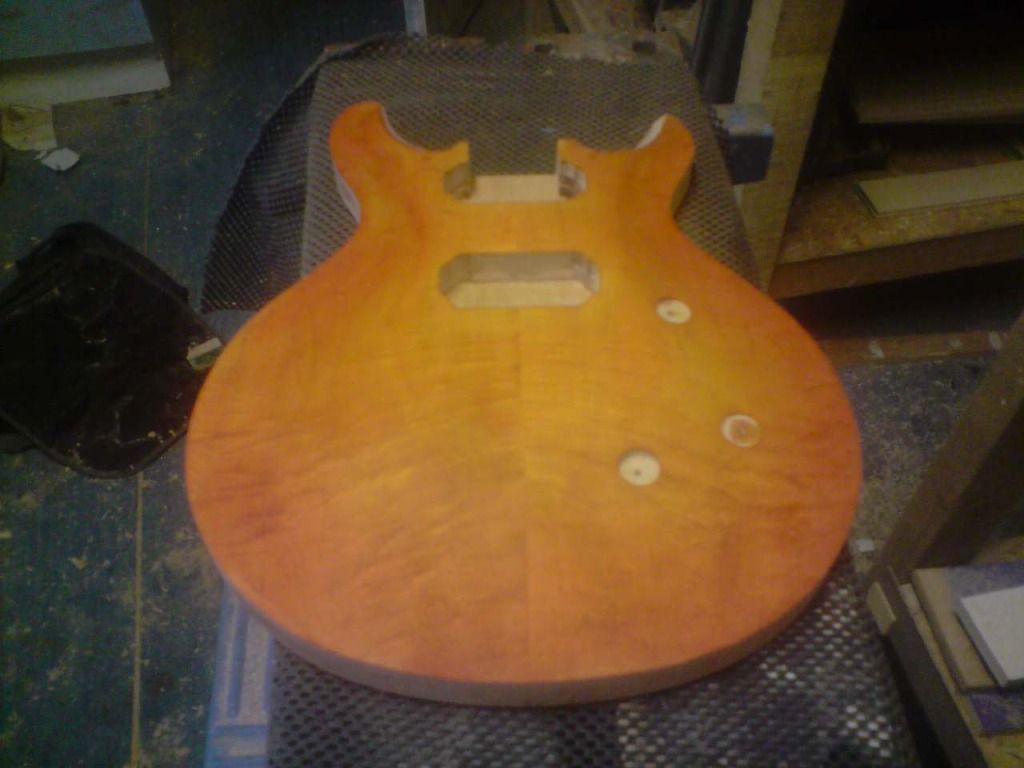
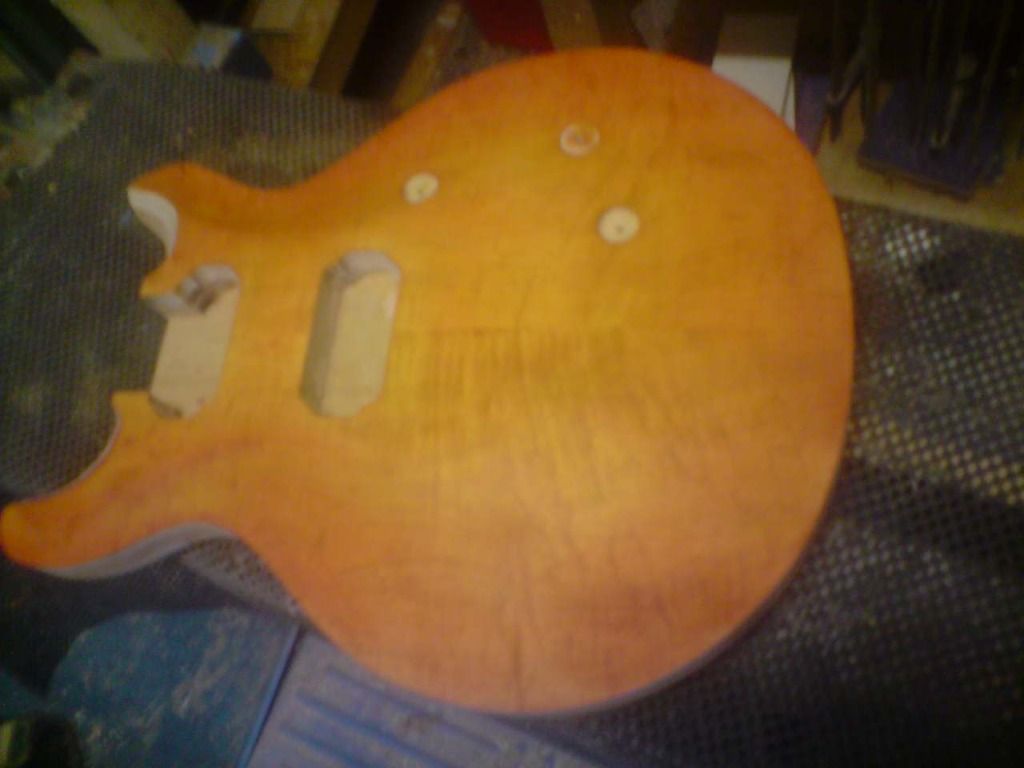
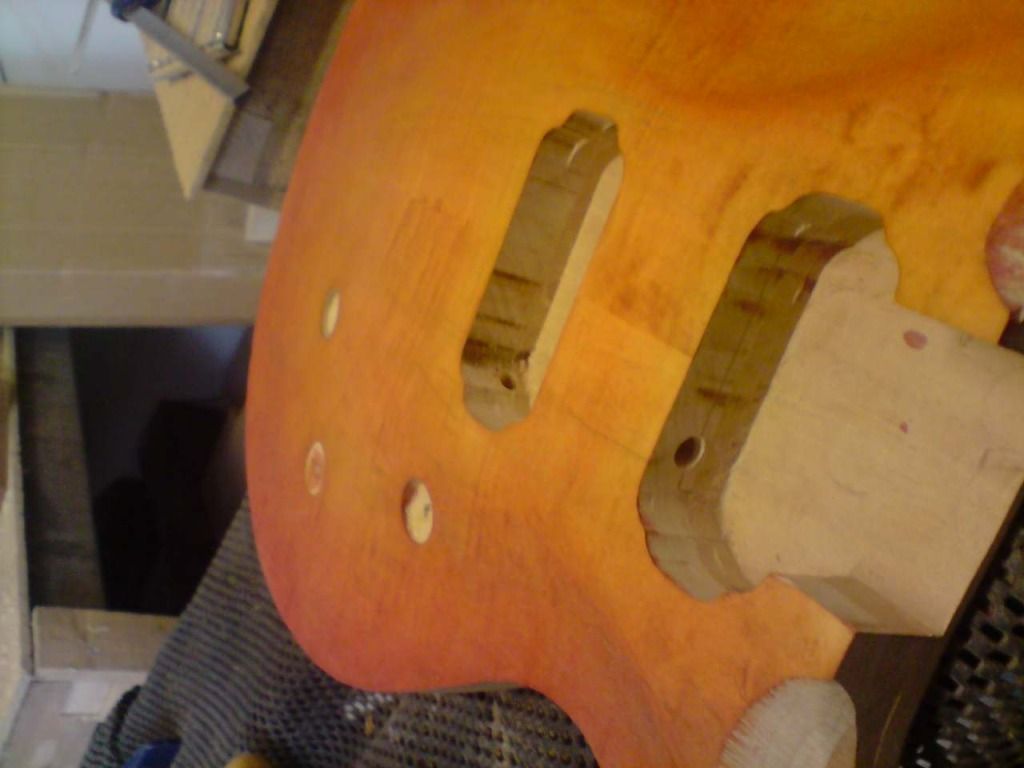
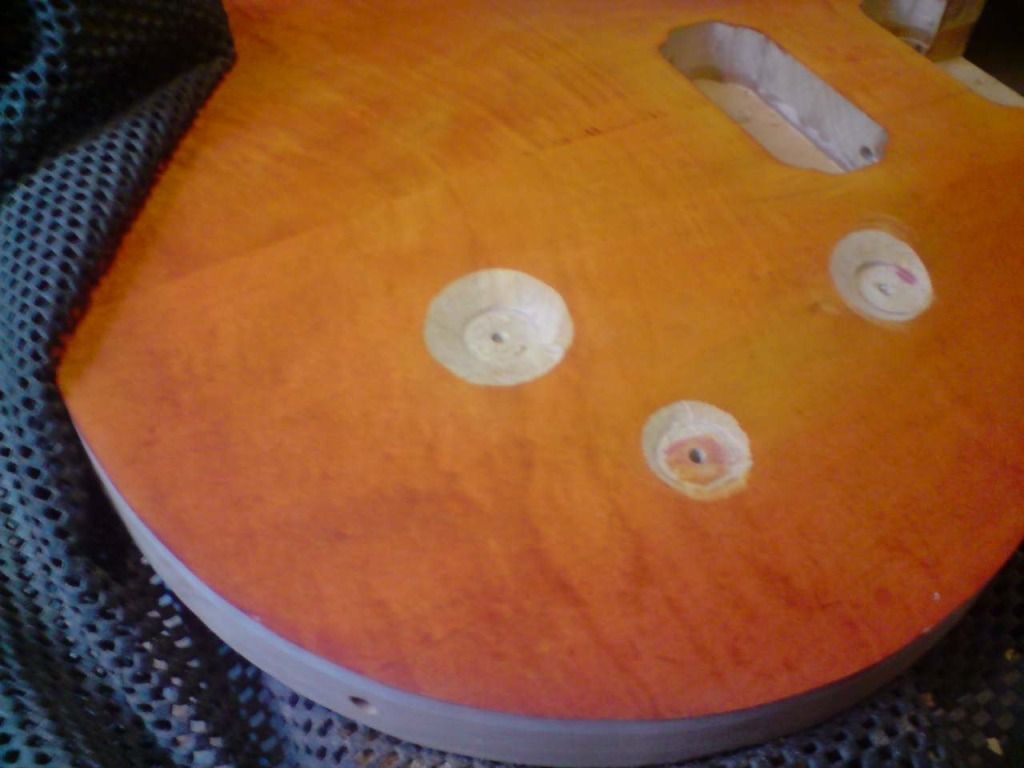 and yeah I really shuld have carved these bits before the stain , but I was getting carried away with myself again! then I realised I should probably have done this bit first too
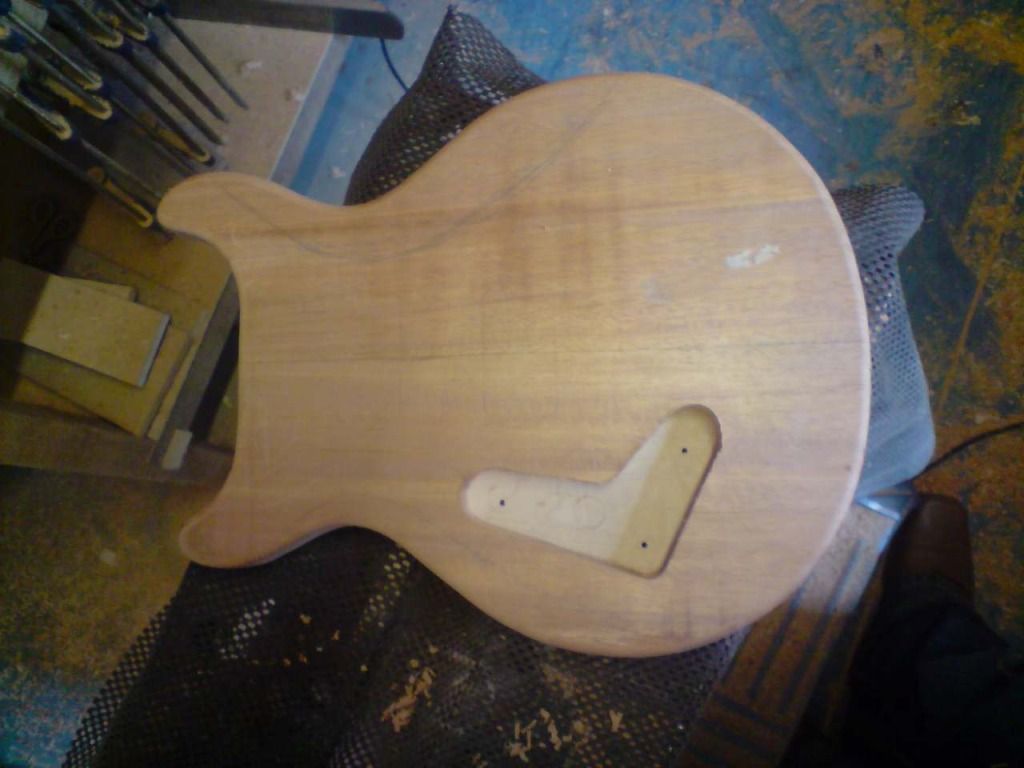 ....so all seems to be going ok despite the slight error in the correct order of these things.... at worst I'll end up sanding the whole thing back and re staining , but so far so good!
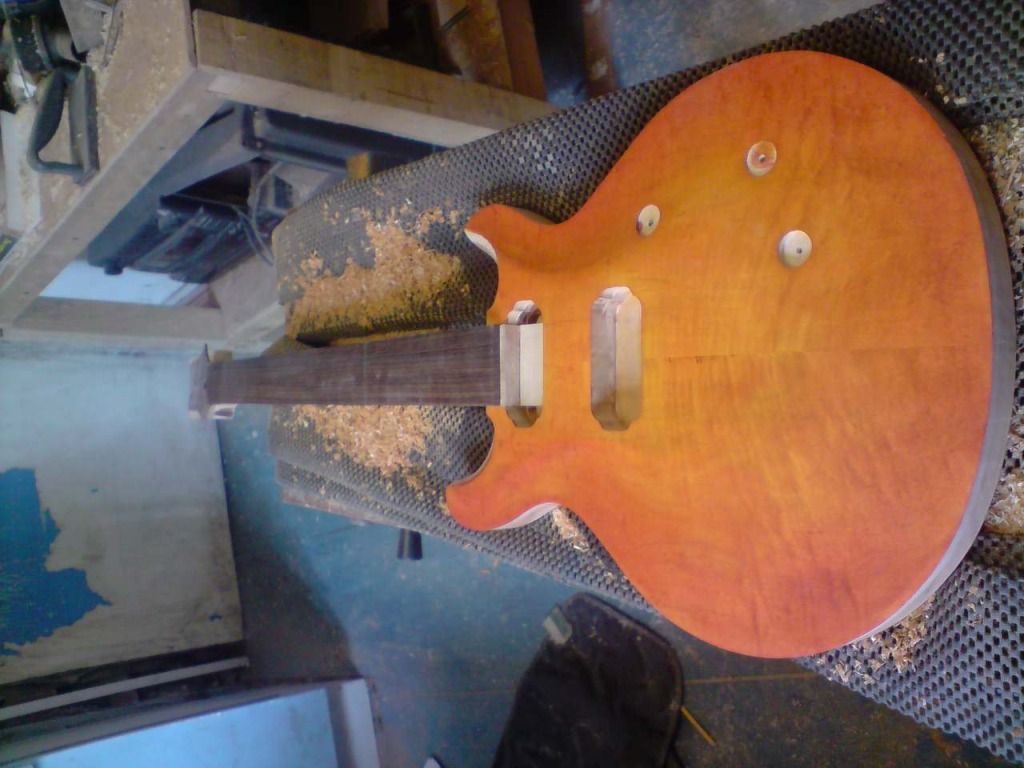 ... then the neck did this to me
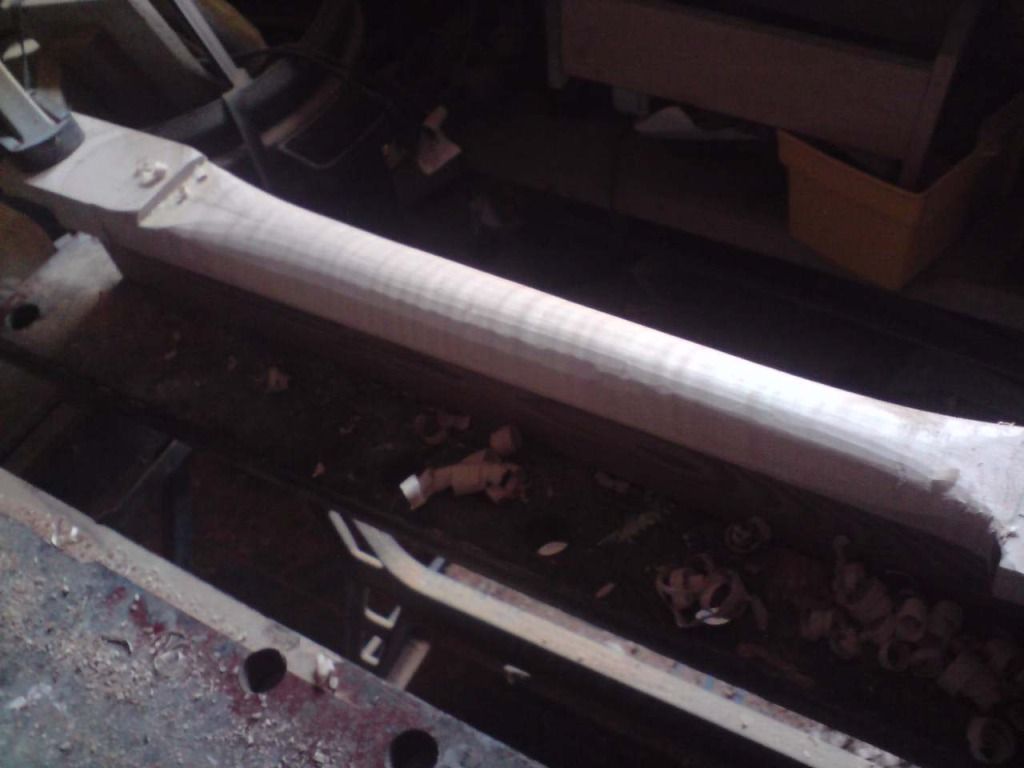
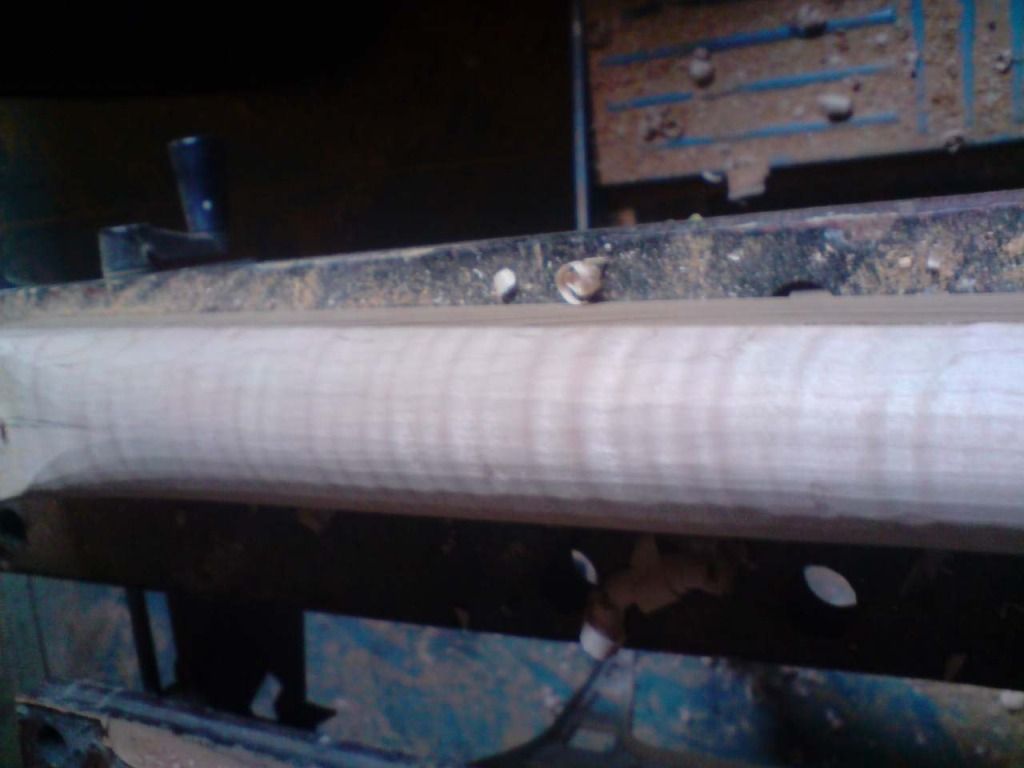
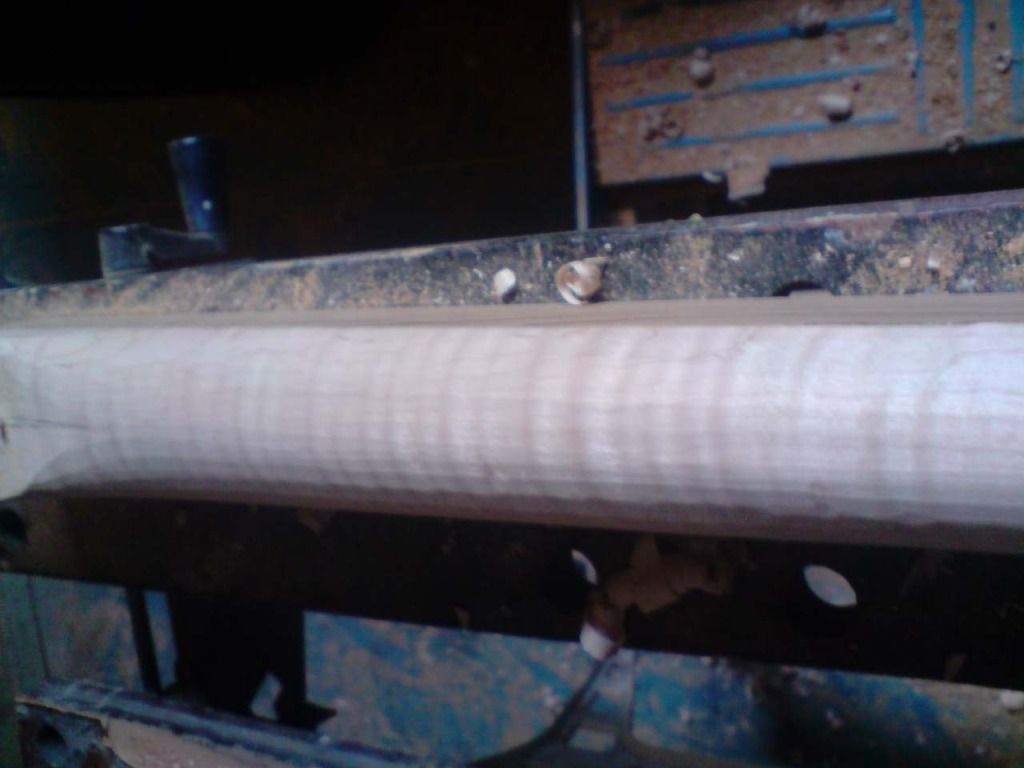 .... so now I have hidded the stain from sight, cos that flame popping out of the neck is just asking for it!!.... and just for good measure a few more pics
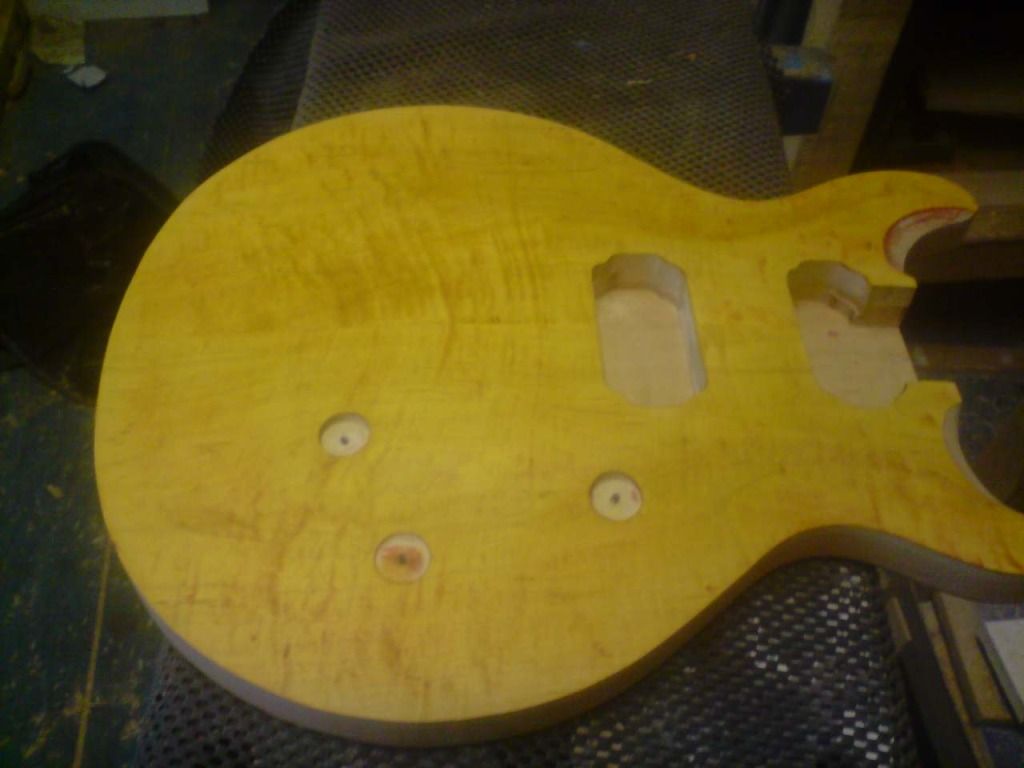
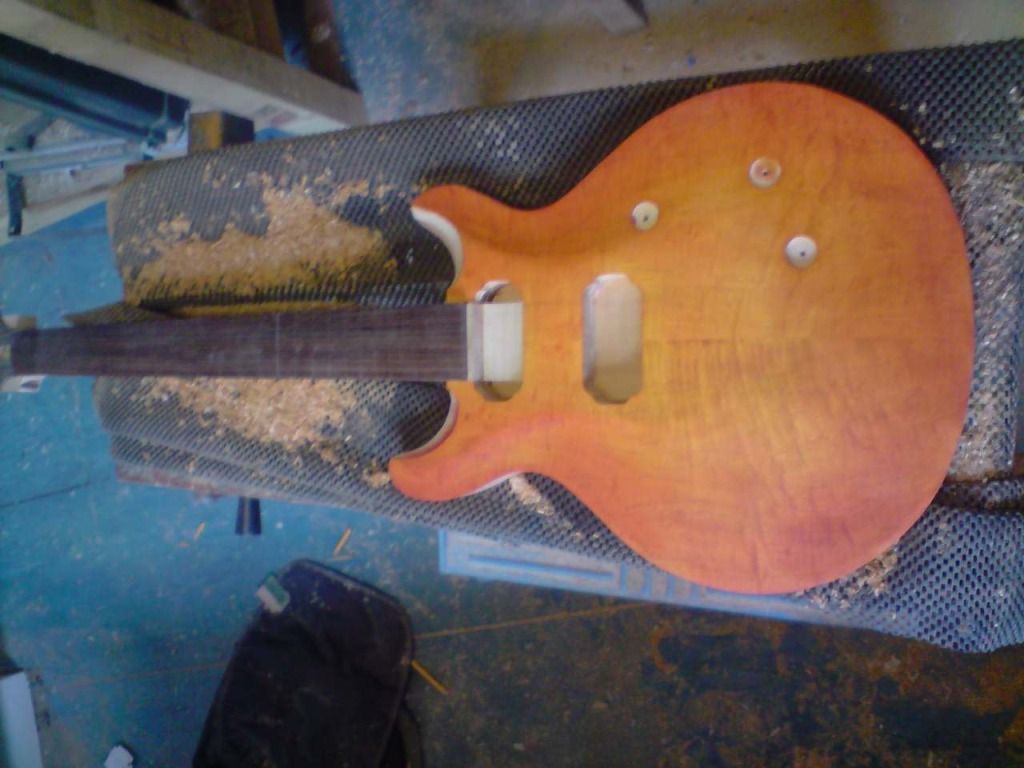
 ... so the moral of this story is hide the stain and carve pretty wood with your eyes closed!