Monkeypod Dread
Posted: Fri Mar 20, 2009 11:07 pm
Well, I am taking a brief side trip and building a guitar out of my new monkeypod. Mainly to see how it works up before I get in the midst of selling the wood. This monkeypod is a bit lower density than earlier monkeypod I have bought, more on the mahogany-like density. Talked to my supplier and he said it really varies a lot from tree to tree, even from two trees growing next to each other. This shipment was all from one tree, so I'm just checking it out.
This is going to be a fast build, because I am using parts that were already started. I have a top already braced that was going to go on a mango dred, but I am diverting it to this build. And I have a neck all ready except for the fingerboard and carving, but I have a fingerboard already slotted and tapered. I also have a neck block and tail block ready.
So I have resawed a few sets and today I picked out the parts. Here is the back and sides along with the neck and neck block.
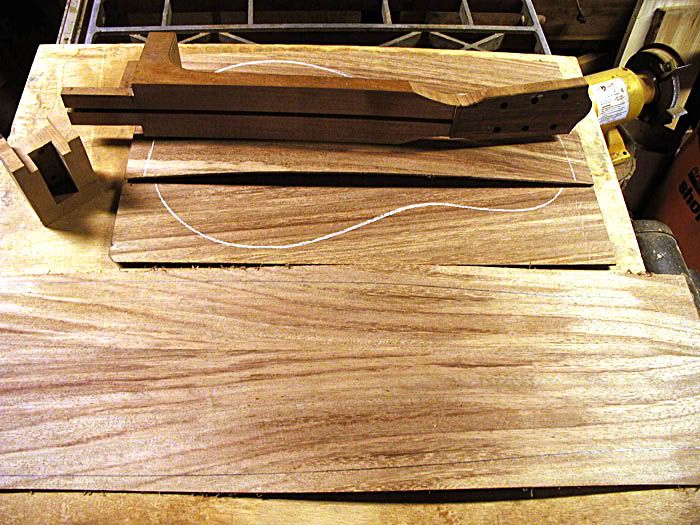
One thing I need to mention is that I was using this to play around with camera settings, so the wood looks a different color in every photo, and most of these make good "before" photos
Here are the sides after profiling.
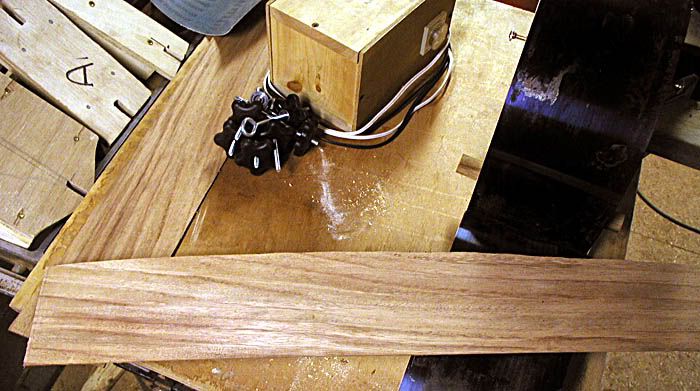
Ready to bend.
Here is the first side in the bender.
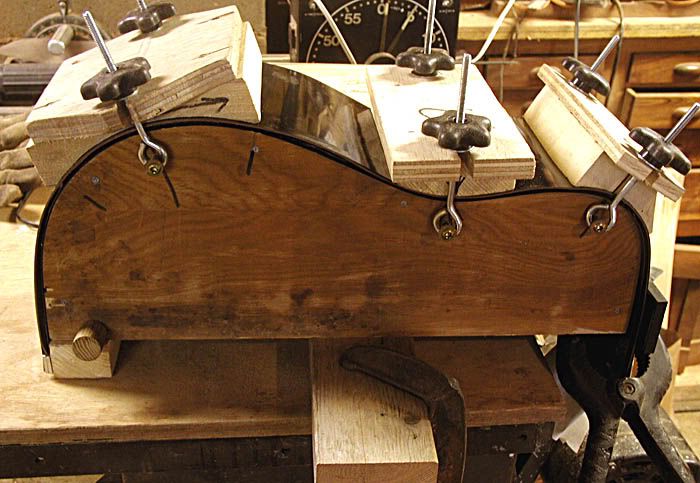
Nothing out of the ordinary here, just my usual. I did make a new caul for the lower bout. This is to cut down on the cross ripples. Very hard to bend the lower density woods that have interlocked grain without getting ripples. Mahogany and the like. These bent very easy. I set the temp to 300 degrees and they started to "wilt" within a minute or so after turning on the heat.
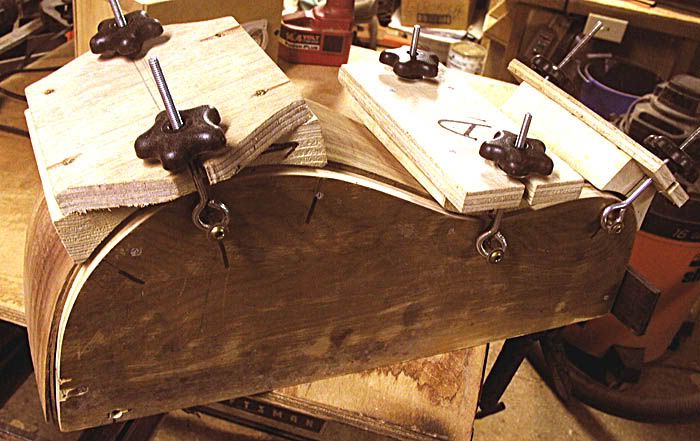
Here they are after bending.
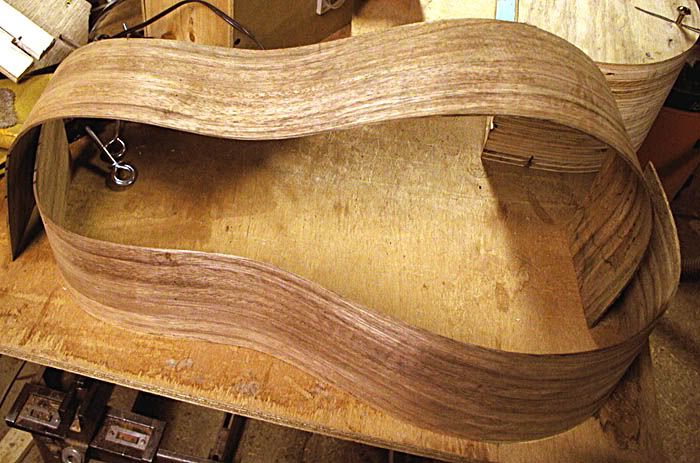
They bent flawlessly at a thickness of between .090 and .095". There is a bit of springback in the upper bout bend, but I didn't bother to give them a second heating. It does bend to shape with almost no effort.
So I just reclamped them to the bending form until I am ready to assemble.
I glued up the back just using the tape together method that I usually do.
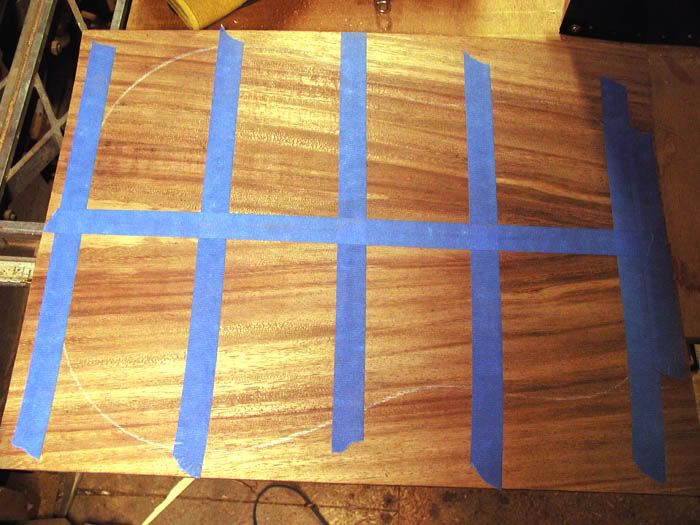
This is one of those photos where the white balance was set wrong. Thought I had it right, but it switched on me because I did not save the setting correctly.
Then I ran it through the sander and cut out the shape a bit oversize.
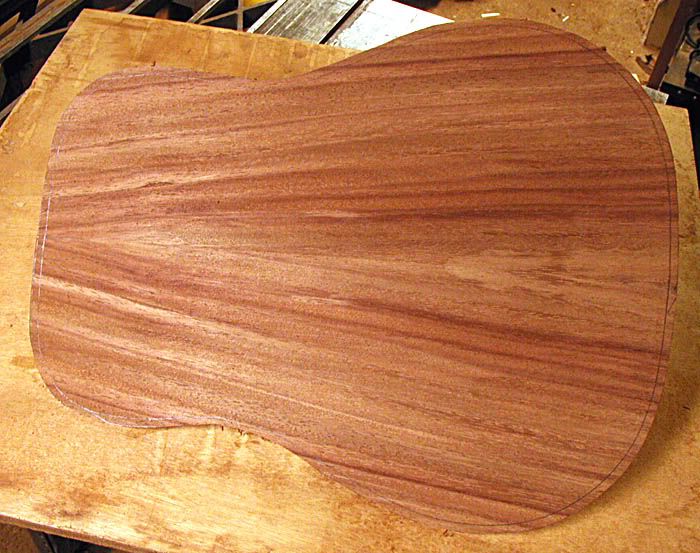
And on this one, I finally got the white balance correct. This is what all of the wood in the above photos should look like. But a bit dark on the right and probably did not have the camera braced well. Doing things a bit hurridly.
More over the weekend.
G
This is going to be a fast build, because I am using parts that were already started. I have a top already braced that was going to go on a mango dred, but I am diverting it to this build. And I have a neck all ready except for the fingerboard and carving, but I have a fingerboard already slotted and tapered. I also have a neck block and tail block ready.
So I have resawed a few sets and today I picked out the parts. Here is the back and sides along with the neck and neck block.

One thing I need to mention is that I was using this to play around with camera settings, so the wood looks a different color in every photo, and most of these make good "before" photos
Here are the sides after profiling.

Ready to bend.
Here is the first side in the bender.

Nothing out of the ordinary here, just my usual. I did make a new caul for the lower bout. This is to cut down on the cross ripples. Very hard to bend the lower density woods that have interlocked grain without getting ripples. Mahogany and the like. These bent very easy. I set the temp to 300 degrees and they started to "wilt" within a minute or so after turning on the heat.
Here they are after bending.

They bent flawlessly at a thickness of between .090 and .095". There is a bit of springback in the upper bout bend, but I didn't bother to give them a second heating. It does bend to shape with almost no effort.
So I just reclamped them to the bending form until I am ready to assemble.

I glued up the back just using the tape together method that I usually do.

This is one of those photos where the white balance was set wrong. Thought I had it right, but it switched on me because I did not save the setting correctly.
Then I ran it through the sander and cut out the shape a bit oversize.

And on this one, I finally got the white balance correct. This is what all of the wood in the above photos should look like. But a bit dark on the right and probably did not have the camera braced well. Doing things a bit hurridly.
More over the weekend.
G